
Clean a refrigerator ice maker by turning it off, washing removable parts, sanitizing surfaces, and drying everything well.
A clean ice maker helps protect the taste, smell, and safety of your ice. As someone familiar with routine appliance care, I know that small areas such as the ice chute, ice bin, and water inlet can collect slime, crumbs, mineral scale, and mold faster than most people expect. This guide explains how to clean a refrigerator ice maker safely, what supplies to use, how often to do it, and when cleaning is not enough to fix a problem.
Why You Should Clean a Refrigerator Ice Maker
Ice comes into direct contact with the ice bin, dispenser chute, auger, and internal surfaces. If these areas stay damp, they may develop cloudy residue, stale odors, or visible mold. Dust and food smells from the freezer can also affect the taste of fresh ice.
Cleaning a refrigerator ice maker can also support better operation. Sticky residue may make the ice bucket hard to remove, while mineral deposits can block small water openings. A clean ice maker is not a guarantee against every repair issue, but regular care can help you notice problems early.
The most common signs that your ice maker needs cleaning include:
• Ice that smells or tastes strange
• Slimy or sticky residue in the ice bin
• White mineral spots or flakes
• Mold around the dispenser chute
• Ice clumps that form inside the bin
• Slow ice production
• A water stream that looks weak or uneven
Food safety guidance supports keeping ice making equipment clean because ice is treated as food. Ice can pick up germs from dirty hands, old spills, unwashed bins, and poorly maintained surfaces.

What You Need Before You Start
Gather your supplies before removing the ice bin. This makes the job quicker and helps you avoid leaving wet parts on the counter for too long.
You will need:
• A clean microfiber cloth
• Warm water
• Mild dish soap
• A soft sponge or soft toothbrush
• A clean towel
• A small bowl
• White vinegar for mineral buildup, if needed
• Food safe sanitizer, if approved by your refrigerator’s manual
Avoid abrasive pads, bleach unless the manufacturer specifically allows it, ammonia, and harsh drain cleaners. These products may damage plastic, leave unsafe residue, or create harmful fumes when mixed with other cleaners.
Before using vinegar or a sanitizer, check the owner’s manual. Some refrigerator makers allow mild vinegar solutions, while others recommend only soap and water for parts that touch ice.

How to Clean a Refrigerator Ice Maker Safely
The safest method is simple: stop the ice maker, remove old ice, wash the parts, wipe the fixed surfaces, rinse, dry, and restart the unit.
1. Turn Off the Ice Maker
Find the ice maker power switch, shutoff arm, or control setting. Move the switch to the off position or lift the shutoff arm. If your manual says to unplug the refrigerator for cleaning, follow that instruction.
Do not place your hands near moving parts while the ice maker is running. Some models have sharp edges, rotating ejector arms, or hidden mechanisms that can start without much warning.
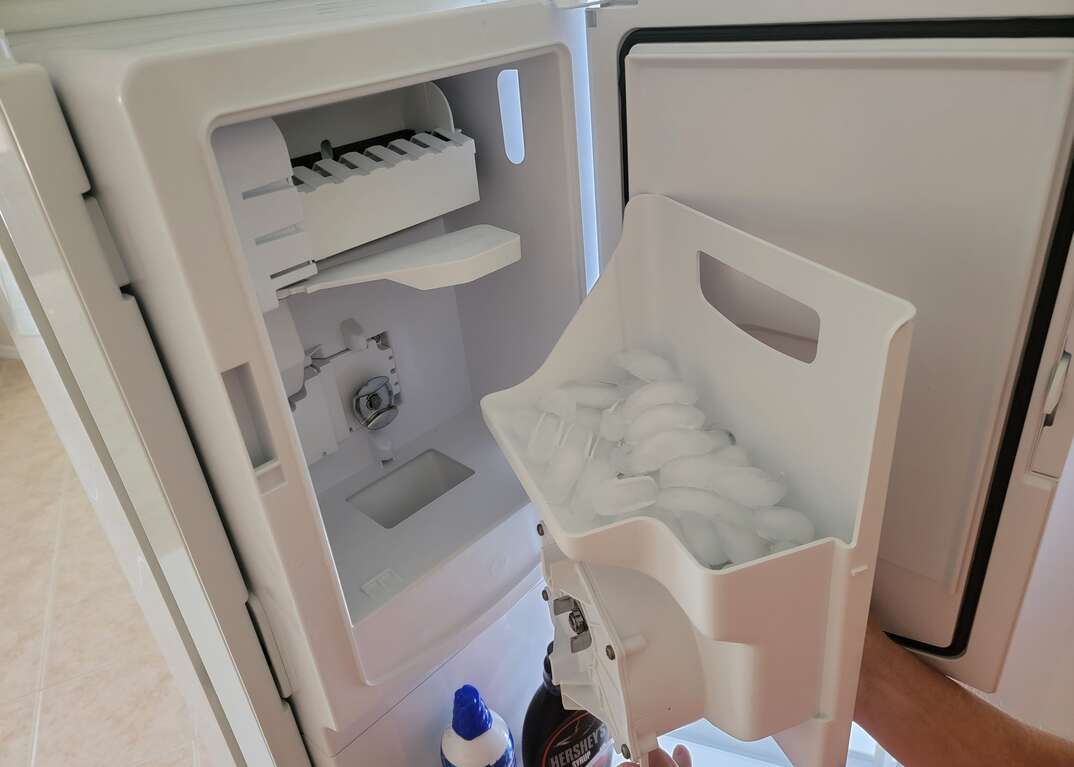
2. Remove the Ice Bin
Pull the ice bin out carefully. Some bins slide forward, while others must be lifted first. If it feels stuck, do not force it because frozen ice may be holding the bin in place.
Pour the old ice into the sink or trash. Do not reuse ice that has been stored in a dirty bin or has a strange smell. Old ice can hold odors and residue even when it looks clean.
3. Wash the Ice Bin
Let a very cold bin warm slightly before washing it with warm water. A sudden change from freezing cold to very hot water may crack some plastic parts.
Wash the bin with warm water and mild dish soap. Use a soft sponge for broad surfaces and a soft toothbrush for corners, grooves, the auger area, and the ice gate.
Pay special attention to:
• The underside of the bin
• The front dispenser opening
• The auger and its shaft
• Small corners where melted ice collects
• The seal or sliding door
Rinse every part well. Soap left behind can make ice taste bitter or smell like detergent.
4. Clean the Ice Maker Compartment
Use a damp cloth with mild soapy water to wipe the ice maker housing, nearby walls, and shelf. Never pour water directly into the ice maker or electrical controls.
Wipe around the water fill tube, but do not poke tools into it. A blocked or frozen fill tube may need a repair or a careful thawing process based on the manufacturer’s instructions.
For hard water scale, place a small amount of diluted white vinegar on a cloth and wipe the affected area. Let it sit for a few minutes, then wipe with clean water. Do not soak electrical parts or leave vinegar on metal surfaces for a long time.
5. Clean the Dispenser Chute
The dispenser chute is easy to overlook. It is also one of the dampest areas on many refrigerators.
Wipe the chute with a clean cloth dampened with mild soap and water. Use a soft toothbrush around the flap, edges, and small grooves. If the chute has visible mold, clean it carefully and dry it fully. Replace the filter or request service if the mold returns quickly.
6. Rinse and Dry Everything
Rinse removable parts with clean water until no soap remains. Dry them with a clean towel, then let them air dry completely.
Do not return a wet ice bin to the freezer. Moisture can freeze around the auger and cause the bin to stick. Drying also reduces the chance of new slime or odor forming.
7. Reassemble and Make Fresh Ice
Put the dry ice bin back in place. Turn the ice maker on and discard the first one or two batches of ice after cleaning.
This step helps remove any loose residue from the water path or ice maker mechanism. Once the new ice looks and smells normal, keep it.
This complete process is the basic answer to how to clean a refrigerator ice maker. It usually takes about 15 to 30 minutes, depending on the model and the amount of buildup.

How to Remove Mold, Slime, and Mineral Buildup
Mold and slime need more than a quick wipe. First, remove the ice bin and throw away all old ice. Wash the bin with warm soapy water, rinse it well, and inspect every seam and corner.
For light mineral scale, use a cloth with diluted white vinegar. A common approach is one part vinegar to one part water, but always check the appliance manual first. After cleaning, rinse the surface with fresh water and dry it fully.
Do not mix vinegar with bleach or any other cleaner. Mixing cleaning products can release dangerous gases. If buildup is thick, returns often, or appears inside sealed parts, stop cleaning and contact a qualified appliance technician.
A useful lesson from appliance maintenance is that repeated slime often points to a moisture problem. The cause may be a leaking dispenser flap, poor airflow, a damaged bin seal, or a water leak above the ice maker. Cleaning removes the symptom, but the source still needs attention.
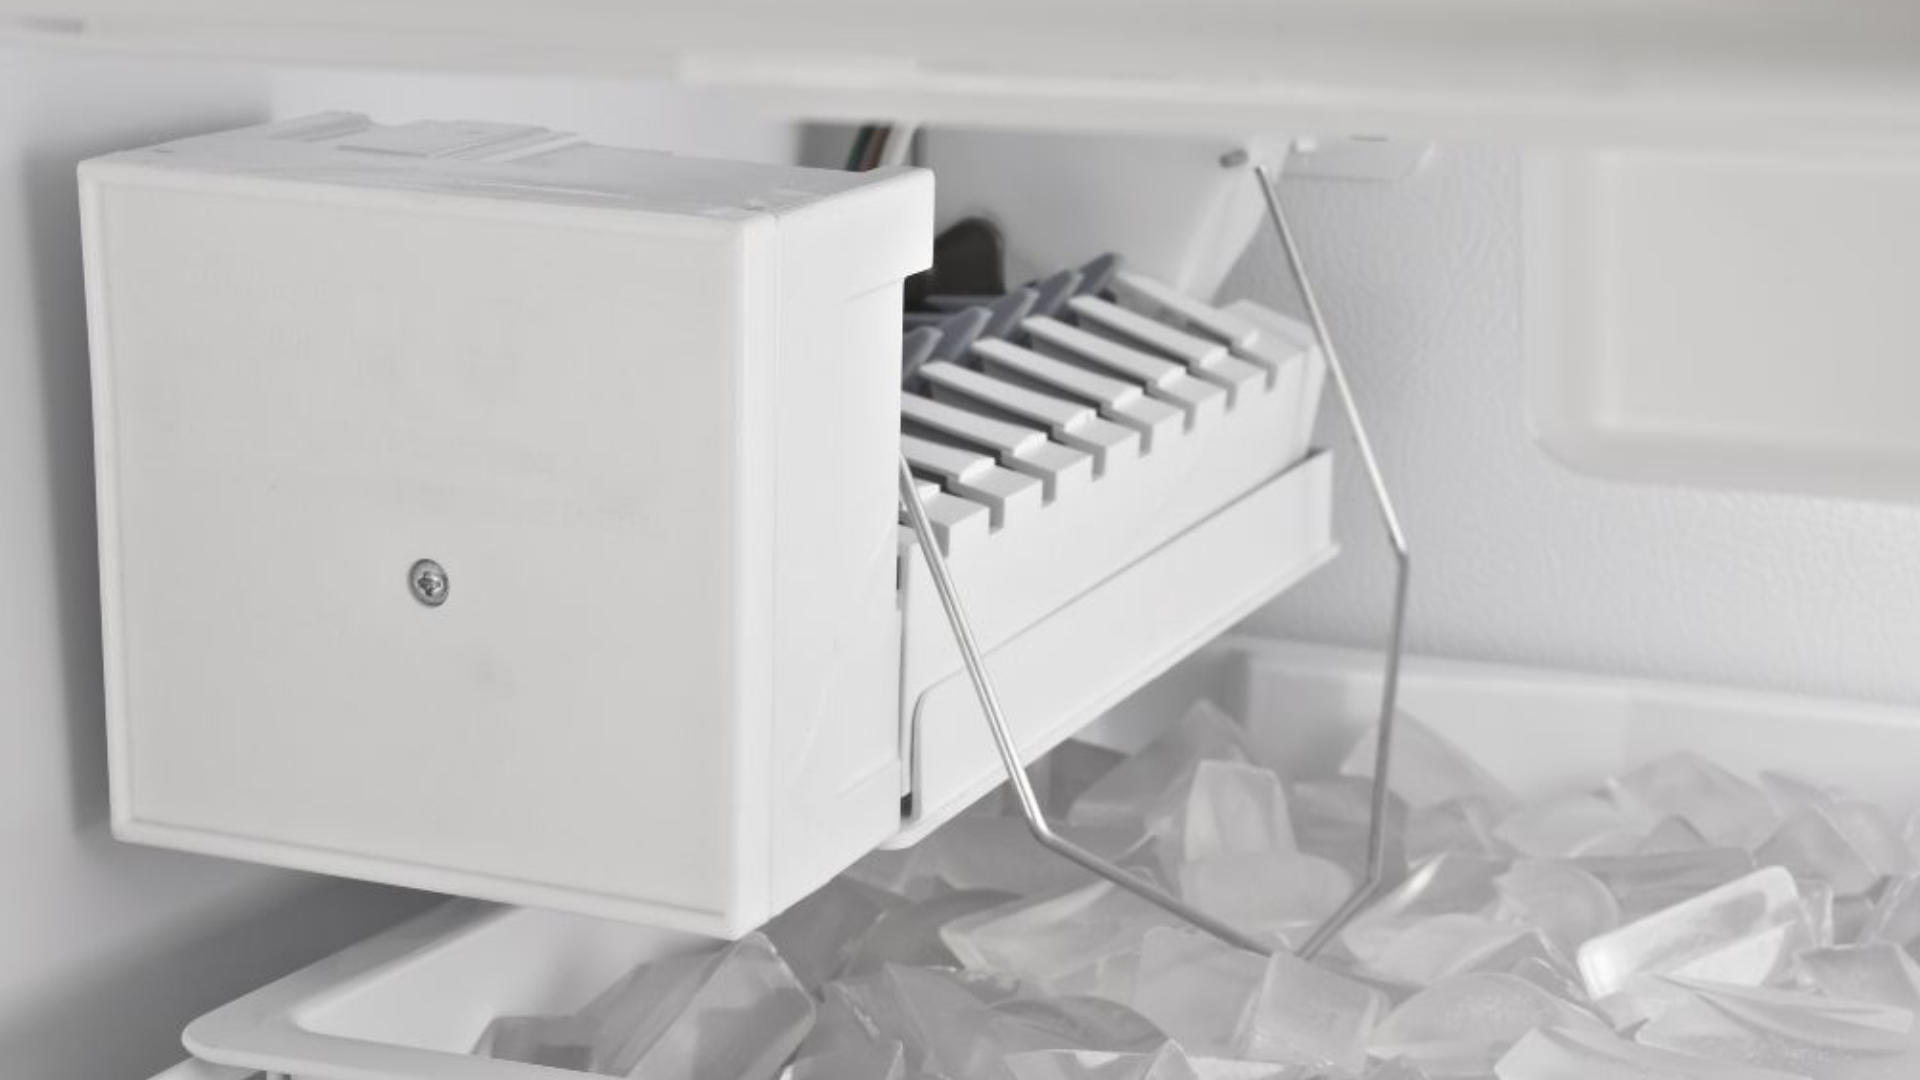
How to Clean a Refrigerator Ice Maker With a Water Filter
The refrigerator water filter affects ice quality. An old or clogged filter may cause slow ice production, odd taste, or cloudy ice. Follow the refrigerator manual for the correct replacement filter and schedule.
Most filters should be replaced based on time, water use, or a filter warning light. The exact timing varies by model. After installing a new filter, flush the recommended amount of water through the dispenser before making ice.
Do not wash and reuse a disposable water filter. Some models use washable filters, but those are less common and must be handled according to the manufacturer’s instructions.
When cleaning a refrigerator ice maker, inspect the filter area for leaks. Water around the filter housing can create damp conditions that lead to odor, residue, or ice clumping.

How Often Should You Clean a Refrigerator Ice Maker?
For most homes, clean the ice bin and dispenser area once a month. A deeper cleaning every three to six months is a sensible routine if the ice maker works normally.
Clean it sooner when:
• Someone in the home has been ill
• Ice develops an odor or strange taste
• The bin has spilled food or liquid nearby
• You see mold, slime, or scale
• The refrigerator has been unused for a long time
• The ice maker has been turned off for several weeks
Homes with hard water, pets, frequent cooking, or heavy ice use may need more frequent care. A quick monthly inspection often prevents a larger cleaning job later.
Common Mistakes to Avoid
One common mistake is cleaning only the ice bucket. The bin matters, but the dispenser chute, ice maker housing, and nearby freezer surfaces also collect residue.
Another mistake is using hot water on frozen plastic. Warm the part slowly and avoid extreme temperature changes. Forcing a stuck bin can break the rails, auger, or support points.
Avoid these errors:
• Spraying cleaner directly into the ice maker
• Using a knife to remove frozen ice
• Returning the bin while it is still wet
• Keeping old ice after a deep cleaning
• Using bleach without checking the manual
• Ignoring a leaking water line
• Touching ice with dirty hands
• Failing to discard the first fresh batches
A simple cleaning mistake can create a bigger repair. Gentle tools, small amounts of cleaner, and careful drying are safer than aggressive scrubbing.
When Cleaning Is Not Enough
Cleaning will not solve every ice maker problem. If the unit still makes bad tasting ice after a full cleaning and filter change, the water supply, filter housing, or internal tubing may need inspection.
Call a qualified technician if you notice:
• Water leaking inside or under the refrigerator
• Burning smells or damaged wires
• Repeatedly frozen fill tubes
• Loud grinding or clicking
• An ice maker that will not cycle
• A dispenser that stays stuck
• Mold returning soon after cleaning
• Cracked food contact parts
Before requesting service, record the refrigerator model number and note what you have already cleaned. This gives the technician useful information and may shorten the diagnosis.
Do not remove sealed panels or work around live electrical parts unless you have the proper training. Manufacturer instructions take priority because refrigerator designs vary widely.
Practical Tips for Better Tasting Ice
Fresh ice depends on more than a clean ice maker. Keep strong smelling foods covered because ice can absorb freezer odors. Store onions, fish, leftovers, and open packages in sealed containers.
Keep the freezer near the temperature recommended by the manufacturer, often around 0°F. A freezer that is too warm may create wet, clumped ice, while a temperature problem can also affect food safety.
Wash your hands before touching the ice bin or dispenser. If your refrigerator has a removable scoop, wash and dry it often. Never use a drinking glass, dirty cup, or utensil that has touched food to handle ice.
One practical habit is to check the ice bin whenever you refill groceries. If the ice looks wet, smells unusual, or has formed a large block, clean the bin before adding more ice.
Frequently Asked Questions About How to Clean a Refrigerator Ice Maker
Can I use vinegar to clean a refrigerator ice maker?
You may use diluted white vinegar for light mineral buildup if the refrigerator manual permits it. Rinse the area with clean water afterward, and never mix vinegar with bleach or other cleaning products.
How do I clean mold from an ice maker?
Turn off the ice maker, discard the ice, and wash removable parts with warm water and mild dish soap. Clean the dispenser chute and surrounding surfaces, dry everything completely, and contact a technician if mold returns quickly.
Should I throw away the first ice after cleaning?
Yes, discard the first one or two batches after cleaning. This helps remove loose residue and ensures the new ice has a clean taste.
Can I spray cleaner inside the ice maker?
No, avoid spraying liquid directly into the ice maker. Apply a small amount of cleaner to a cloth instead, and keep liquid away from electrical parts and control boards.
How often should I clean my refrigerator ice maker?
A monthly wipe and inspection works well for many households. Complete a deeper cleaning every three to six months, or sooner if you notice odors, slime, mold, scale, or clumped ice.
Why does my ice taste bad after cleaning?
Bad tasting ice may come from an old water filter, freezer odors, soap residue, or a contaminated water supply. Replace the filter if needed, rinse the bin well, discard fresh batches, and request service if the taste continues.
Conclusion
Learning how to clean a refrigerator ice maker is simple when you use a gentle, complete routine. Turn the unit off, discard old ice, wash the bin, wipe the chute and housing, remove mineral buildup carefully, rinse, dry, and make fresh ice before regular use.
Clean the ice maker monthly, replace the water filter as directed, and investigate leaks or recurring mold instead of simply wiping them away. Set aside a few minutes during your next kitchen cleaning session, and share your own refrigerator care tips in the comments.