
To sharpen knives with a knife sharpener, place the blade at the right angle and make slow, even passes.
A dull knife can slip, crush food, and turn simple cooking into hard work. Learning how to sharpen knives with a knife sharpener helps restore a clean edge without needing expensive tools or professional service. This guide explains the safest method for manual, electric, and pull-through sharpeners, with practical tips to help you avoid common mistakes.
What Knife Sharpening Really Does
Knife sharpening removes a small amount of metal from the blade to create a new cutting edge. Over time, the edge bends, wears down, or becomes uneven. A sharpener corrects that damage by grinding the two sides of the blade into a meeting point.
Sharpening is different from honing. Honing mostly realigns a slightly bent edge, while sharpening removes metal and rebuilds the edge. A honing rod can help maintain a knife, but it cannot fix a very dull or damaged blade.
The best method depends on your knife and sharpener. Manual pull-through sharpeners are simple, electric models work quickly, and guided sharpeners offer more control. Whichever tool you use, steady pressure matters more than speed.

Choose the Right Knife Sharpener
Before learning how to sharpen knives with a knife sharpener, identify the type of sharpener you have. Each design works in a slightly different way.
Manual pull-through sharpener
A manual sharpener usually has one or more slots. The slots may contain ceramic rods, carbide plates, or diamond abrasives.
It is easy to use and often includes:
• A coarse slot for dull knives
• A fine slot for polishing the edge
• A fixed angle for easier sharpening
Use light pressure. Pressing hard can remove too much metal and may create a rough edge.
Electric knife sharpener
An electric sharpener uses rotating abrasive wheels. It can sharpen a knife fast, but it requires care.
Electric models are useful when:
• The knife is very dull
• You want a guided angle
• You sharpen several knives at once
Do not push the blade through the slot. Let the machine guide the knife at its normal speed. Too much pressure can overheat the edge or grind away more steel than needed.
Guided sharpening system
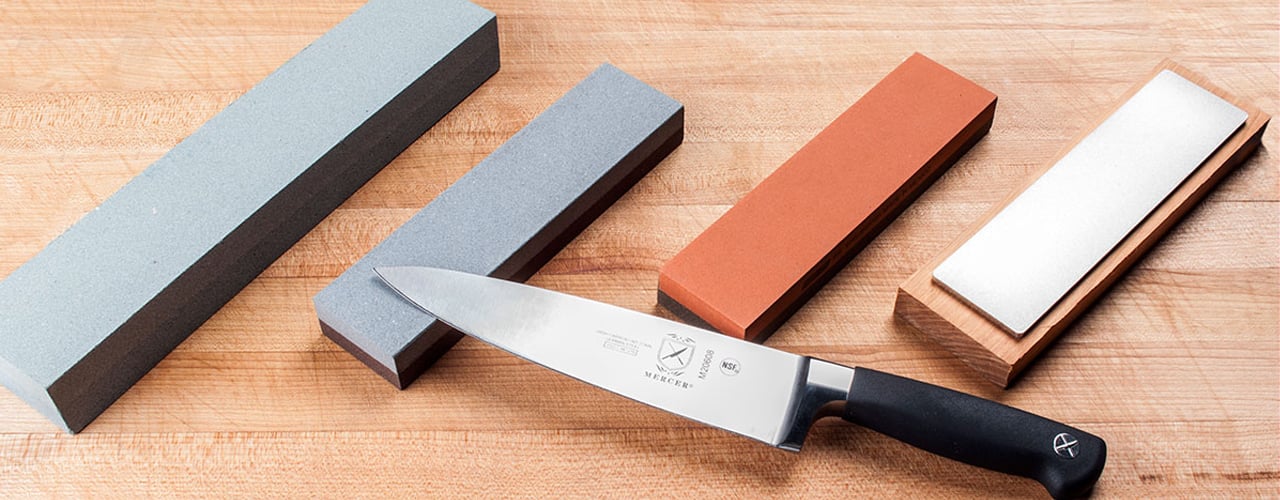
A guided system holds the knife at a set angle. It may use diamond plates, ceramic stones, or abrasive rods.
This type offers excellent control, but it takes more time to learn. It is a good choice for high-quality kitchen knives, outdoor knives, and anyone who wants a precise edge.
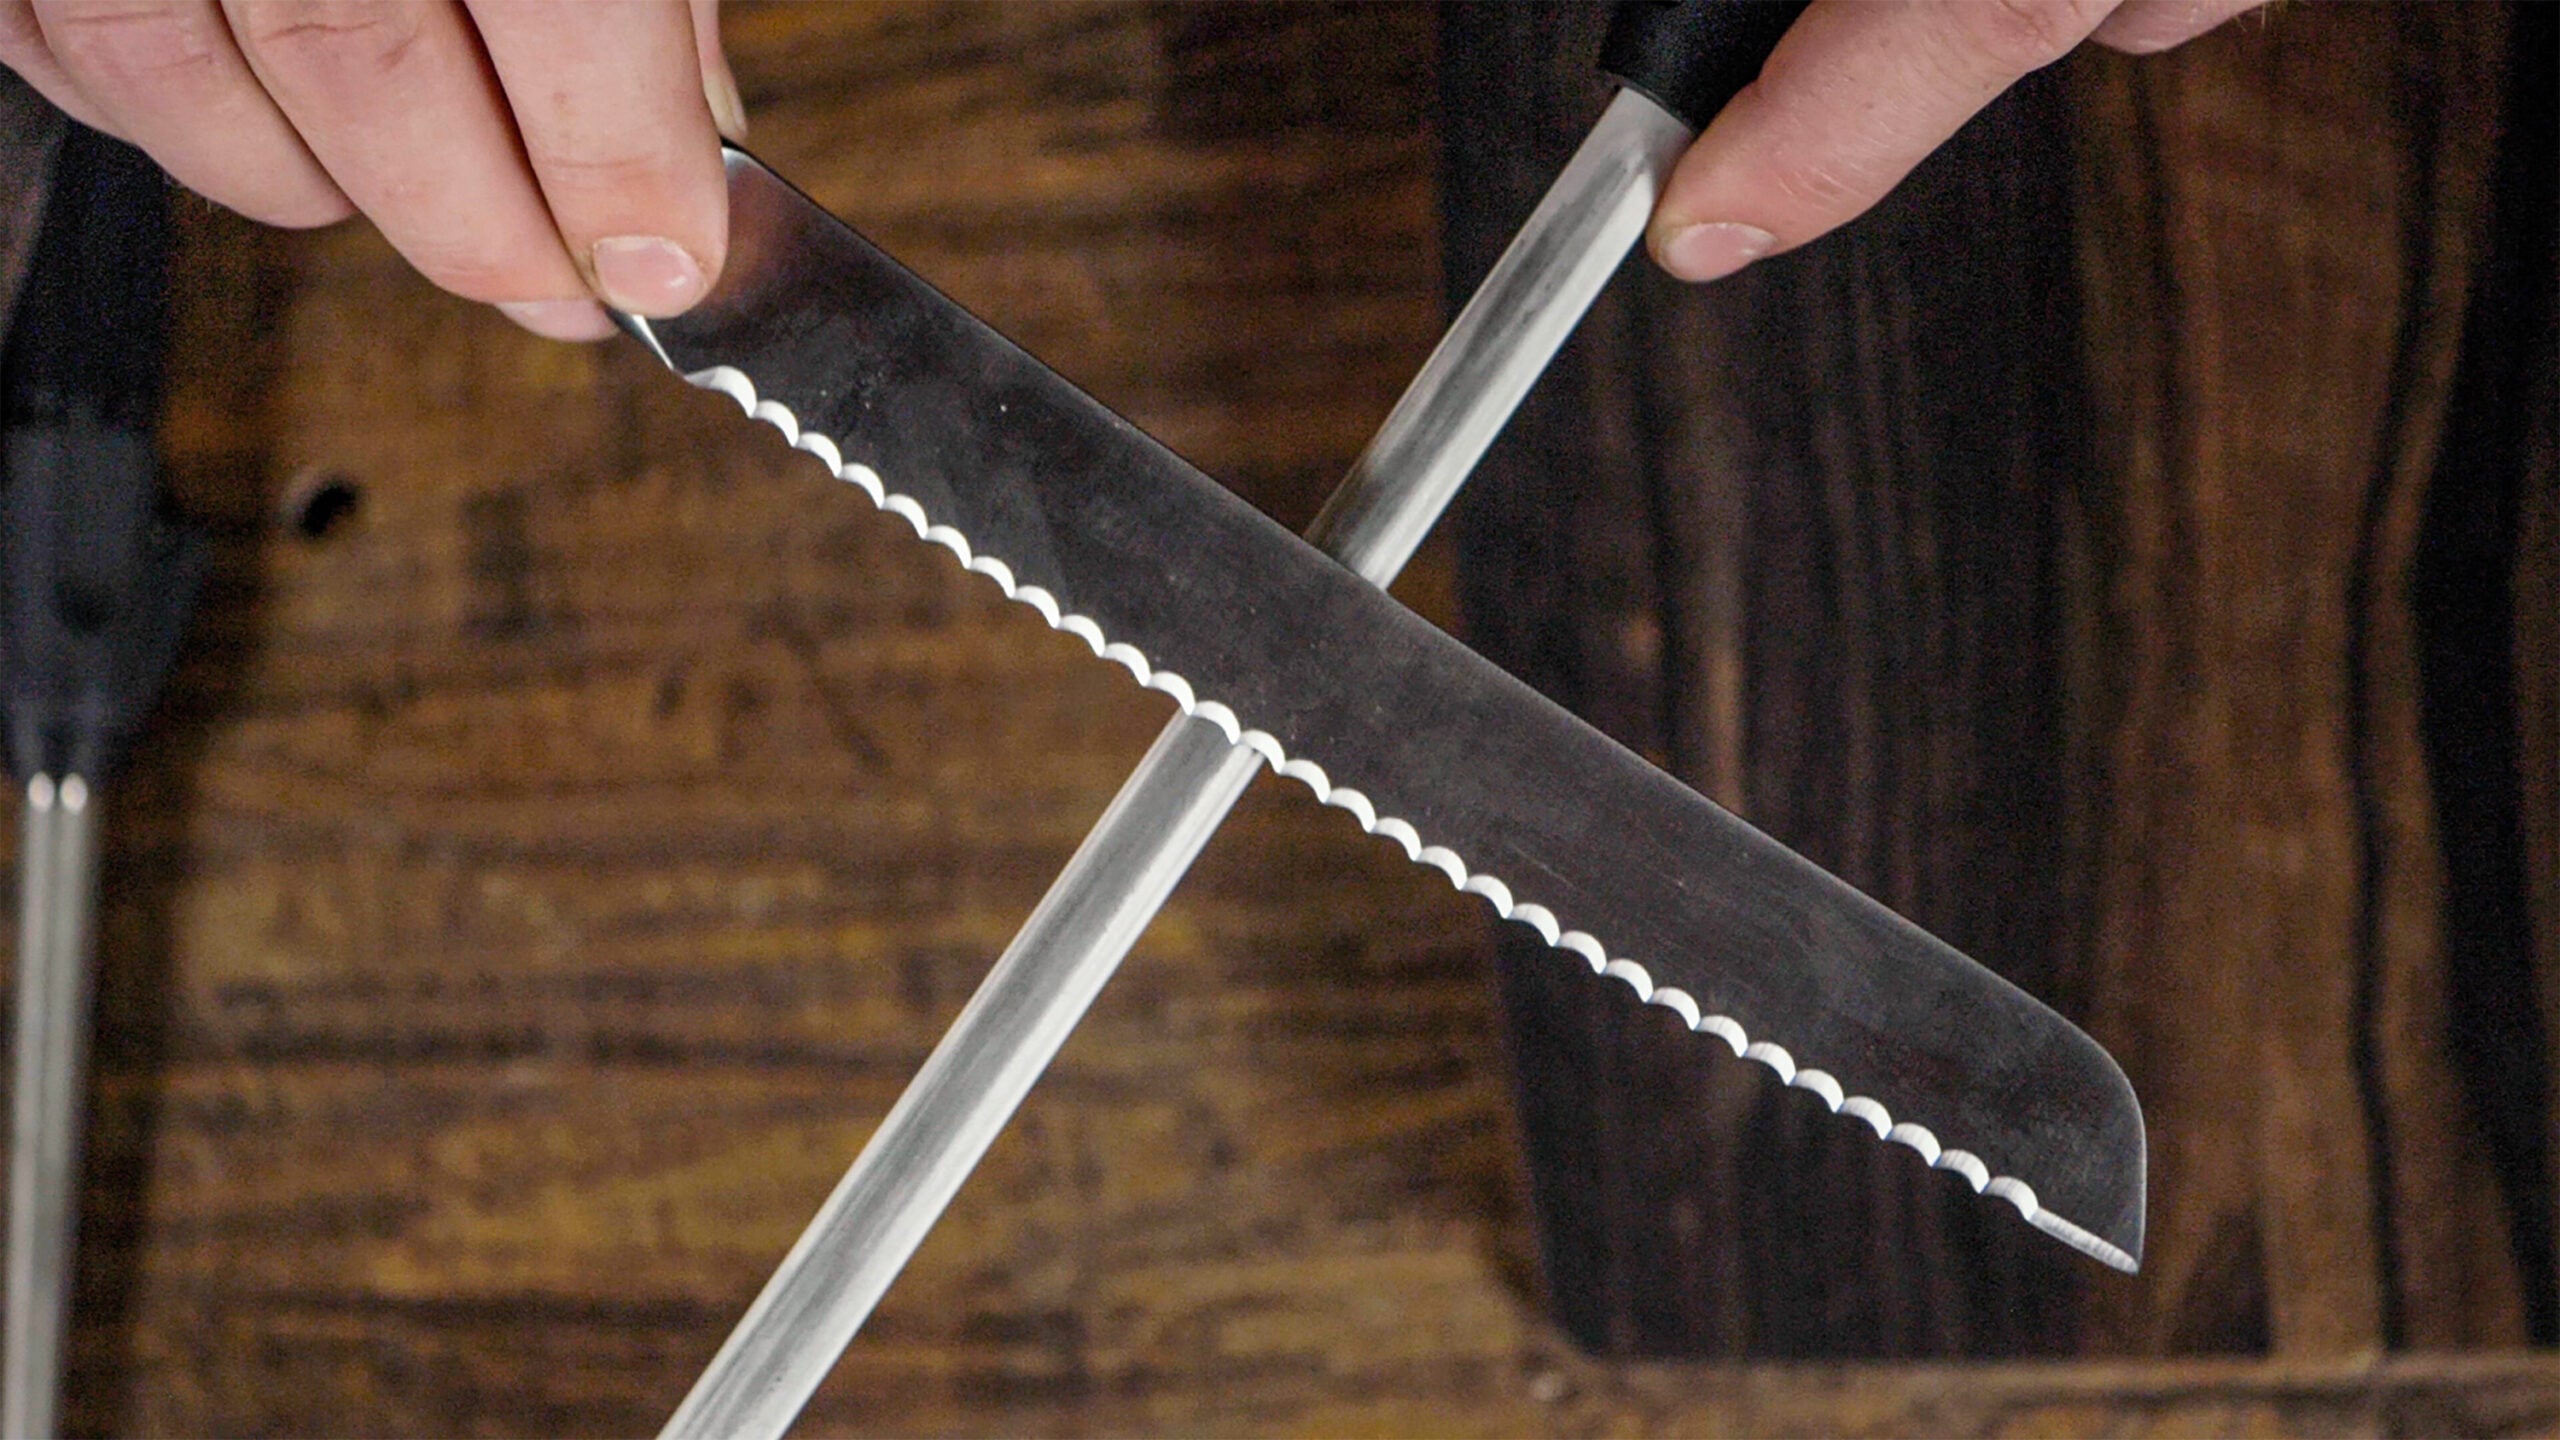
Honing rod
A honing rod is not usually a true sharpener. It helps straighten a slightly misaligned edge.
Ceramic rods can remove a tiny amount of metal, while steel rods mainly realign the edge. Use a honing rod between sharpening sessions, not as a replacement for sharpening a very dull knife.
Prepare the Knife and Work Area
Safety should come before sharpening. A loose knife or unstable sharpener can cause a cut in seconds.
Start by cleaning and drying the blade. Food, oil, and moisture can make the knife harder to control. Place the sharpener on a flat surface with good light.
Use these preparation steps:
-
Check the blade for chips, cracks, or bends.
-
Read the sharpener’s instructions.
-
Place the sharpener on a dry, stable counter.
-
Keep your fingers behind the sharpener and away from the blade.
-
Make sure children and pets are away from the work area.
-
Wear cut-resistant gloves if you are still learning.
Do not sharpen a knife while holding the sharpener in your hand. The tool should stay on the counter unless the manufacturer clearly designed it for handheld use.
A badly chipped or bent knife may need professional repair. Sharpening a damaged blade with a basic pull-through tool can make the edge uneven or remove too much metal.

How to Sharpen Knives With a Manual Sharpener
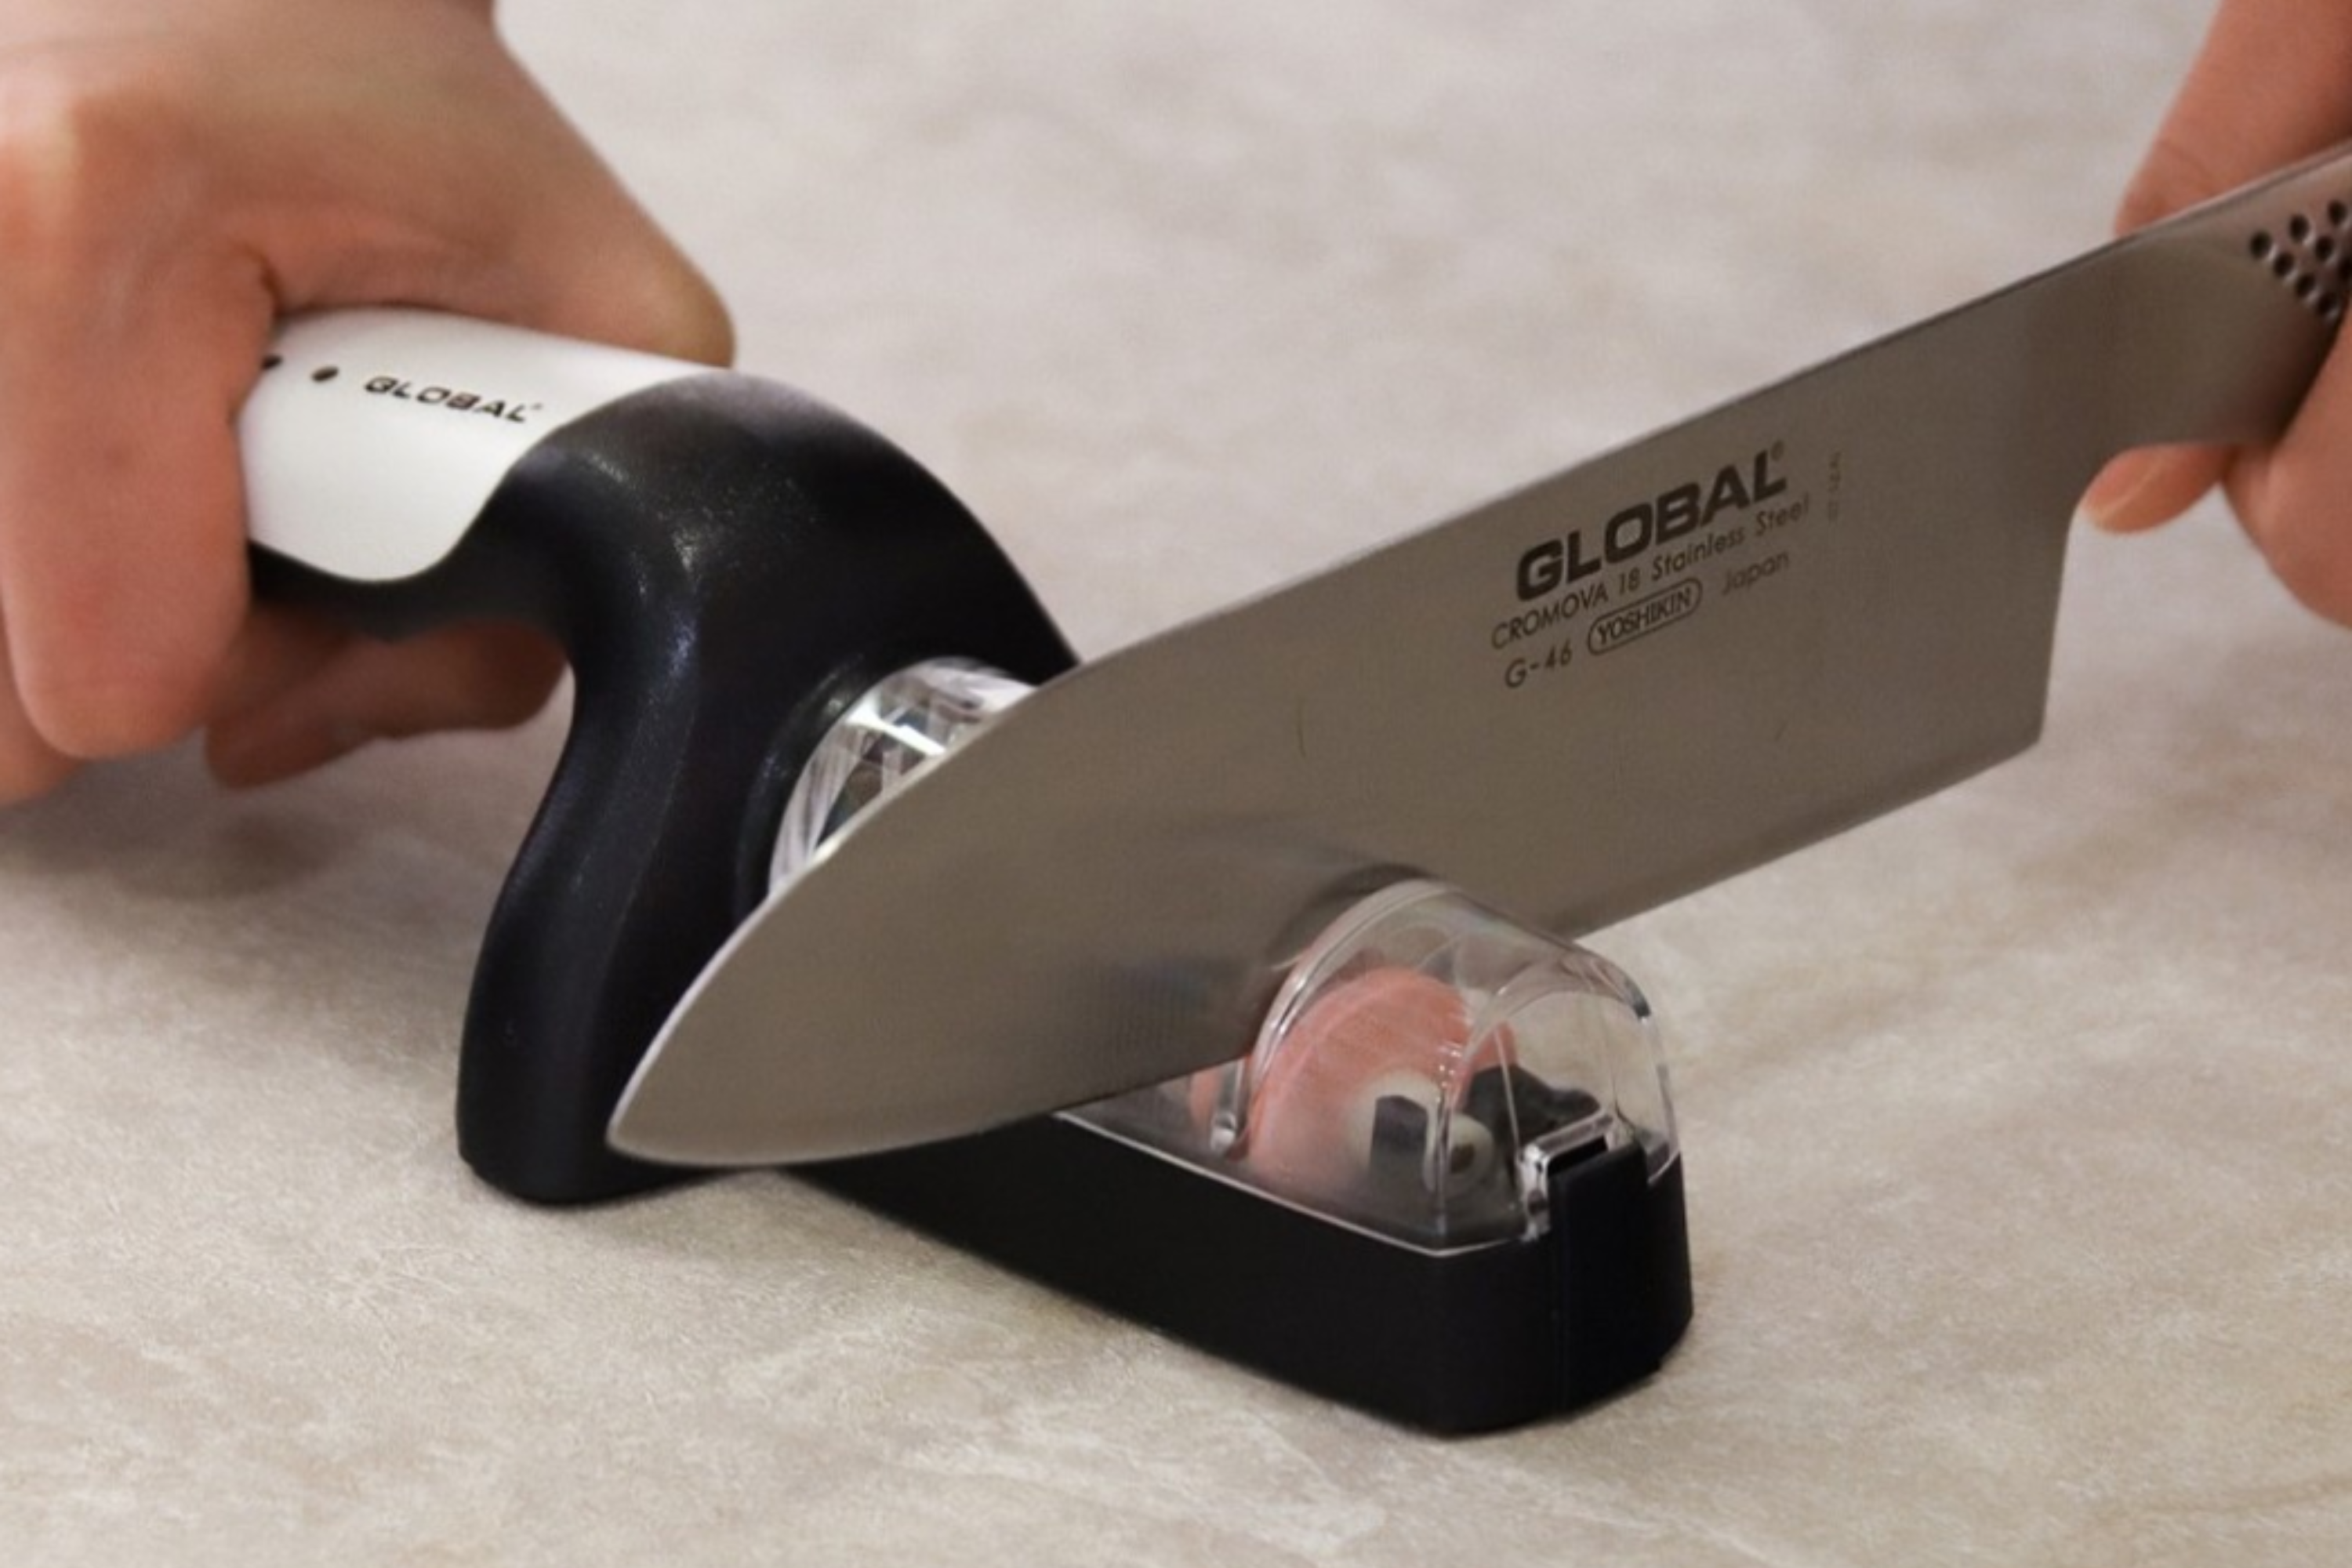
A manual pull-through sharpener is one of the easiest tools for home cooks. The key is to keep the blade straight and use the correct slot.
Follow these steps:
-
Place the sharpener on a stable surface.
-
Identify the coarse and fine slots.
-
Start with the coarse slot only if the knife is very dull.
-
Hold the knife by its handle.
-
Place the heel of the blade into the slot.
-
Keep the blade vertical unless the instructions state otherwise.
-
Pull the knife toward you in one smooth motion.
-
Continue from the heel to the tip.
-
Repeat the pass according to the manufacturer’s instructions.
-
Move to the fine slot to polish the edge.
Never move the knife back and forth inside the slot. That motion can damage the abrasive parts and create an uneven edge. Lift the knife after each pass and start again at the heel.
Use three to six passes in most cases, but follow the instructions for your model. Some sharpeners need only a few passes. Others may need more for a very dull blade.
When learning how to sharpen knives with a knife sharpener, many people make one mistake: they lift the handle as they reach the tip. Keep the blade path smooth and level. Let the tip follow the curve of the sharpener instead of forcing it down.
How to Use an Electric Knife Sharpener
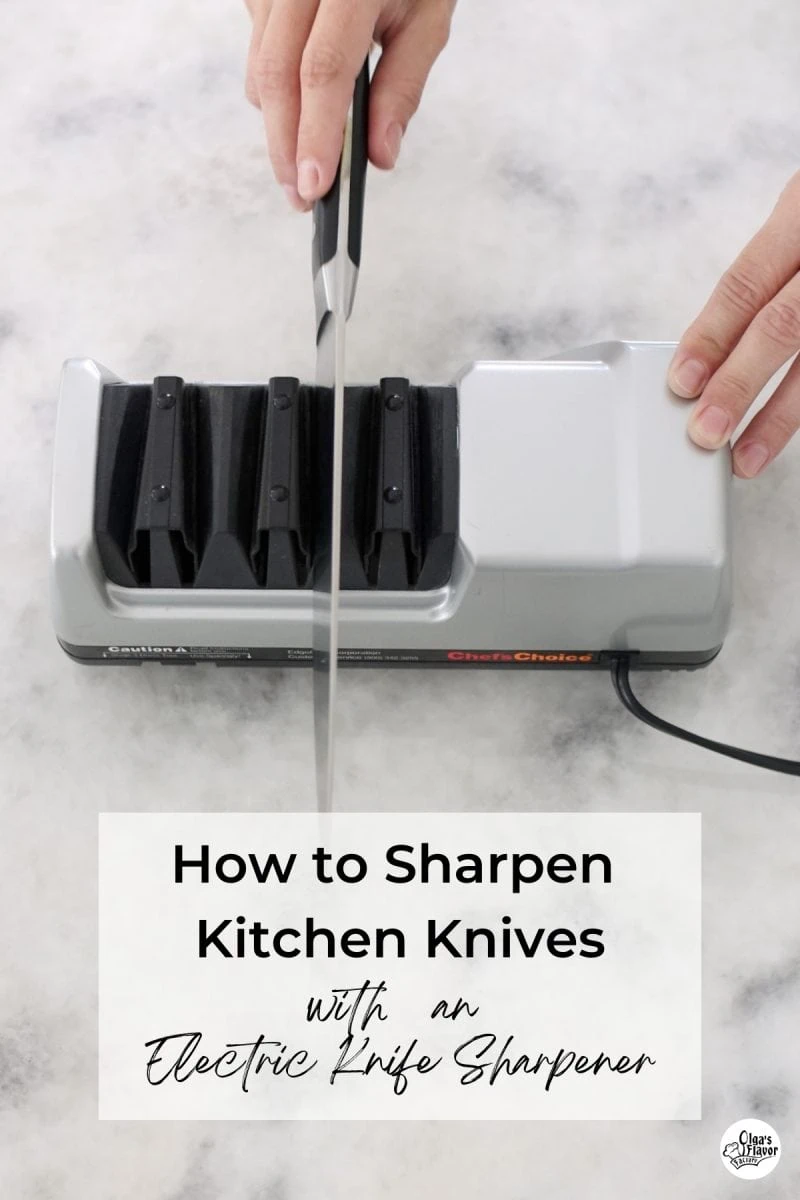
Electric sharpeners can produce fast results, but they need a gentle touch. Read the manual first because slot design, angle, and pass speed vary by model.
Use this basic process:
-
Turn on the sharpener.
-
Hold the knife firmly by the handle.
-
Place the heel into the correct slot.
-
Pull the knife through at a slow, even speed.
-
Keep light downward pressure.
-
Repeat on the other side if the machine requires it.
-
Use the fine polishing stage.
-
Wipe the blade clean after sharpening.
Do not stop the blade in the slot. A stopped blade can create an uneven spot or excessive heat. Avoid using an electric sharpener on thin, flexible, serrated, or specialty blades unless the manufacturer says it is safe.
Heat can affect the temper of some steels. Home electric sharpeners are unlikely to cause serious heat damage when used correctly, but forcing the blade through the wheel increases the risk.
Electric sharpeners also remove metal quickly. For that reason, use the coarse stage only when needed. For regular maintenance, the fine stage may be enough.

How to Sharpen Knives With a Guided Sharpener
A guided sharpener gives you more control over the sharpening angle. Many kitchen knives use an edge angle between about 15 and 20 degrees per side, but the correct angle depends on the knife design.
A thinner angle can create a very sharp edge, but it may be less durable. A wider angle may last longer, especially on work knives or knives used on hard foods.
To use a guided sharpener:
-
Secure the knife or sharpening guide.
-
Select the correct angle.
-
Start with a coarse abrasive only when needed.
-
Move the abrasive from heel to tip.
-
Use equal strokes on both sides.
-
Change to a finer abrasive.
-
Remove any remaining burr with light finishing strokes.
A burr is a tiny strip of metal that forms along the opposite side of the edge. You may feel it by carefully brushing a fingertip from the spine toward the edge, never along the edge. A consistent burr usually means the abrasive has reached the full edge.
Do not chase a burr by using heavy pressure. Light finishing strokes are safer and help keep the edge clean.
How Many Passes Should You Make?
There is no single number that works for every knife. The needed passes depend on the blade’s condition, the sharpener’s abrasive, and the pressure used.
As a general guide:
• Very dull knife: Begin with three to six coarse passes per side.
• Moderately dull knife: Use two to four medium passes per side.
• Slightly dull knife: Use a few fine passes per side.
• Routine maintenance: Use a honing rod or fine stage as needed.
Stop when the knife cuts paper smoothly or slices a soft food without crushing it. Do not keep sharpening simply because the blade feels sharper. Extra passes remove useful metal and can shorten the knife’s life.
When I explain how to sharpen knives with a knife sharpener, I compare the process to sanding wood. You use enough pressure to shape the surface, not so much that you gouge it. The same idea applies to a knife edge.
Test the Knife Safely
A sharp knife should cut with little force. You do not need risky tests to check the edge.
Try one of these safer methods:
• Slice a sheet of paper away from your body.
• Cut a ripe tomato using the knife’s weight.
• Slice a soft onion without pressing hard.
• Cut a piece of cardboard if the knife is designed for rough work.
Do not test sharpness by running your thumb along the blade. That test can cause a serious cut. Also avoid shaving arm hair, since it does not always show how well a kitchen knife will perform.
If the knife tears paper, crushes a tomato, or needs strong pressure, it may need another light pass. If it catches or feels rough, the edge may have a burr or uneven section.
:max_bytes(150000):strip_icc()/faw-primary-knife-sharpeners-aug-24-nsimpson-89-1-617608fed6bf49e5831273cd2e7e0c69.jpeg)
Common Knife Sharpening Mistakes
Even a good sharpener can produce poor results when used incorrectly. Avoid these common errors.
Using too much pressure
Heavy pressure grinds away metal quickly. It can also make the edge uneven. Let the abrasive do the work.
Using the wrong slot
Starting with a coarse slot every time can shorten the blade’s life. Use coarse abrasives for serious dullness and fine abrasives for maintenance.
Sharpening at an inconsistent angle
A changing angle creates a rounded or uneven edge. Guided sharpeners help, but you still need a steady motion.
Pulling only one part of the blade
Move from the heel to the tip. Sharpening only the center leaves weak or dull areas near the ends.
Ignoring the burr
A burr can make a knife feel sharp on one side while the edge remains unstable. Finish with light strokes on both sides.
Sharpening dirty knives
Food and grease can clog abrasive surfaces. Clean the blade before and after sharpening.
Using a sharpener on the wrong knife
Serrated knives, ceramic knives, Japanese single-bevel knives, and thin specialty blades may need specific tools. Check the manufacturer’s guidance before using a standard sharpener.

How Often Should You Sharpen a Knife?
How often to sharpen depends on use, blade steel, cutting board material, and storage. A home cook may need to sharpen a main chef’s knife every few months, while a busy cook may need it more often.
Use a honing rod between sharpening sessions if the knife edge is only slightly misaligned. Sharpen when honing no longer restores performance.
Your knife may need sharpening when:
• It slips on tomato skin.
• It crushes herbs instead of slicing them.
• It needs extra force.
• It feels rough during a cut.
• It catches in food.
Avoid cutting on glass, stone, marble, or ceramic plates. These hard surfaces can dull a knife quickly. Wood and quality plastic cutting boards are usually friendlier to knife edges.
Store knives in a block, sheath, or magnetic strip. Do not leave them loose in a drawer, where the edges can hit other tools.
Manual Versus Electric Knife Sharpeners
Both types can work well, but they suit different needs.
Manual sharpener benefits
• Low cost
• Easy to store
• No power needed
• Good control for light maintenance
• Simple for occasional home use
Manual sharpener limitations
• Fixed angles may not suit every knife
• Coarse abrasives can remove too much metal
• Cheap models may create uneven edges
Electric sharpener benefits
• Fast results
• Helpful for very dull knives
• Easy for people who struggle to hold an angle
• Useful for frequent kitchen work
Electric sharpener limitations
• Costs more
• Can remove metal quickly
• May not work with specialty blades
• Requires electricity and careful technique
For most home cooks, a quality manual sharpener is enough. An electric model may be useful if you sharpen many knives or prefer a guided process.
Evidence-Based Tips for Better Results
Knife care advice often includes myths, so it helps to focus on basic principles supported by blade makers and professional sharpening practice. A sharp edge is created through controlled abrasion, consistent angle, and careful removal of the burr.
Research on cutting tools and blade geometry shows that edge angle affects both sharpness and durability. A very thin edge can cut well but may roll or chip sooner. A more durable edge usually sacrifices a small amount of cutting ability for strength.
Keep these principles in mind:
• Use the smallest amount of metal removal needed.
• Match the sharpener to the blade type.
• Keep the angle steady.
• Finish with a fine abrasive.
• Clean away metal particles after sharpening.
• Replace a damaged sharpener instead of forcing it to work.
Manufacturers’ instructions are the best authority for a specific sharpener. Product designs differ, and a method that works for one tool may not suit another.
Frequently Asked Questions About How to Sharpen Knives With a Knife Sharpener
How often should I sharpen my kitchen knives?
Most home cooks can sharpen a frequently used knife every few months. Sharpen it sooner if it slips, crushes food, or needs extra pressure.
Is a pull-through knife sharpener safe for expensive knives?
It can be safe when the sharpener matches the knife and you use light pressure. For premium, thin, single-bevel, or handmade knives, a guided system or professional service may be safer.
Should I wet a knife sharpener before using it?
Most manual and electric sharpeners should be used dry. Only wet a sharpener if the manufacturer specifically says it is water-based or designed for wet use.
Can I sharpen a serrated knife with a regular sharpener?
Usually, no. Serrated blades need a tapered ceramic rod or a sharpener made for serrations because each tooth has a separate cutting edge.
How do I know when to stop sharpening?
Stop when the knife cuts paper or soft food with little pressure and no tearing. Continued sharpening removes metal without improving the edge.
Is a honing rod the same as a knife sharpener?
No. A honing rod mainly realigns a slightly bent edge, while a sharpener removes metal to form a new edge. A ceramic rod can sharpen lightly, but it is still not a replacement for a full sharpening tool.
Conclusion
Learning how to sharpen knives with a knife sharpener is mostly about control, patience, and using the right tool. Clean the blade, secure the sharpener, keep a steady angle, use light pressure, and finish with a fine pass. Avoid coarse sharpening unless the knife is truly dull, and always test the edge safely.
With regular care, your knives can stay safer, easier to use, and more enjoyable in the kitchen. Practice on an ordinary knife first, then apply the same careful method to your favorite blades. Explore more knife care guides or share your sharpening tips in the comments.