
To fix an ice maker, check its power, water supply, temperature, ice blockage, and internal parts in that order.
Learning how to fix an ice maker is often easier than it seems. Most problems come from a blocked water line, a warm freezer, a stuck ice mold, or a simple reset issue. This guide explains how to fix an ice maker safely, with clear steps, practical checks, and tips that help you know when a repair is worth trying and when to call a professional.
Safety First Before You Fix an Ice Maker
An ice maker uses electricity, water, and moving parts. That mix requires care. Before you begin, unplug the refrigerator or switch off its circuit breaker if you need to remove covers or touch wiring.
Keep these safety rules in mind:
• Unplug the refrigerator before testing internal electrical parts.
• Never use a knife or sharp tool to remove stuck ice.
• Do not bypass safety switches or force the ice maker motor.
• Close the water supply valve before removing a water line.
• Wear gloves when handling sharp metal panels or frozen parts.
• Keep water away from outlets, plugs, and exposed wiring.
A refrigerator can hold a charge for a short time after you unplug it. Avoid touching exposed circuit boards or terminals unless you know how to test them safely. If you smell burning plastic, see melted wires, or hear repeated electrical clicking, stop and contact a qualified appliance technician.

How an Ice Maker Works
Understanding the basic cycle makes it easier to learn how to fix an ice maker. A typical refrigerator ice maker follows a simple process:
-
A thermostat or electronic sensor checks the ice mold temperature.
-
The water valve opens and fills the mold.
-
The water freezes into cubes.
-
A small heater loosens the ice from the mold.
-
Ejector fingers push the cubes into the ice bin.
-
A shutoff arm or sensor stops production when the bin is full.
If one step fails, the ice maker may stop making ice, produce small cubes, overflow, or become stuck. The problem may be inside the ice maker, but it may also come from the freezer temperature, water filter, inlet valve, or control board.
Most home ice makers need a freezer temperature near 0°F. Some models can work at slightly warmer temperatures, but ice production often slows when the freezer rises above about 10°F. A freezer thermometer gives a more accurate reading than the refrigerator display alone.

Common Reasons an Ice Maker Stops Working
Before you start taking parts apart, look for the most common causes. This quick check can save time and prevent unnecessary repairs.
• The ice maker is turned off. Many models have a switch, wire arm, or digital setting that stops production.
• The freezer is too warm. Poor airflow, a weak door seal, or a dirty condenser can raise the temperature.
• The water supply is blocked. A closed valve, kinked tube, or frozen fill tube can stop water from entering.
• The water filter is clogged. An old filter can reduce water flow and cause small or hollow cubes.
• Ice is stuck in the mold. A frozen lump can prevent the ejector from moving.
• The ice bin is full or out of position. Some models will not run unless the bin sits correctly.
• The door switch is faulty. The ice maker may not work if the refrigerator thinks the door is open.
• The inlet valve is defective. The valve may hum but fail to send water into the mold.
• The ice maker motor or control board has failed. This is more common in older units.
One useful lesson is to avoid replacing the ice maker right away. I have seen many “bad ice makers” that only needed a new filter or a thawed fill tube. Start with simple external checks before buying parts.
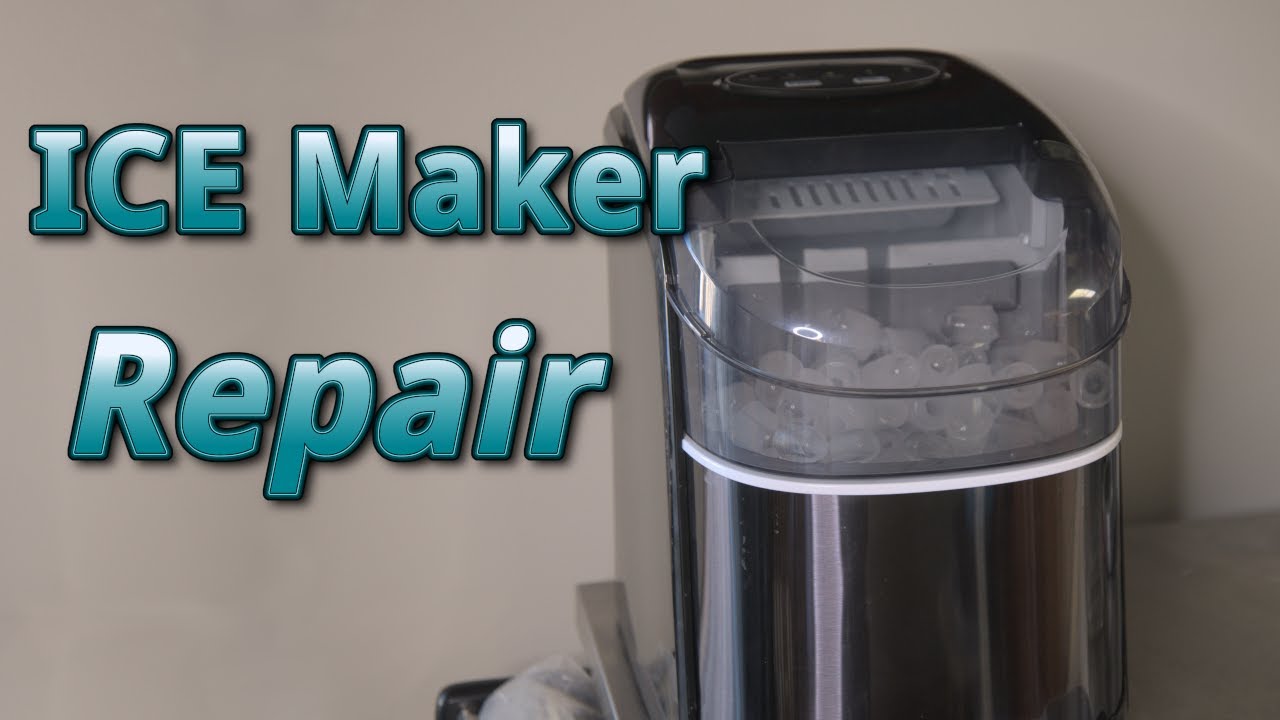
How to Fix an Ice Maker That Is Not Making Ice
Use this step-by-step process when the ice maker is completely inactive.
1. Check the ice maker power setting
Look for an On/Off switch, a wire shutoff arm, or an ice-making button on the control panel. Make sure the feature is enabled.
If your model has a wire arm, it should usually be in the lowered position to make ice. When the arm rises, it tells the appliance that the ice bin is full. Do not push the arm down if ice is already packed against it.
2. Check the freezer temperature
Place a freezer thermometer in the center of the compartment. Wait several hours for a reliable reading.
If the temperature is too high, check these areas:
• Make sure the freezer door closes fully.
• Inspect the door gasket for gaps or tears.
• Keep food from blocking air vents.
• Confirm that the evaporator fan is running when the compressor runs.
• Clean dust from accessible condenser coils.
• Avoid placing hot food inside the freezer.
A freezer that feels cold can still be too warm for steady ice production. Temperature is one of the most important parts of learning how to fix an ice maker.
3. Inspect the water supply
Find the water line behind the refrigerator. Make sure the shutoff valve is open and the line is not bent or crushed.
If the refrigerator uses a saddle valve, inspect it for corrosion or restricted flow. These older valves can clog over time. A licensed plumber may need to replace one if it leaks or does not open fully.
4. Replace or inspect the water filter
Check the filter replacement date. Many refrigerator filters need replacement about every six months, although use and water quality can change that timing.
A clogged filter may cause:
• Small ice cubes
• Slow ice production
• Hollow cubes
• No water entering the ice mold
Install the correct filter for your refrigerator. After replacement, flush the recommended amount of water through the dispenser to remove air and loose carbon particles.
5. Look for a frozen fill tube
The fill tube is the small passage that sends water into the ice mold. If it freezes, the ice maker may cycle without filling.
Unplug the refrigerator before inspecting the area. You can often thaw a frozen tube with a warm towel or a hair dryer on a low setting held well away from water. Never use a heat gun or open flame. Excess heat can damage plastic parts and wiring.
If the tube freezes again, the inlet valve may be leaking slowly, or the freezer may be too warm. Repeated freezing needs a deeper repair.

How to Fix an Ice Maker With Ice Stuck in the Mold
A stuck ice maker often has cubes frozen together or ice packed around the ejector fingers. Do not pry hard. The plastic mold and motor can break.
Follow these steps:
-
Turn off the ice maker.
-
Remove loose ice from the bin.
-
Unplug the refrigerator.
-
Let the stuck ice soften naturally for several minutes.
-
Use a warm, damp cloth to loosen small pieces.
-
Wipe away water before restoring power.
-
Turn the ice maker back on and allow it to complete a cycle.
If the ice mold is full of water but never releases cubes, the mold heater or control system may be faulty. If the ejector fingers stop halfway through a cycle, the motor, gear, or control board may need replacement.
A common mistake is pouring boiling water over the ice maker. This can crack plastic parts or create a sudden temperature shock. Gentle heat is safer and more effective.
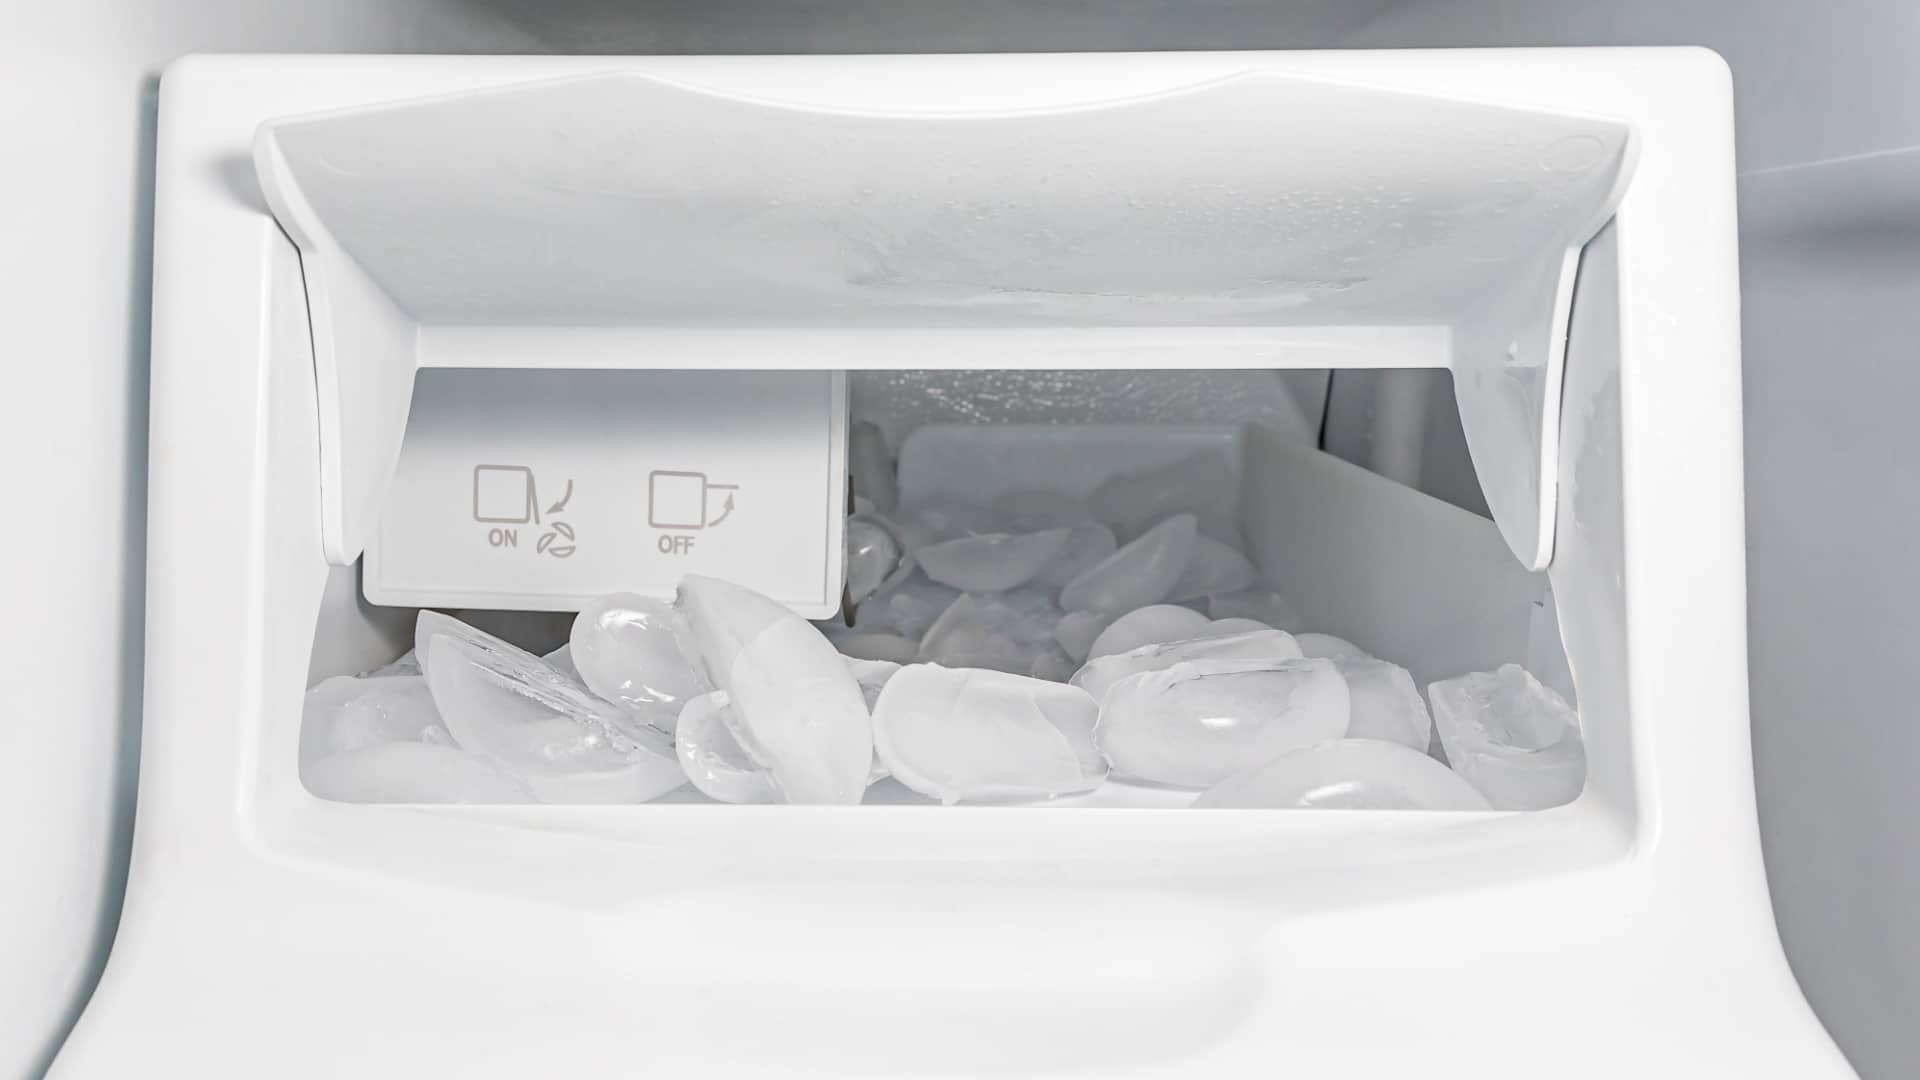
How to Fix an Ice Maker That Makes Small or Hollow Cubes
Small or hollow ice usually points to low water flow. Start with the water filter, supply line, and inlet valve.
Check these items:
• Replace an old or restricted water filter.
• Make sure the water line is fully open.
• Look for kinks behind the refrigerator.
• Test the dispenser flow if your refrigerator has one.
• Check whether the fill tube has partial ice blockage.
• Confirm that the freezer reaches the correct temperature.
Low household water pressure can also affect ice size. Many refrigerators require a minimum water pressure listed in the owner’s manual. If the dispenser is weak and the ice cubes are small, the issue may affect the entire refrigerator water system.
A faulty inlet valve may open only partway. You may hear a buzzing sound, but little or no water reaches the mold. Valve testing involves electrical measurements and water connections, so follow the service manual or hire a technician if you are not comfortable with a multimeter.
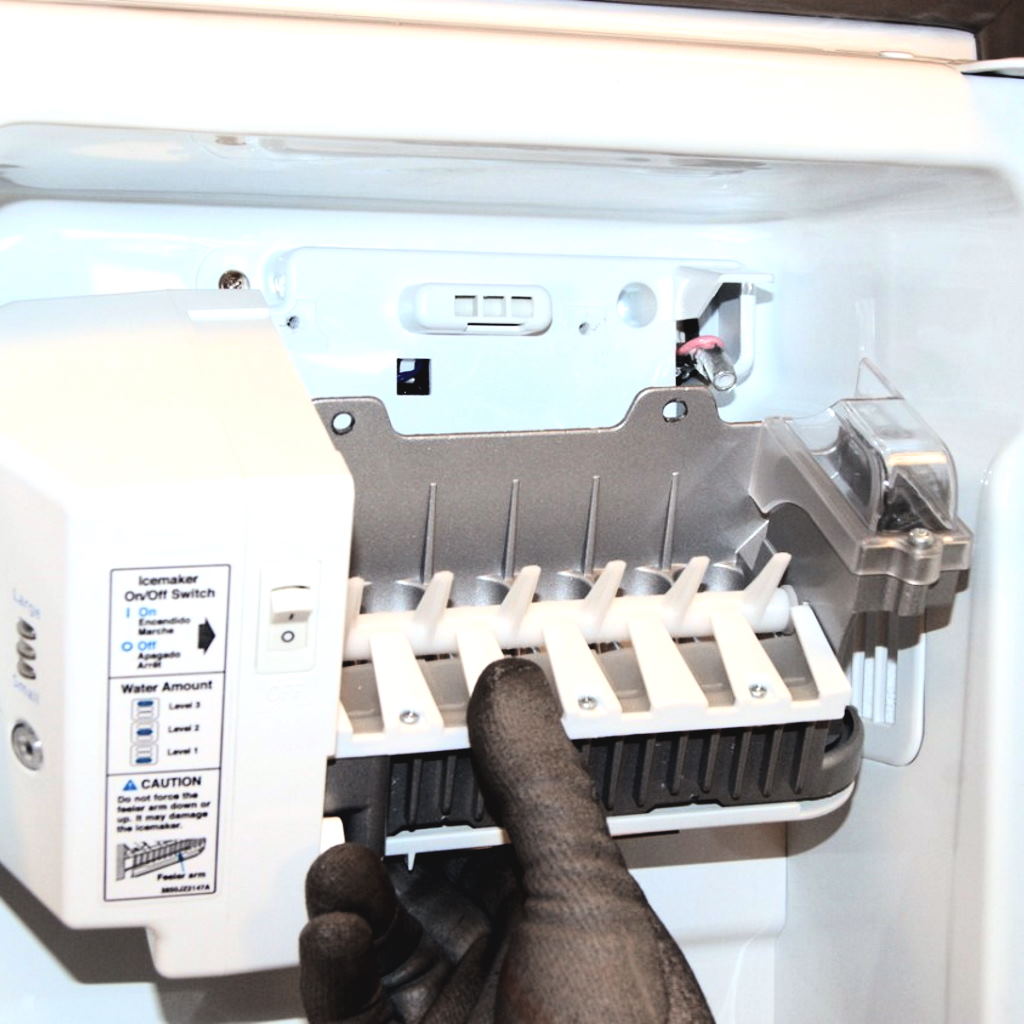
How to Fix an Ice Maker That Leaks or Overflows
An overflowing ice maker usually receives too much water or fails to stop the fill cycle. First, turn off the water supply and unplug the refrigerator.
Inspect the ice mold and fill tube for cracks. A damaged mold can leak water into the freezer. Also check whether the refrigerator is level. A strong tilt can affect how water sits in the mold and may cause spills.
Possible causes include:
• A leaking water inlet valve
• A stuck fill valve
• A cracked ice mold
• A failed shutoff arm
• A defective water-level sensor
• Excessive water pressure
Do not keep using an overflowing ice maker. Water can freeze around shelves, block air vents, and damage food or electrical parts. A new inlet valve or ice maker assembly may solve the problem, but the correct part depends on the model number.
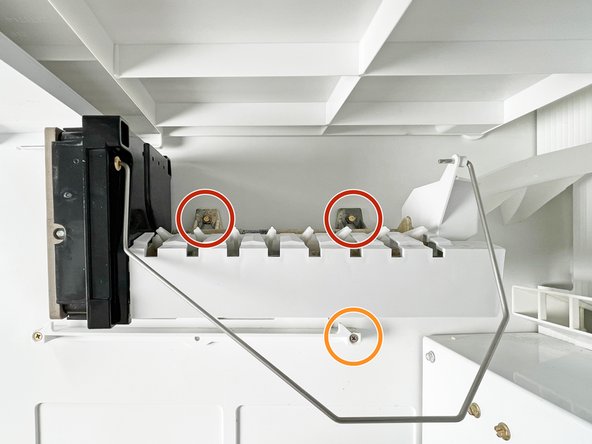
How to Reset an Ice Maker
A reset can clear a temporary control error. It will not repair a broken motor, frozen water line, or failed valve, but it is a useful step.
Common reset methods include:
• Press and hold the reset button for about three seconds.
• Turn the ice maker off, wait five minutes, and turn it back on.
• Unplug the refrigerator for five minutes, then restore power.
• Follow the reset steps printed on the ice maker or listed in the owner’s manual.
After a reset, the ice maker may need several hours before it produces a full batch. Do not press the reset button repeatedly. Some models enter a test cycle, and repeated resets can interrupt normal operation.
If the ice maker does not fill or move after a proper reset, continue with water supply and temperature checks. Resetting alone is not a complete method for how to fix an ice maker.
How to Test the Ice Maker Cycle
Many ice makers have test points or a test button. The location varies by brand and model, so check the service sheet or owner’s manual first.
A test cycle may check:
• The ice maker motor
• The mold heater
• The water valve
• The shutoff arm
• The control circuit
If the test cycle begins and the ejector moves, the motor may be working. If the mold fills with water, the valve and water supply may also be working. If nothing happens, the issue may involve power, the control board, the motor, or a safety switch.
Do not bridge test terminals unless the manufacturer specifically provides that procedure. Incorrect testing can cause a short circuit or damage the control board. When in doubt, use a qualified appliance repair professional.
How to Fix an Ice Maker in a Refrigerator With a Dispenser
A refrigerator ice dispenser has extra parts that can create problems. The ice maker may work correctly while the dispenser does not.
Check the following:
• Confirm that the ice bin is seated correctly.
• Break up clumped ice in the bin.
• Inspect the dispenser chute for a frozen blockage.
• Make sure the dispenser door opens.
• Listen for the auger motor when you press the dispenser lever.
• Check the door switch and dispenser control.
If the auger motor runs but does not move ice, the auger may be frozen into the ice mass or damaged. Remove the bin and let it thaw safely in the sink. Do not use sharp tools near the plastic auger.
If the dispenser does not respond at all, the door switch, control board, wiring, or motor may be at fault. These systems are more complex than a basic ice maker and may require professional diagnosis.
When to Replace the Ice Maker
Replacing the full ice maker assembly can be more practical than repairing individual parts. This is often true when the mold, motor, and control system are built into one sealed unit.
Consider replacement when:
• The motor fails the manufacturer’s test.
• The mold heater does not work.
• The ice maker leaks from a cracked mold.
• The unit has repeated failures.
• Replacement parts cost nearly as much as a complete assembly.
Before ordering a part, record the refrigerator model number. Ice makers that look alike may have different wiring plugs, mounting brackets, or water-fill designs.
A new assembly may require a few hours to begin making ice. It also needs time to produce a full bin. Discard the first batch if the owner’s manual recommends doing so, especially after installation or cleaning.
Tools You May Need
Most basic checks require only a few household tools:
• Freezer thermometer
• Flashlight
• Soft cloth
• Small bucket or towel
• Nut driver or screwdriver
• Multimeter, if you know how to use one
• Replacement water filter
• Manufacturer-approved replacement parts
A multimeter can test continuity in a valve, heater, or motor. However, electrical readings differ by model. Never guess at the correct value. Compare your reading with the service information for your exact appliance.
The right tool is like a map. It helps you avoid replacing parts based only on a guess.
Mistakes to Avoid When Fixing an Ice Maker
Learning how to fix an ice maker also means knowing what not to do. These mistakes can turn a small issue into an expensive repair.
• Do not force the ejector fingers through frozen ice.
• Do not use a knife to chip ice from the mold.
• Do not install a part based only on appearance.
• Do not ignore a water leak.
• Do not leave the refrigerator unplugged with perishable food inside.
• Do not bypass safety switches.
• Do not use non-approved heating tools.
• Do not assume the ice maker is bad before checking freezer temperature.
One lesson that saves many people money is to diagnose the symptom, not just the part. “No ice” can result from a filter, valve, freezer, sensor, wiring issue, or ice maker assembly. A careful order of checks is safer than random part replacement.
How Long an Ice Maker Should Take to Make Ice
Many automatic ice makers take between 6 and 24 hours to produce a normal amount of ice after installation, a reset, or a power interruption. The first cycle may take longer because the freezer must reach the correct temperature.
Production depends on:
• Freezer temperature
• Room temperature
• Water pressure
• Filter condition
• Ice maker size
• How often the freezer door opens
• The age and design of the refrigerator
Do not judge the repair after only 20 minutes. Give the appliance enough time to complete several cycles. If it still produces no ice after a full day, repeat the basic checks or arrange service.
When to Call an Appliance Repair Professional
Some repairs are safe for a careful homeowner. Others need training, special tools, or electrical knowledge.
Call a professional if:
• The refrigerator trips the circuit breaker.
• You see burned wires or melted plastic.
• The water valve leaks after replacement.
• The sealed cooling system may be involved.
• The compressor or evaporator fan is not working.
• The control board needs diagnosis.
• You must access live electrical terminals.
• The refrigerator is under warranty.
A professional can also help when the ice maker has several symptoms at once. For example, no ice, a warm freezer, and unusual compressor noise may indicate a cooling problem rather than an ice maker problem.
Repair costs vary by appliance, location, part, and labor. Check the warranty and compare the repair price with the age and condition of the refrigerator before approving major work.
Cleaning and Preventive Care
Regular care can reduce future ice maker problems. Keep the freezer near 0°F, replace the water filter on schedule, and clean the ice bin when needed.
Use these simple habits:
• Empty and wash the ice bin with mild dish soap.
• Dry the bin fully before replacing it.
• Remove old ice that has clumped together.
• Keep freezer vents clear.
• Inspect the water line during routine cleaning.
• Check the door gasket for gaps.
• Clean accessible condenser coils as the manual recommends.
Do not use harsh cleaners inside the ice maker. Ice can absorb odors, and residue may reach food. Always follow the cleaning instructions for your model.
Good maintenance does not guarantee that an ice maker will never fail. It does, however, reduce strain and helps you spot small problems before they become leaks or freezer damage.
Frequently Asked Questions About How to Fix an Ice Maker
Why is my ice maker not making ice?
The most common causes are a warm freezer, blocked water supply, clogged filter, frozen fill tube, or switched-off ice maker. Check these items before replacing the ice maker assembly.
How do I reset my ice maker?
Turn the ice maker off, wait several minutes, and turn it back on, or use the reset button if your model has one. Follow the owner’s manual because reset steps differ by refrigerator.
Why does my ice maker make small ice cubes?
Small cubes usually result from low water flow, a clogged filter, a kinked water line, or a partially blocked fill tube. Low household water pressure or a weak inlet valve can also cause the problem.
How long does it take for an ice maker to start working?
A refrigerator ice maker may need 6 to 24 hours to make a normal amount of ice after a reset or repair. The freezer must first reach its proper temperature.
Should I replace or repair my ice maker?
Replace the ice maker when the mold, motor, or control system has failed and individual repairs are not practical. Check the appliance model number and compare the part cost with professional repair labor.
Can a dirty water filter stop an ice maker?
Yes. A clogged filter can restrict water flow enough to create small cubes or stop filling completely. Replace the filter with the correct model and flush the system as directed.
Why is my ice maker leaking water?
A leaking inlet valve, cracked mold, frozen fill tube, or faulty water-level control can cause leaks. Turn off the water supply until you find the cause or arrange a repair.
Conclusion
The best way to fix an ice maker is to work from simple causes to complex ones. Check the power setting, freezer temperature, water supply, filter, fill tube, and ice bin before testing internal parts. Safe thawing, a proper reset, and careful cleaning solve many common problems.
If the ice maker still fails after these checks, use the refrigerator model number to find the correct part or call a qualified technician. Take one step at a time, avoid forcing frozen parts, and share your repair experience or questions in the comments.