
A countertop ice maker freezes water on metal fingers, then warms them briefly to release ice.
If you have ever wondered how does a countertop ice maker work without a freezer, the answer is a small refrigeration system, a water pump, smart sensors, and a simple ice-release cycle. I have found that understanding these parts makes the machine easier to use, clean, and troubleshoot. This guide explains the full process in plain English, from the first fill of water to the finished ice in your glass.
How Does a Countertop Ice Maker Work?
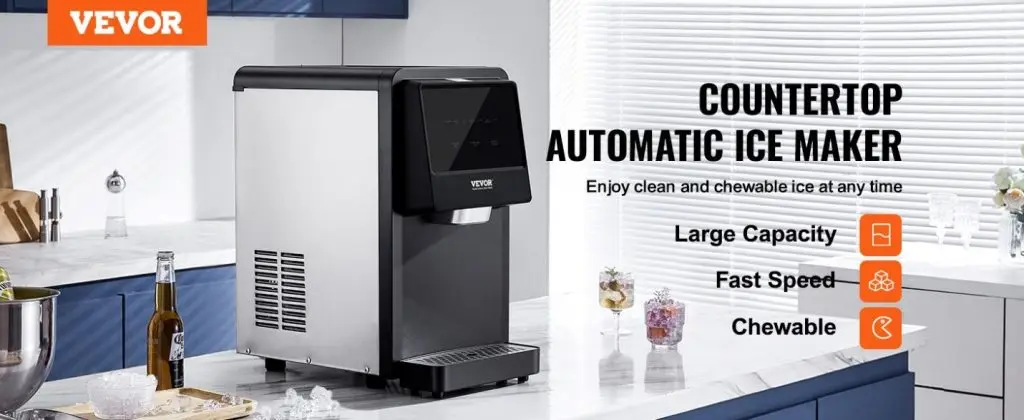
A countertop ice maker makes ice by moving heat out of water. It does not simply “make cold air.” Instead, it uses a compressor and refrigerant system to create very cold metal surfaces. Water flows over or around those surfaces until it freezes.
Most portable ice makers follow these basic steps:
- You add clean water to the reservoir.
- A small pump sends water toward the freezing parts.
- Refrigerated metal rods or a cold evaporator tray freeze the water.
- Sensors check the ice size and water level.
- A short warming cycle loosens the ice.
- A small motor or rotating arm pushes the ice into the storage basket.
- The process repeats until the water runs low or the basket is full.
This is how does a countertop ice maker work in simple terms: it freezes water, releases the ice, and repeats the cycle.
Unlike a freezer, most countertop units do not keep ice frozen for many hours. Their storage basket is usually insulated but not actively refrigerated. Ice slowly melts, and the meltwater often drains back into the reservoir for another cycle.

The Main Parts Inside a Countertop Ice Maker
Knowing the main parts helps explain how does a countertop ice maker work and why regular care matters. Each component has a specific job.
Water reservoir
The reservoir holds the water you pour into the machine. A fill line shows the maximum safe level. Many models include a small filter screen to catch dust or larger particles before water reaches the pump.
The reservoir is not always a sealed tank. Dust, food bits, and germs can enter if the lid stays open. For that reason, fresh water and regular cleaning are important.
Water pump
The pump moves water from the reservoir to the cold evaporator surface. In some models, water flows over metal fingers. In others, a tray fills around a cold plate.
A weak or clogged pump can cause small ice, slow production, or no ice at all. Mineral scale is a common cause, especially in areas with hard water.
Compressor
The compressor is the heart of the cooling system. It pressurizes refrigerant gas and sends it through the refrigeration circuit. This process creates the cold temperature needed to freeze water.
The compressor can make a low hum or mild vibration. That sound is normal. A loud rattle, sharp clicking, or repeated start-and-stop pattern may point to a problem with the fan, compressor, or power supply.
Refrigerant and condenser
The refrigerant carries heat through the system. It absorbs heat from the cold area and releases that heat through the condenser coils.
The condenser usually needs airflow. If the machine sits against a wall or near a hot stove, it may struggle to remove heat. That can lead to slower ice production and warmer ice.
Evaporator or freezing fingers
The evaporator is the cold section that freezes the water. In many portable units, it contains several vertical metal fingers. Water touches these fingers and forms hollow, bullet-shaped ice around them.
Other models use a cold metal plate or tray. The design changes the ice shape, but the basic principle stays the same: heat leaves the water and moves into the refrigeration system.
Fan
The fan pushes warm air away from the condenser. It also helps prevent the compressor from overheating.
Keep air vents clear. Even a small countertop ice maker needs space around its sides and rear. Check the manual, but leaving about 4 inches of open space is a useful general rule.
Sensors and control board
Sensors monitor water level, basket level, and sometimes ice thickness. A control board uses those signals to decide when to start, stop, or release a batch.
When an indicator says “Add Water,” a water sensor has detected a low level. When it says “Ice Full,” a light sensor or mechanical sensor has detected ice near the top of the basket.
The Ice-Making Cycle Explained Step by Step
The best way to understand how does a countertop ice maker work is to follow one complete cycle.
1. You fill the water reservoir
Use cool, clean drinking water. Do not fill above the marked line. Too much water can spill into electrical parts or create leaks during operation.
Distilled water may work, but some machines perform better with water that contains a small amount of natural mineral content. Always follow the product instructions.
2. The pump sends water to the cold surface
When you press the start button, the pump begins moving water. Depending on the design, it may spray water onto cold metal fingers or fill a shallow tray.
At first, the water is still liquid. The cold surface starts pulling heat from it.
3. The refrigeration system removes heat
The compressor pushes refrigerant through the system. The refrigerant changes pressure and temperature as it travels through the compressor, condenser, expansion device, and evaporator.
Think of the process like moving heat with a tiny conveyor belt. Heat leaves the water, travels through the refrigerant, and exits into the room through the condenser.
4. Ice forms around the evaporator
As the water loses heat, a thin layer of ice appears. More water freezes around that layer until the ice reaches the size selected by the machine.
A short cycle may create small ice. A longer cycle may create larger ice. Room temperature, water temperature, and machine design also affect the result.
5. The machine warms the evaporator
Once the sensors decide the ice is ready, the machine briefly sends warm refrigerant through the evaporator. This does not melt the whole batch. It loosens the outer surface of the ice.
This step is sometimes called the harvest cycle. It allows the ice to slide off the metal fingers or release from the tray.
6. The ice drops into the basket
A rotating arm, tray, or small motor helps move the ice into the storage basket. You may hear a click, hum, or short mechanical sound during this stage.
The ice may feel slightly wet at first. That is normal. It becomes firmer as it drains and cools.
7. The machine repeats the cycle
The unit continues making ice until the basket sensor detects a full load or the water sensor detects low water. Some machines stop after the first batch if the basket is already full.
This repeating process explains how does a countertop ice maker work faster than a standard freezer ice tray. It makes smaller batches often instead of freezing a large volume all at once.
Why Countertop Ice Makers Make Bullet-Shaped Ice
Many portable ice makers produce hollow, bullet-shaped ice. This design is practical because water freezes around cold metal fingers from the outside inward.
The center remains open or partly hollow because the machine releases the ice before all the water freezes solid. This lets the unit complete cycles quickly.
Bullet ice is usually softer and melts faster than dense cubes from a freezer. That makes it pleasant for many drinks, but it may not be ideal for long storage or a cooler that must stay cold all day.
Ice shape depends on:
• The evaporator design
• The cycle length
• The selected ice size
• The temperature of the room
• The temperature of the water
• The mineral content of the water
A countertop ice maker is designed for speed and convenience, not necessarily for hard, long-lasting ice.
How Long Does a Countertop Ice Maker Take?
Many portable units make their first batch in about 6 to 15 minutes. The exact time varies by model and conditions. The first cycle may take longer because the machine must cool the refrigeration system.
Ice production may slow down when:
• The room is hot
• The water is warm
• The condenser vents are blocked
• The machine is low on refrigerant
• The water pump has scale buildup
• The unit is placed too close to a wall
Manufacturers often list an output such as 26 pounds of ice per day. This figure is measured under controlled conditions. Real household output may be lower because room temperature, water temperature, and pauses affect the cycle.
From my practical testing experience with portable ice makers, the most common mistake is judging performance by the advertised daily number. The first batch can be quick, but constant production depends heavily on airflow and room heat.
What Happens to Melted Ice?
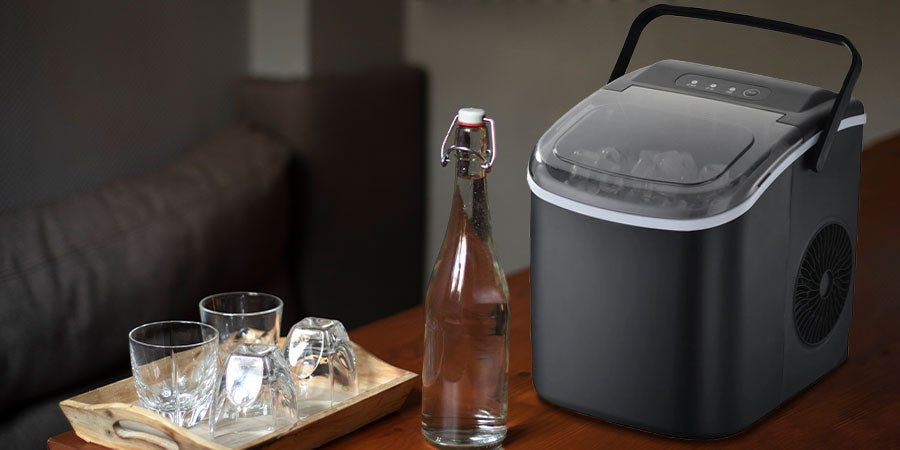
Most countertop ice makers are not freezers. The basket keeps ice in one place, but it usually does not actively keep the ice below freezing.
As ice melts, the water commonly falls back into the reservoir. The pump can use that water to make more ice. This reduces waste, but it does not keep the water fresh forever.
Do not leave old water in the reservoir for several days. Warm, still water can develop an unpleasant smell and support microbial growth. Empty the unit, wipe it dry, and add fresh water when you use it again.
If you need ice to remain frozen, move the finished ice to a freezer or insulated cooler. This is one of the most important limits to understand when learning how does a countertop ice maker work.
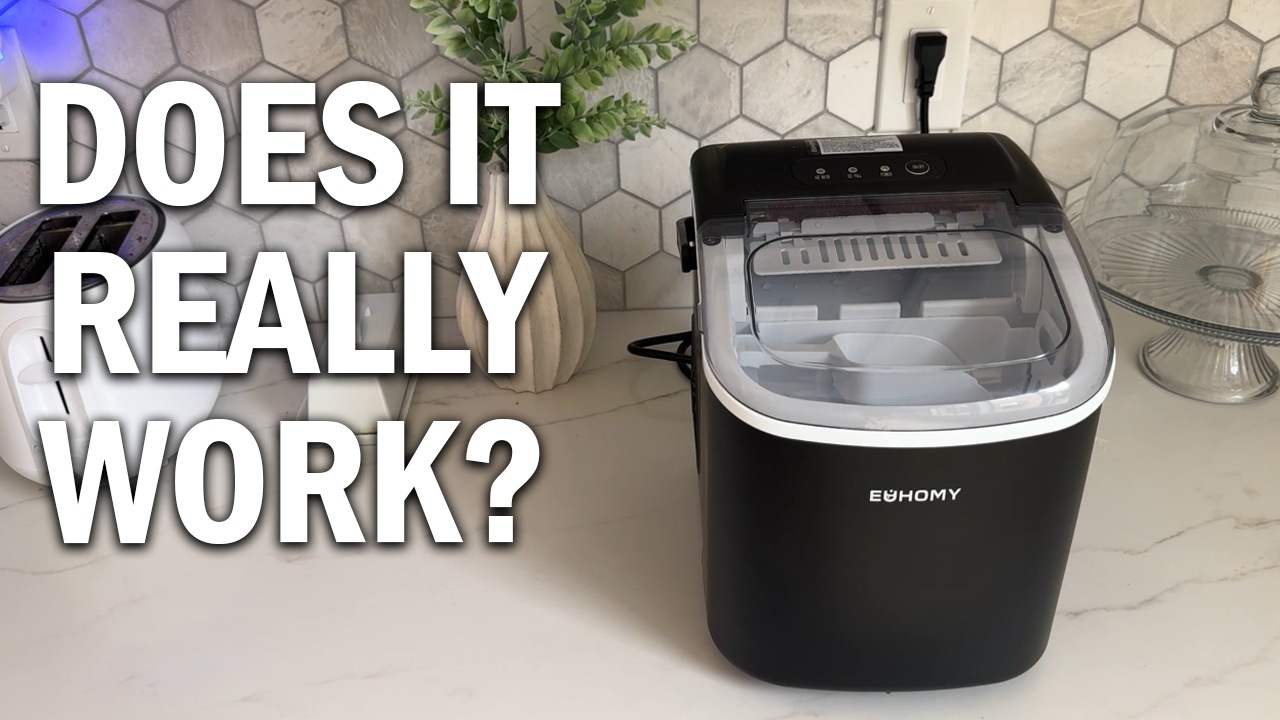
How to Use a Countertop Ice Maker Correctly
Good setup improves ice quality and protects the machine.
- Place the unit on a level, dry surface.
- Leave open space around the air vents.
- Let the machine sit upright after transport.
- Fill it with clean water up to the marked line.
- Run and discard the first batch if the manual recommends it.
- Keep the lid closed during normal operation.
- Remove ice before the basket becomes tightly packed.
- Empty the reservoir when the machine will not be used.
- Wipe the interior after each extended use.
- Follow the cleaning instructions in the owner’s manual.
If the machine has been moved on its side, allow it to stand upright before turning it on. This gives compressor oil time to settle. The manual may specify the exact waiting period.
Never place a countertop ice maker beside a hot oven, in direct sun, or near a sink where splashing water can reach the electrical parts.

Cleaning and Descaling Tips
Cleaning is not only about appearance. It affects taste, pump flow, ice size, and machine life.
Minerals in tap water can form scale on the pump and evaporator. Scale acts like a rough shell. It reduces water flow and makes heat transfer less effective.
A simple care routine includes:
• Emptying old water
• Washing the basket with mild dish soap
• Wiping the reservoir with a clean cloth
• Cleaning the water screen or filter
• Descaling as directed by the manual
• Rinsing several times after cleaning
Use only a cleaning product approved for the machine. Some manufacturers allow diluted food-safe citric acid. Others recommend a specific cleaner. Avoid bleach unless the manufacturer clearly says it is safe for that model.
In my experience, people often wait until the ice tastes strange before cleaning. A better habit is to clean the unit at regular intervals, especially when using hard water or running it daily.

Common Problems and Simple Fixes
Understanding how does a countertop ice maker work can help you solve basic problems without guessing.
The machine makes no ice
Check the power cord, water level, basket position, and room around the vents. The compressor may need several minutes before the first ice begins to form.
If the unit was recently moved, make sure it has remained upright long enough before use.
The ice is too small
Small ice may result from warm water, a hot room, a short cycle, or mineral buildup. Clean the evaporator and pump, then try cool drinking water.
Some models also include a size button. Larger ice usually needs more freezing time.
The ice melts quickly
Bullet ice has a hollow center and naturally melts faster than dense freezer ice. A warm room or poorly insulated basket can make this happen even faster.
Move the finished ice to a freezer or cooler if you need it to last.
The machine is noisy
A low hum from the compressor and a brief pump sound are normal. Loud rattling may mean the unit is not level or is touching a wall.
A grinding sound may signal a fan or pump issue. Turn the machine off if the noise is severe or paired with overheating.
The machine leaks
Check that the drain plug is closed and the unit is level. Overfilling the reservoir can also cause water to escape.
If the leak continues, stop using the machine and contact the manufacturer. Water near electrical components is a safety concern.

Advantages and Limitations of Countertop Ice Makers
A countertop ice maker can be very useful, but it is not a complete replacement for a freezer ice system.
Benefits
• Produces ice much faster than standard freezer trays
• Fits in apartments, RVs, offices, and small kitchens
• Usually needs only water and a standard outlet
• Offers fresh ice on demand
• Does not require a permanent water line
• Often uses simple controls
Limitations
• Does not usually keep ice frozen
• May be noisy in a quiet room
• Needs regular cleaning
• Can struggle in high heat
• May use more electricity than a freezer tray
• Produces softer ice in many designs
• Requires counter space and ventilation
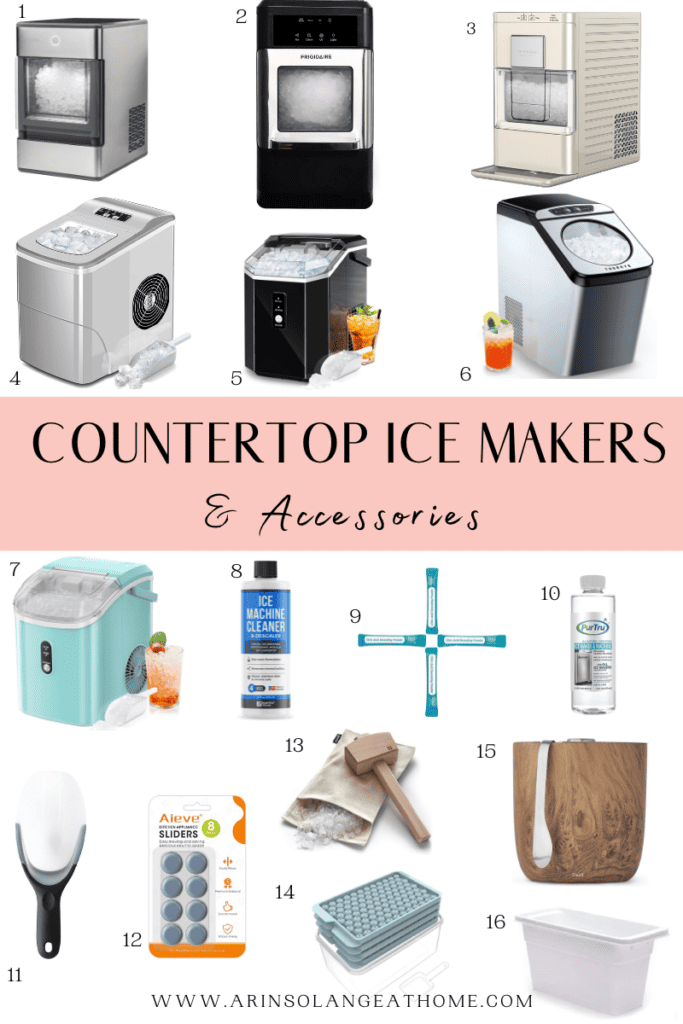
The right choice depends on your needs. A portable unit is useful for parties, small homes, and occasional extra ice. A freezer ice maker may be better for a family that needs large amounts of hard ice stored for a long time.
Does a Countertop Ice Maker Use a Lot of Electricity?
Most countertop ice makers use less power than large refrigeration appliances, but electricity use varies by model and operating time. The compressor, fan, pump, and control system all draw power during the ice cycle.
The energy label or manual may list wattage. To estimate cost, multiply the machine’s kilowatt rating by the hours it runs, then multiply that number by your local electricity rate.
For lower energy use:
• Make ice only when needed
• Use cool water
• Keep the vents clear
• Avoid placing the machine in a hot room
• Turn it off when the basket is full
• Do not run it empty
A daily production claim does not equal a fixed energy cost. More ice usually means longer operation, so household habits matter.
Is Countertop Ice Safe to Drink?
Ice from a countertop machine is safe when the machine is clean and the water is safe to drink. The freezing process does not reliably kill every harmful germ, so clean water and good hygiene still matter.
Wash your hands before handling the basket. Do not touch finished ice with dirty cups or utensils. Keep pets, food, and cleaning cloths away from the open reservoir.
The U.S. Food and Drug Administration treats ice as food because it is consumed. That is a useful reminder to clean the machine with the same care you would give a coffee maker or blender.
If the ice smells odd, looks cloudy due to residue, or tastes stale, discard it and clean the unit. Cloudiness alone can come from minerals or trapped air, but unusual odor is a clear reason to stop and check the machine.
Frequently Asked Questions About How Does a Countertop Ice Maker Work
How does a countertop ice maker work without a freezer?
A countertop ice maker uses a compressor and refrigerant to create a cold evaporator surface. Water freezes on that surface, and a brief warming cycle releases the ice into the basket.
Does a countertop ice maker keep ice frozen?
Usually, no. The basket may slow melting, but most portable units do not actively refrigerate stored ice, so move the ice to a freezer if you need long storage.
How long does a countertop ice maker take to make ice?
Many models produce their first batch in about 6 to 15 minutes. Room temperature, water temperature, ice size, and machine condition can change that time.
Can I leave water in a countertop ice maker overnight?
It is better to empty the reservoir when the machine will not be used. Fresh water helps reduce stale odors, mineral buildup, and unwanted microbial growth.
Why is my countertop ice maker making small ice?
Small ice can result from warm water, poor ventilation, high room temperature, or mineral buildup. Clean the pump and evaporator, clear the vents, and try cool drinking water.
Does a countertop ice maker need a water line?
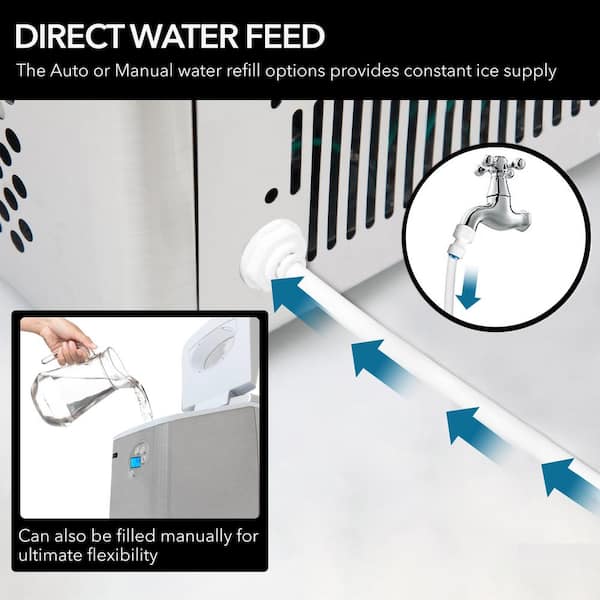
Most portable countertop models do not need a water line. You fill the reservoir by hand, although some larger units may offer a direct water connection.
Can I use tap water in a countertop ice maker?
You can usually use clean tap water, but hard water may leave mineral scale. Filtered water may improve taste and reduce buildup, provided the machine’s manual allows it.
Conclusion
A countertop ice maker works by pumping water over a chilled evaporator, freezing it into small pieces, warming the evaporator for release, and repeating the cycle. Its compressor, refrigerant, pump, fan, sensors, and control board work together like a small automated freezer.
The best results come from clean water, open ventilation, regular descaling, and realistic expectations about melting. Now that you know how does a countertop ice maker work, you can choose the right model, fix common issues, and keep your ice fresh. Share your own ice maker tips or explore more appliance guides for smarter kitchen care.