
Use a kitchen knife sharpener by matching the slot to your blade, applying light pressure, and making steady passes.
Learning how to use kitchen knife sharpener tools can make meal prep safer, faster, and more enjoyable. The right method depends on whether you use a manual pull-through sharpener, an electric model, a honing rod, or a whetstone. This guide explains each option in simple steps, including common mistakes, safety tips, and practical lessons that help protect your knives.

What a Kitchen Knife Sharpener Does
A kitchen knife sharpener restores the sharp edge of a dull blade. Over time, cutting on boards, hitting bones, or storing knives loosely can bend or wear the edge. A sharpener removes a small amount of metal or realigns the edge so the knife can cut cleanly again.
The best method depends on your knife and sharpener. Most home cooks use one of these tools:
• Manual pull-through sharpener: Easy to use and often has coarse and fine slots.
• Electric sharpener: Fast and simple, but it can remove more metal than needed.
• Honing rod: Realigns a slightly bent edge but does not fully sharpen a very dull knife.
• Whetstone: Offers the most control but requires practice and patience.
A sharp knife should glide through food with gentle pressure. If you must force the blade, the edge may be dull, damaged, or poorly aligned.
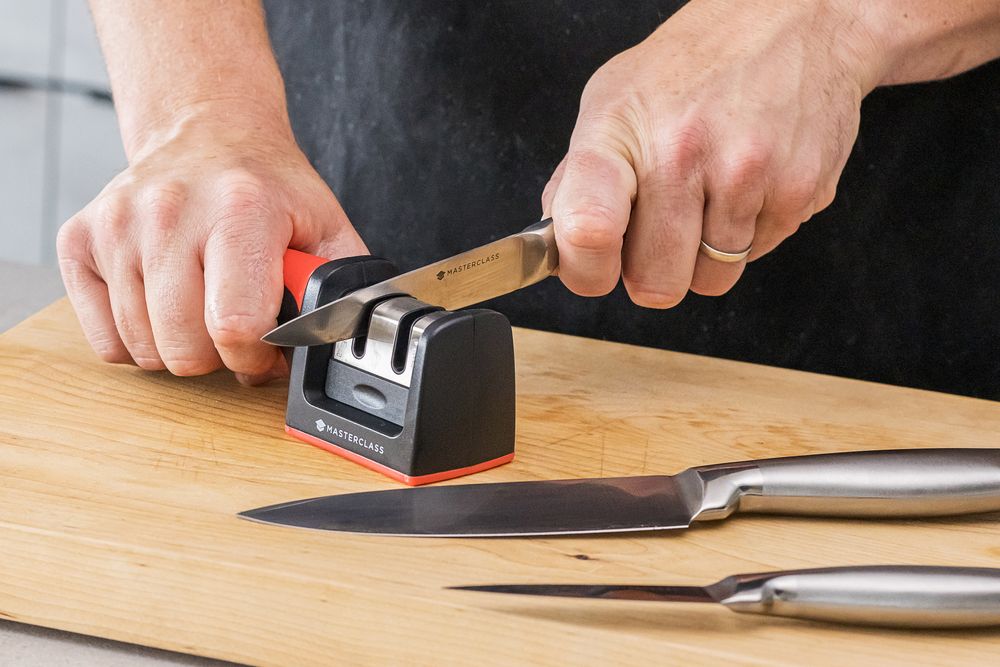
How to Use a Manual Kitchen Knife Sharpener
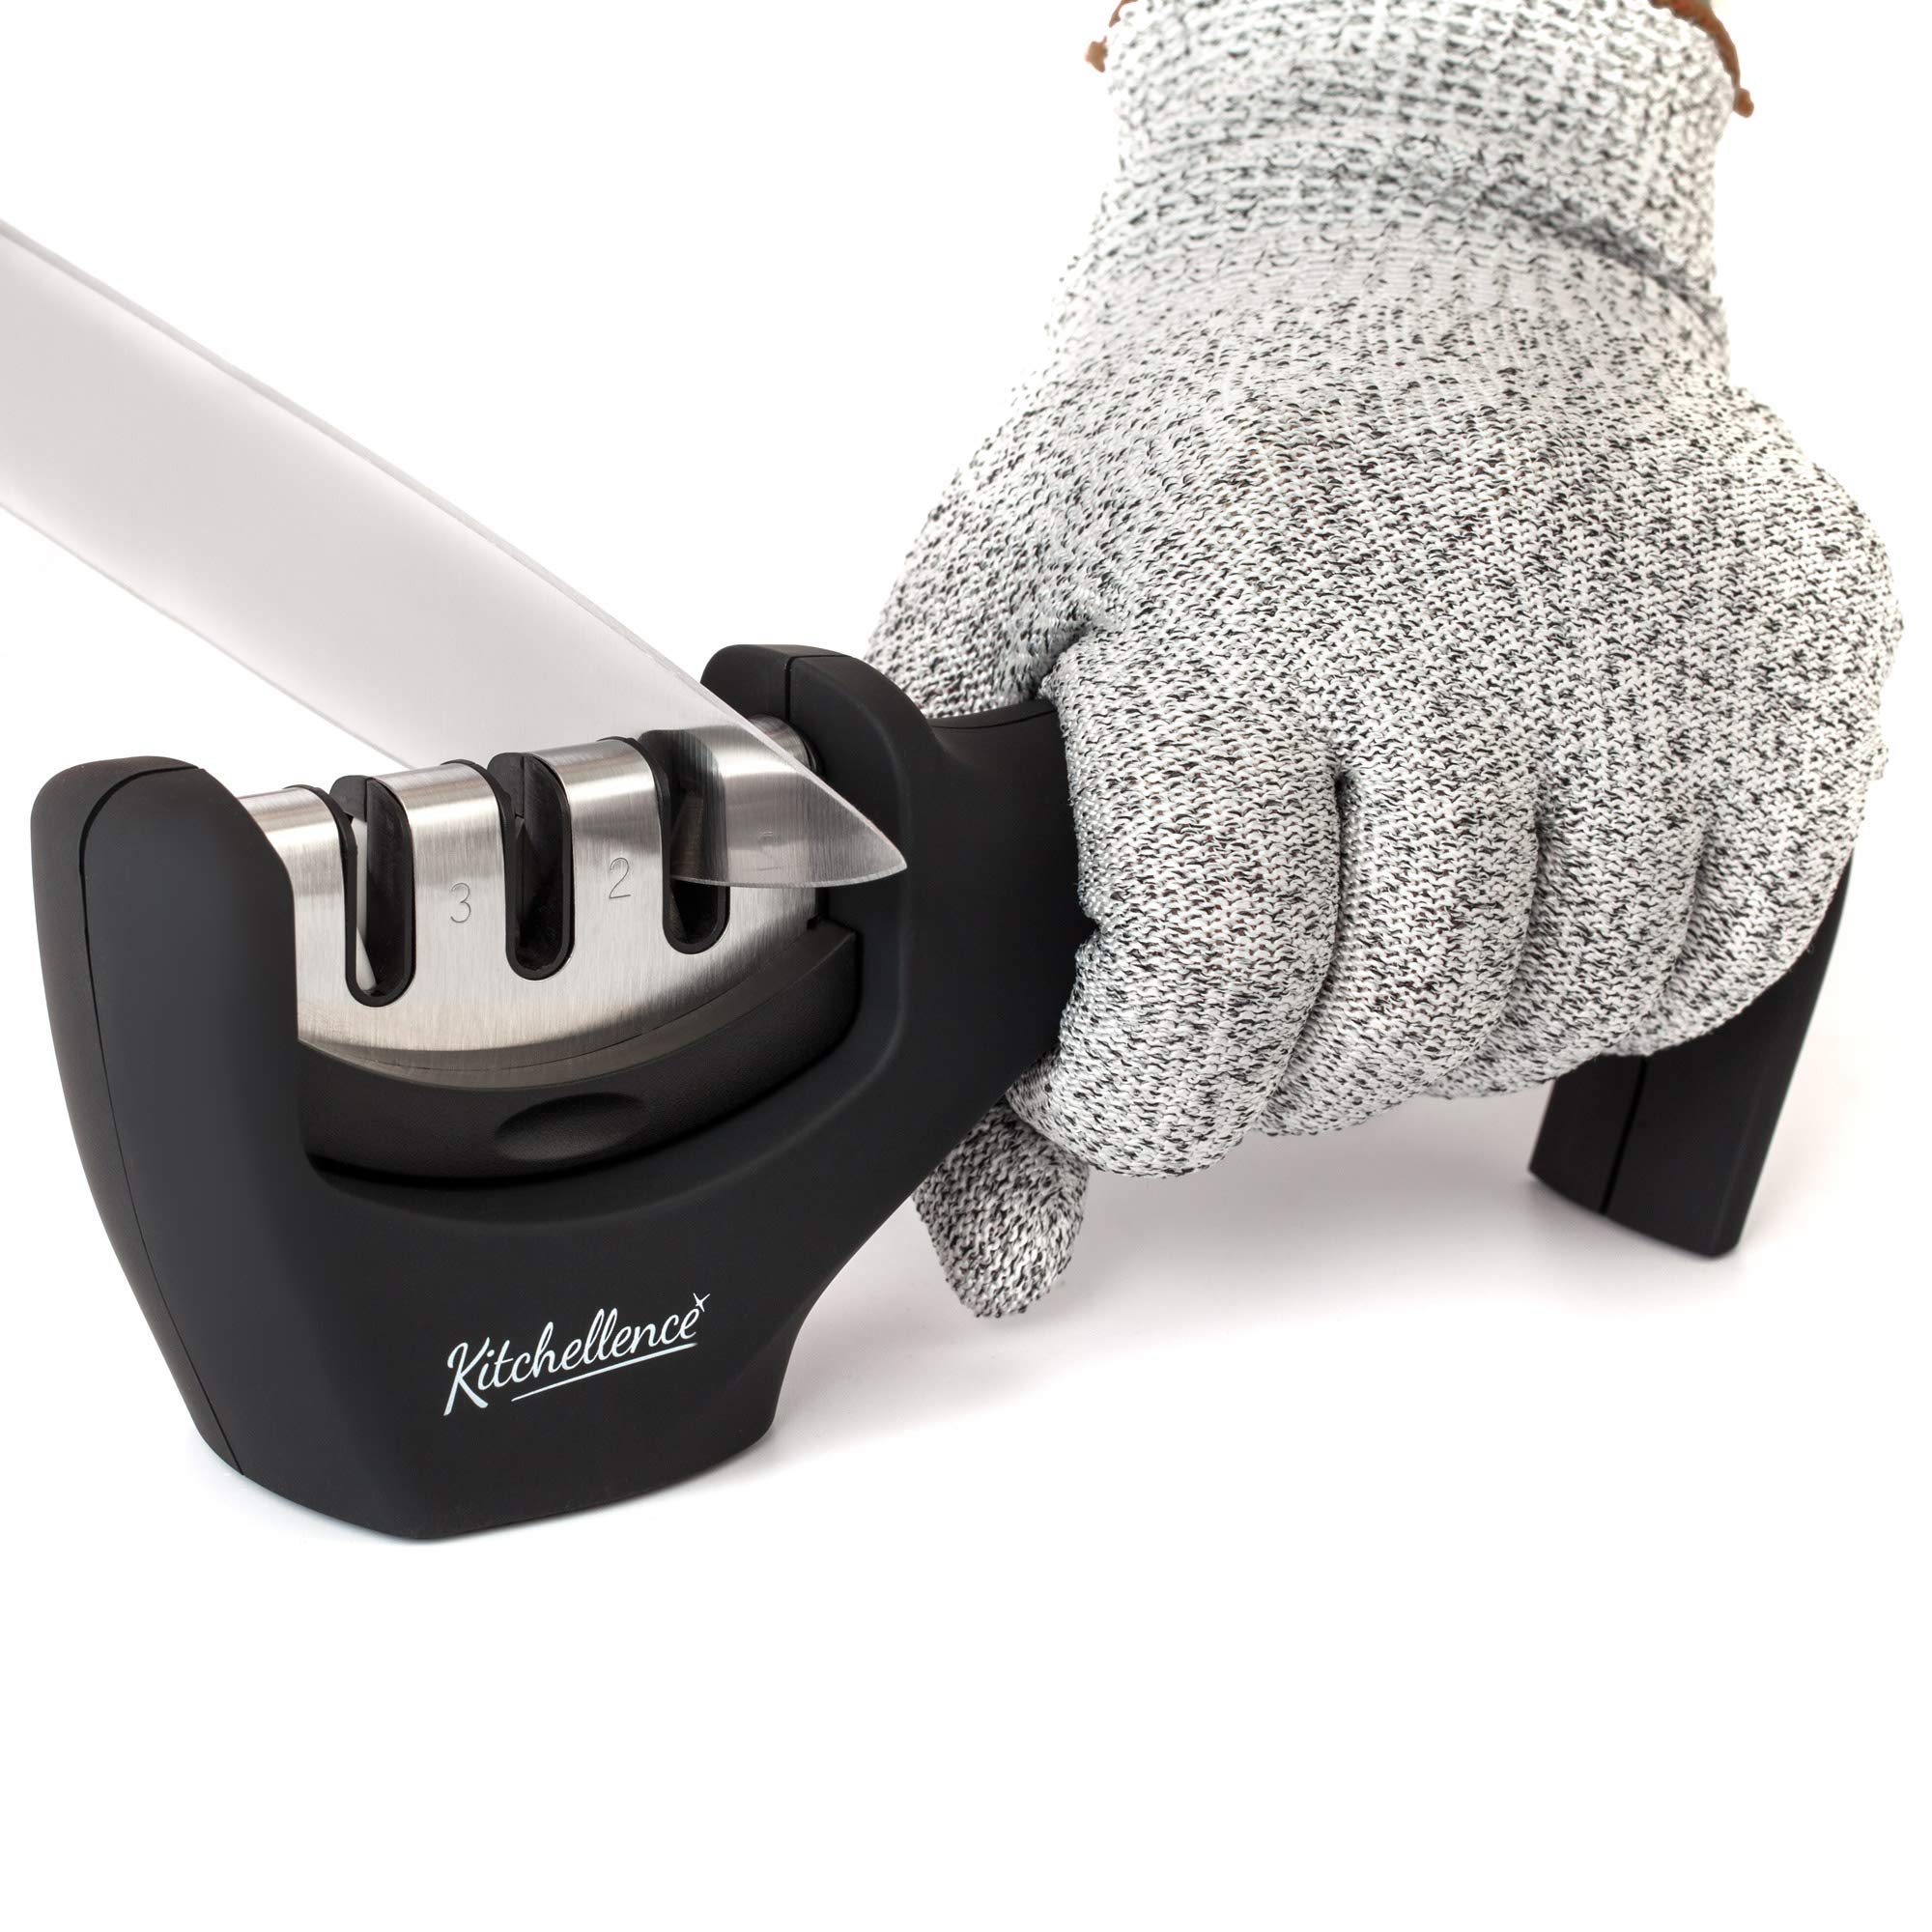
A manual pull-through sharpener is often the easiest choice for beginners. It usually has two or more slots. The coarse slot repairs a dull edge, while the fine slot polishes and refines it.
Before you begin, read the instructions for your specific model. Some sharpeners use ceramic wheels, diamond plates, or carbide plates. Each material removes metal at a different rate.
Step 1: Clean and secure the sharpener
Place the sharpener on a flat, dry surface. Hold the handle firmly or use the base grip if it has one. A sharpener that slides can cause cuts or uneven sharpening.
Clean the knife first. Food oil and residue can make the blade slip through the slot. Dry the knife with a soft towel before sharpening.
Step 2: Choose the right slot
Use the coarse slot only when the knife is very dull or has a damaged edge. Use the fine or ceramic slot for regular maintenance.
If the blade still cuts well but feels slightly less smooth, start with the fine slot. This removes less metal and helps extend the life of the knife.
Step 3: Insert the heel of the blade
Place the heel, or widest part near the handle, into the slot. Keep the blade straight and follow the angle set by the sharpener.
Do not twist the knife. Do not push the tip into the slot first. Starting at the heel helps you sharpen the full cutting edge in a controlled way.
Step 4: Pull the blade toward you
Use slow, steady pressure as you pull the knife through the slot. Move from the heel to the tip in one smooth motion.
Never push the blade back and forth. The abrasive parts are designed for a single pull in most manual sharpeners. Follow the product instructions if your model works differently.
Step 5: Repeat only as needed
Many manual sharpeners need three to six passes in the coarse slot. Follow those passes with two or four passes in the fine slot.
Avoid doing dozens of passes. Too many can remove excess steel and may create an uneven edge. Wipe the blade clean, then test it on a piece of paper or a soft vegetable.
This basic process explains how to use kitchen knife sharpener tools without rushing. Gentle pressure and a steady path matter more than force.
How to Use an Electric Knife Sharpener
Electric sharpeners use motorized abrasive wheels to sharpen the blade. They are useful for busy kitchens, but they can remove metal quickly. Use them with care, especially on expensive Japanese knives or thin blades.
Safe steps for an electric sharpener
-
Place the sharpener on a stable counter.
-
Plug it into a dry outlet and keep your hands away from the slots.
-
Select the coarse stage only if the blade is very dull.
-
Place the heel of the blade into the correct slot.
-
Pull the blade toward you at a slow, even speed.
-
Let the machine guide the angle.
-
Move the blade from heel to tip in one pass.
-
Use the fine stage to polish the edge.
Do not press down hard. The machine supplies the cutting force. Extra pressure can grind away too much steel, overheat the edge, or create an uneven bevel.
Many electric sharpeners produce a small amount of metal dust. Wipe the blade after use and clean the machine as the manufacturer recommends. Never place a wet knife into an electric sharpener.
When an electric sharpener makes sense
An electric sharpener can suit cooks who want speed and repeatable results. It may also help people who struggle to hold a consistent angle with a whetstone.
Still, electric models have limits. They may not fit wide blades, serrated knives, single bevel knives, or very thin Japanese blades. Always check the product guide before use.

How to Use a Honing Rod
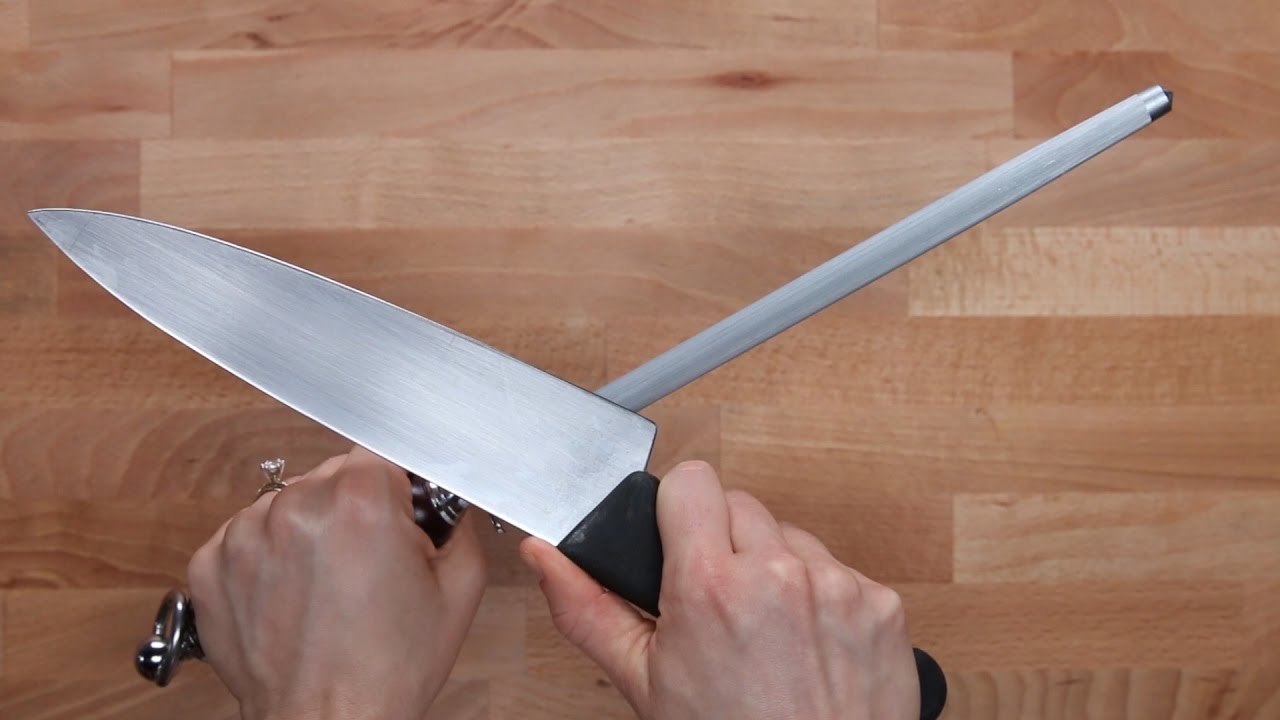
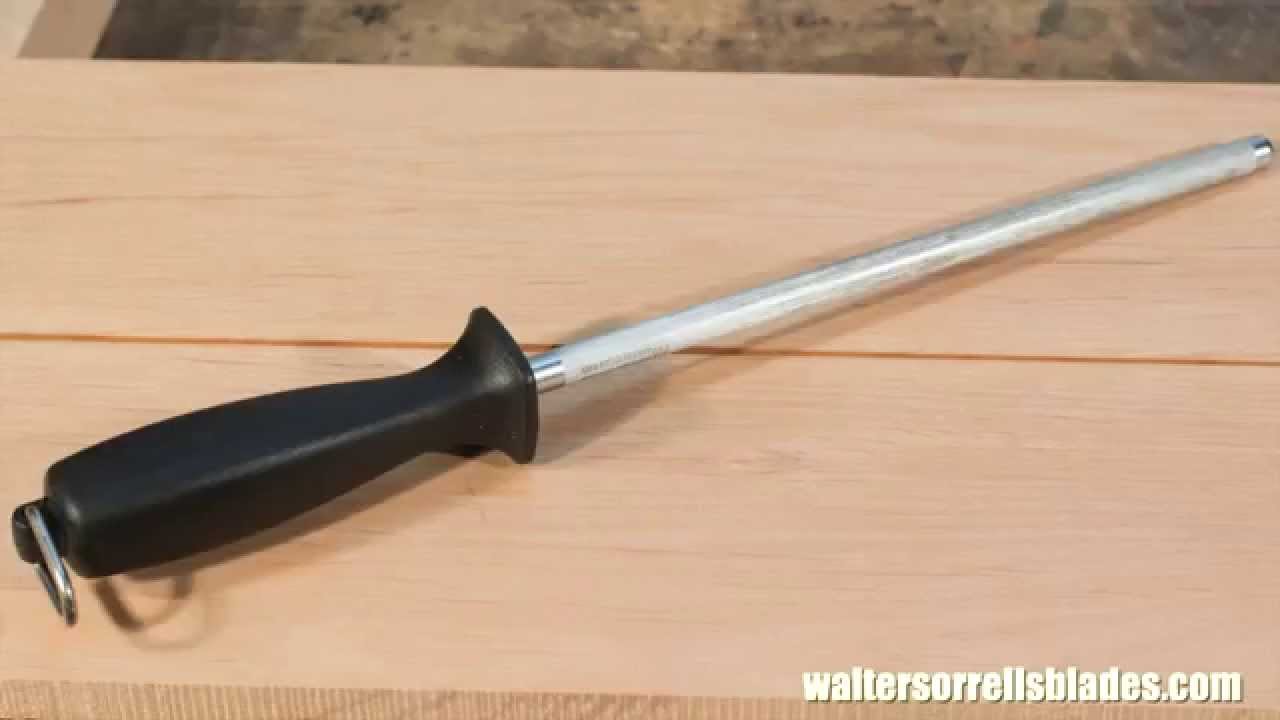
A honing rod is often called a knife sharpener, but it works in a different way. It mainly realigns the fine edge rather than removing much metal.
When you cut food, the edge can bend slightly to one side. The knife may feel dull even though the metal is still present. A honing rod gently moves that edge back toward the center.
How to hone a knife
-
Hold the rod upright with the tip resting on a cutting board.
-
Place the heel of the blade near the top of the rod.
-
Match the knife to the rod’s recommended angle.
-
Pull the blade down and toward you.
-
Move from the heel to the tip.
-
Repeat on the other side.
-
Use three to five light passes per side.
Keep the movement slow. A dramatic chef-style sweep may look impressive, but it can reduce control. Light contact is enough.
A honing rod will not repair chips or sharpen a completely blunt knife. In that case, use a whetstone, manual sharpener, or professional sharpening service.
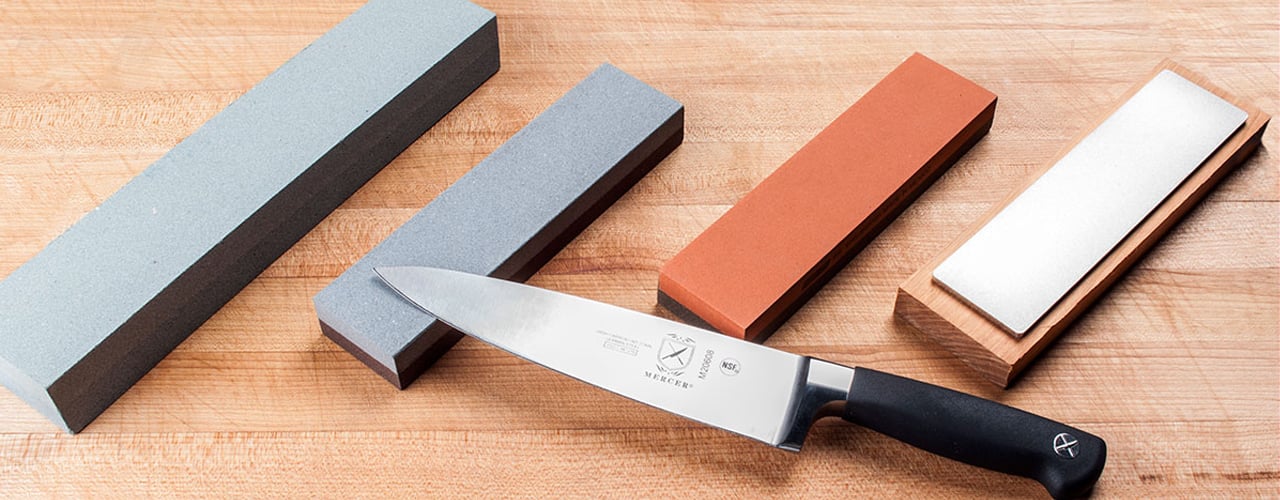
How to Use a Whetstone
A whetstone gives you the greatest control over the edge. It also requires more practice than a pull-through tool. Whetstones are commonly labeled by grit.
• Low grit, such as 200 to 600, repairs chips and very dull edges.
• Medium grit, such as 800 to 2,000, sharpens a normal kitchen knife.
• High grit, such as 3,000 to 8,000, polishes and refines the edge.
For most home cooks, a combination stone around 1,000 and 3,000 grit is a useful starting point.
Step 1: Prepare the stone
Some stones need soaking, while others need only a splash of water or a few drops of oil. Follow the instructions for your stone.
Place it on a non-slip base or a damp towel. A moving stone can cause a serious injury and make the edge uneven.
Step 2: Find the angle
Most Western kitchen knives use an angle of about 15 to 20 degrees per side. Some Japanese knives use a smaller angle, often around 10 to 15 degrees.
The exact angle depends on the blade design. If you are unsure, use the angle recommended by the knife maker. A small angle can create a very sharp edge, but it may be less durable.
Step 3: Sharpen one side
Place the heel of the blade on the stone. Raise the spine until the blade reaches the correct angle. Pull the blade across the stone from heel to tip.
Use smooth strokes that cover the full edge. Keep your fingers behind the cutting edge. Do not scrape the blade randomly across the stone.
Step 4: Work the other side
Turn the knife over and repeat the same number of strokes. Try to keep the pressure and angle consistent on both sides.
With practice, you will feel a small burr form along the opposite side. The burr is a thin strip of metal that shows the edge has reached the stone.
Step 5: Refine and clean the edge
Use lighter pressure as the edge becomes sharper. Move to a finer grit if you want a smoother finish.
Rinse and dry the knife. Clean the stone according to its care instructions. Store the knife safely after sharpening.
Learning how to use kitchen knife sharpener equipment with a whetstone takes time, but the control is worth it. Think of the stone as a road that guides the blade into the right shape.
How to Choose the Right Sharpener
The right sharpener depends on your knife, skill level, and maintenance needs. A simple tool can work well when it matches the blade.
Choose a manual pull-through sharpener if:
• You want a simple tool for basic home cooking.
• You prefer a low-cost option.
• Your knives have standard double bevel edges.
• You can follow a fixed angle without forcing the blade.
Choose an electric sharpener if:
• You want quick results.
• You sharpen several household knives.
• You prefer a guided process.
• The model supports your knife type.
Choose a whetstone if:
• You want maximum control.
• You own high-quality knives.
• You are willing to practice.
• You want to manage the sharpening angle yourself.
Use a honing rod if:
• The knife is only slightly dull.
• You want regular edge maintenance.
• You need to realign the edge between full sharpening sessions.
Avoid using a pull-through sharpener on serrated knives unless the manufacturer says it is safe. Serrated blades need a tapered rod or a sharpener made for their teeth.
How Often Should You Sharpen a Kitchen Knife?
There is no single schedule for every kitchen. Frequency depends on how often you cook, what foods you cut, and the quality of your cutting board.
A home cook may use a honing rod every few uses and perform full sharpening every one to three months. Someone who cooks daily may need more frequent maintenance. A knife used on hard squash or a glass board may dull much sooner.
Look for these signs:
• The blade slips on tomato skin.
• You need more pressure to cut food.
• The knife crushes herbs instead of slicing them.
• The edge feels rough when cutting paper.
• The blade catches in some areas and slides in others.
Do not wait until the knife becomes dangerously dull. Dull blades often require extra force, which increases the chance of slipping. This is one reason learning how to use kitchen knife sharpener tools is a useful kitchen skill.
:max_bytes(150000):strip_icc()/faw-knife-sharpeners-aug-24-test-zwilling-4-stage-pull-through-nsimpson-65-a869c59968f743d2bd6a09242a51e2f5.jpeg)
Common Mistakes to Avoid
Small mistakes can damage a knife or produce a poor edge. These are the problems I see most often when people learn how to use kitchen knife sharpener tools.
Using too much pressure
Abrasive material does the work. Heavy pressure can remove too much metal and may leave deep scratches on the blade.
Using the coarse slot every time
The coarse stage is for repair. Daily use can shorten the life of your knife. Start with the fine stage when the edge only needs light maintenance.
Sharpening at random angles
An inconsistent angle creates a rounded or uneven edge. Let a guided sharpener set the angle, or practice with a whetstone until your hand becomes steady.
Pulling the knife backward and forward
Most pull-through sharpeners need a single pull. Back-and-forth motion can damage the abrasive parts and create an uneven edge.
Sharpening a dirty knife
Oil and food particles can affect the sharpening process. Wash and dry the knife before you begin.
Testing sharpness with your finger
Never run your finger along the edge. Test the knife on paper, a tomato, or a soft vegetable instead.
Ignoring the knife design
Serrated, single bevel, ceramic, and very thin blades may require special tools. A standard sharpener is not suitable for every knife.
Knife Sharpening Safety Tips
Knife sharpening is safe when you control the blade and keep the tool stable. Treat the edge as sharp even before the process is complete.
• Keep the sharpener on a non-slip surface.
• Hold the knife by the handle.
• Keep your free hand behind the blade.
• Pull the blade away from your body when the sharpener requires it.
• Keep children and pets away from the work area.
• Wear cut-resistant gloves if the tool manufacturer recommends them.
• Wipe metal dust from the counter after sharpening.
• Wash the knife before using it to prepare food.
A stable setup matters more than speed. I have found that most sharpening mistakes happen when people rush or try to copy fast demonstrations. Slow passes give better control and a more even edge.
How to Test a Newly Sharpened Knife
Testing helps you see whether the edge is ready. Use safe materials and avoid placing your finger on the blade.
Try one of these simple tests:
• Paper test: Hold a sheet of paper by one edge and slice downward. A sharp knife should cut without tearing badly.
• Tomato test: Place the blade on the skin and use light pressure. It should begin the cut without crushing the tomato.
• Onion test: A sharp knife should make clean slices with less slipping.
• Visual test: Hold the blade under a light. A dull area may reflect light, while a clean edge usually reflects less.
Do not judge a knife only by how shiny it looks. A polished blade can still have a poor edge, and a blade with small scratches can cut very well.
Caring for Knives After Sharpening
Good care helps the edge stay sharp for longer. Wash kitchen knives by hand with warm water and mild dish soap. Dry them right away.
Avoid the dishwasher when possible. High heat, strong detergent, and contact with other items can damage the edge and handle. Store knives in a block, sheath, magnetic strip, or tray that keeps the blade from hitting other tools.
Use a wood, bamboo, or quality plastic cutting board. Avoid glass, stone, ceramic, and hard metal surfaces because they can dull the edge quickly.
Do not cut frozen food, bones, or hard pits with a standard chef’s knife. Use a suitable cleaver or specialized tool instead. Care is part of how to use kitchen knife sharpener methods well because sharpening cannot replace good daily habits.
When to Use a Professional Sharpener
A professional may be the best choice for valuable, damaged, or unusual knives. Professional services can repair chips, reset bevels, and sharpen blades that need special care.
Consider professional help when:
• The blade has a large chip.
• The edge is bent or badly damaged.
• The knife is expensive or handmade.
• The knife has a single bevel.
• The blade is very thin or made from hard steel.
• You feel unsure about the sharpening angle.
Home sharpeners are convenient, but they have limits. A professional service may remove less metal and create a more precise edge, though results depend on the technician. Ask how the knife will be sharpened and whether the service supports your blade type.
Frequently Asked Questions About How to Use Kitchen Knife Sharpener
How many times should I pull a knife through a sharpener?
Most manual sharpeners need three to six passes in the coarse slot and two to four in the fine slot. Always follow the instructions for your specific model and stop when the knife cuts cleanly.
Should I use the coarse or fine slot first?
Use the coarse slot for a very dull or damaged knife. Use the fine slot first when the knife only needs routine maintenance because it removes less metal.
Can I sharpen a serrated knife with a regular sharpener?
Usually, no. Serrated knives need a tapered sharpening rod or a tool designed to fit the grooves between their teeth.
How do I know when a knife is sharp?
Test the knife on paper, a tomato, or a soft vegetable. The blade should start cutting with light pressure and should not slide or crush the food.
Is a honing rod the same as a knife sharpener?
Not exactly. A honing rod mainly realigns a slightly bent edge, while a sharpener removes metal to create a new edge.
Can I sharpen a ceramic knife at home?
Ceramic knives require a diamond abrasive made for ceramic blades. If you do not have the correct tool, professional sharpening is safer.
Conclusion
Knowing how to use kitchen knife sharpener tools helps you keep blades safer, cleaner, and more useful. Start by identifying your knife type, secure the sharpener, use light pressure, and make steady passes from the heel to the tip. Choose a manual sharpener for ease, an electric model for speed, a whetstone for control, or a honing rod for light maintenance.
Avoid coarse sharpening too often, protect your cutting board, and test the edge with food or paper rather than your finger. Practice slowly, and your confidence will grow with each use. Try these steps on a basic kitchen knife, then share your sharpening questions or results in the comments.