
Most ice makers work best with water pressure between 40 and 60 psi, though model requirements can vary.
Water pressure for ice maker systems affects fill speed, cube size, noise, and even whether the ice maker works at all. After testing refrigerator ice makers, inline filters, saddle valves, and reverse osmosis systems, I have found that low pressure is far more common than most homeowners expect. This guide explains the ideal range, warning signs, safe testing methods, and practical fixes.
What Water Pressure Does an Ice Maker Need?
Most refrigerator ice makers need at least 20 psi to fill correctly. Many models work best between 40 and 60 psi, while some manufacturer specifications allow a wider range, such as 20 to 120 psi.
The exact water pressure for ice maker operation depends on the refrigerator, water inlet valve, filter, tubing, and home plumbing. Always check the installation guide for your specific model before adjusting the system.
A useful general guide is:
• Below 20 psi: The ice maker may not fill or may produce very small cubes.
• 20 to 39 psi: The ice maker may work, but filling can be slow.
• 40 to 60 psi: This is usually a reliable working range.
• 60 to 80 psi: Many systems still operate well, but check the appliance manual.
• Above 80 psi: Pressure may damage appliance parts or cause leaks over time.
Water pressure is like the force behind a garden hose. If the force is too weak, the hose barely reaches the garden. If it is too strong, the fittings may strain. An ice maker needs enough pressure to open its inlet valve and fill the mold without creating excess stress.

Ideal Water Pressure for Ice Maker Performance
The ideal water pressure for ice maker operation is commonly around 40 to 60 psi. This range gives the inlet valve enough force to open and lets the ice maker mold fill at a steady rate.
Good pressure can help the ice maker:
• Fill the mold properly
• Make cubes of a consistent size
• Complete harvest cycles on time
• Reduce slow-fill problems
• Support the refrigerator water dispenser
However, pressure alone does not guarantee good ice production. A clogged filter, pinched supply line, frozen fill tube, or faulty inlet valve can create the same symptoms as low pressure.
Some refrigerator brands list a minimum pressure of 20 psi. Others recommend 35 psi or more, especially when the refrigerator uses a filter or long water line. This is why the product manual remains the best authority for your appliance.
In my experience, homeowners often raise pressure when the real problem is a blocked filter. A new filter can restore normal ice production without changing household pressure at all.

How to Check Water Pressure for Ice Maker Systems
You can measure water pressure for ice maker systems with a simple water pressure gauge. These gauges are sold at many hardware stores and usually connect to an outdoor hose bib or laundry faucet.
Follow these steps:
-
Turn off the refrigerator water supply if needed.
-
Attach the pressure gauge to a cold-water faucet or hose connection.
-
Open the faucet fully.
-
Read the pressure while no other fixtures are running.
-
Test again while the refrigerator fills, if possible.
A static reading shows pressure when water is not moving. A flowing reading shows how pressure behaves under demand. The flowing number matters because a weak pipe, clogged valve, or restricted filter may look normal when the water is still.
For a more accurate check, measure pressure at the refrigerator supply point. This helps identify pressure loss caused by the shutoff valve, tubing, filter, or fittings.
Use care when testing. Do not force a connection, and stop if you see leaking or damaged threads. If the home pressure is above 80 psi, a licensed plumber should inspect the system and confirm whether a pressure-reducing valve is needed.
Signs of Low Water Pressure in an Ice Maker
Low water pressure for ice maker systems can show up in several ways. The most obvious sign is an empty ice bin, but the problem may also look like a faulty refrigerator.
Common symptoms include:
• Very small or hollow ice cubes
• Slow ice production
• A mold that fills only partly
• A humming sound without water entering
• A water dispenser that flows slowly
• An ice maker that works only sometimes
• Long gaps between ice-making cycles
Small cubes often point to low flow during the fill cycle. The ice maker may open its valve for the correct amount of time, but not enough water reaches the mold.
If the dispenser also has weak flow, check the filter and supply line first. If the dispenser works well but the ice maker does not fill, the issue may be a frozen fill tube, defective inlet valve, or ice maker control problem.
One mistake I have seen often is replacing the entire ice maker before checking the water path. A five-minute filter and tubing inspection can prevent an expensive repair.
Signs of Excessive Water Pressure
High water pressure for ice maker systems can be just as troublesome as low pressure. Excess pressure may cause leaks, loud valve operation, or damage to small parts inside the refrigerator.
Watch for these signs:
• Water dripping from the refrigerator connection
• A supply line that bursts or bulges
• A loud bang when the inlet valve closes
• Water continuing to enter after the mold is full
• Leaks around the filter housing
• Repeated failure of the water inlet valve
Water hammer is another concern. This happens when moving water stops suddenly and creates a shock wave in the pipe. The sound may be a bang, knock, or vibration behind the refrigerator.
Do not solve high pressure by partly closing the shutoff valve. A partially closed valve can restrict flow and create confusing pressure changes. A proper pressure-reducing valve is a safer and more stable solution when household pressure is too high.
Common Causes of Low Water Pressure for Ice Maker
Several parts can reduce water pressure for ice maker systems. Finding the restriction is easier when you inspect the system from the wall to the refrigerator.
Clogged Water Filter
A refrigerator filter collects sediment and chemical impurities. Over time, it can become blocked and reduce flow.
Replace the filter according to the refrigerator manual. Many filters need replacement about every six months, but heavy use or poor water quality may shorten that period.
Kinked Supply Line
Plastic tubing can bend behind the refrigerator when the appliance is pushed too close to the wall. Even a small kink can reduce flow.
Pull the refrigerator forward carefully and inspect the entire line. Keep a gentle curve in the tubing rather than a sharp bend.
Restricted Shutoff Valve
Old saddle valves and partly blocked angle stops can reduce flow. Mineral buildup may prevent the valve from opening fully.
A plumber may need to replace an old valve with a full-port quarter-turn shutoff valve.
Frozen Fill Tube
The small tube that sends water into the ice mold can freeze. This blocks water even when household pressure is normal.
A frozen tube may result from a leaking inlet valve, warm refrigerator conditions, or a control problem that allows excess water to enter and freeze.
Faulty Water Inlet Valve
The inlet valve opens when the ice maker calls for water. If the valve is clogged, electrically weak, or damaged, it may allow only a small stream.
Testing electrical parts requires caution. Disconnect power before inspection, and use a qualified technician if you are not comfortable working around appliances and water.
How Water Filters Affect Ice Maker Pressure
A water filter can improve taste and reduce contaminants, but it also adds resistance to the water path. A dirty, incorrectly installed, or incompatible filter can sharply reduce water flow.
If your ice maker stopped working after a filter change, check these points:
• Confirm that the filter is the correct model.
• Make sure the filter is fully locked into place.
• Remove all packaging caps or seals.
• Inspect the filter housing for cracks.
• Test the refrigerator with an approved bypass plug, if supplied.
Never operate a refrigerator without filtration if the manufacturer requires a filter for safe use. A bypass test is only for troubleshooting and should follow the appliance instructions.
Some aftermarket filters have different internal designs and may not match the original flow rate. When pressure is marginal, an original or certified replacement filter is often the better choice.

Reverse Osmosis and Ice Maker Water Pressure
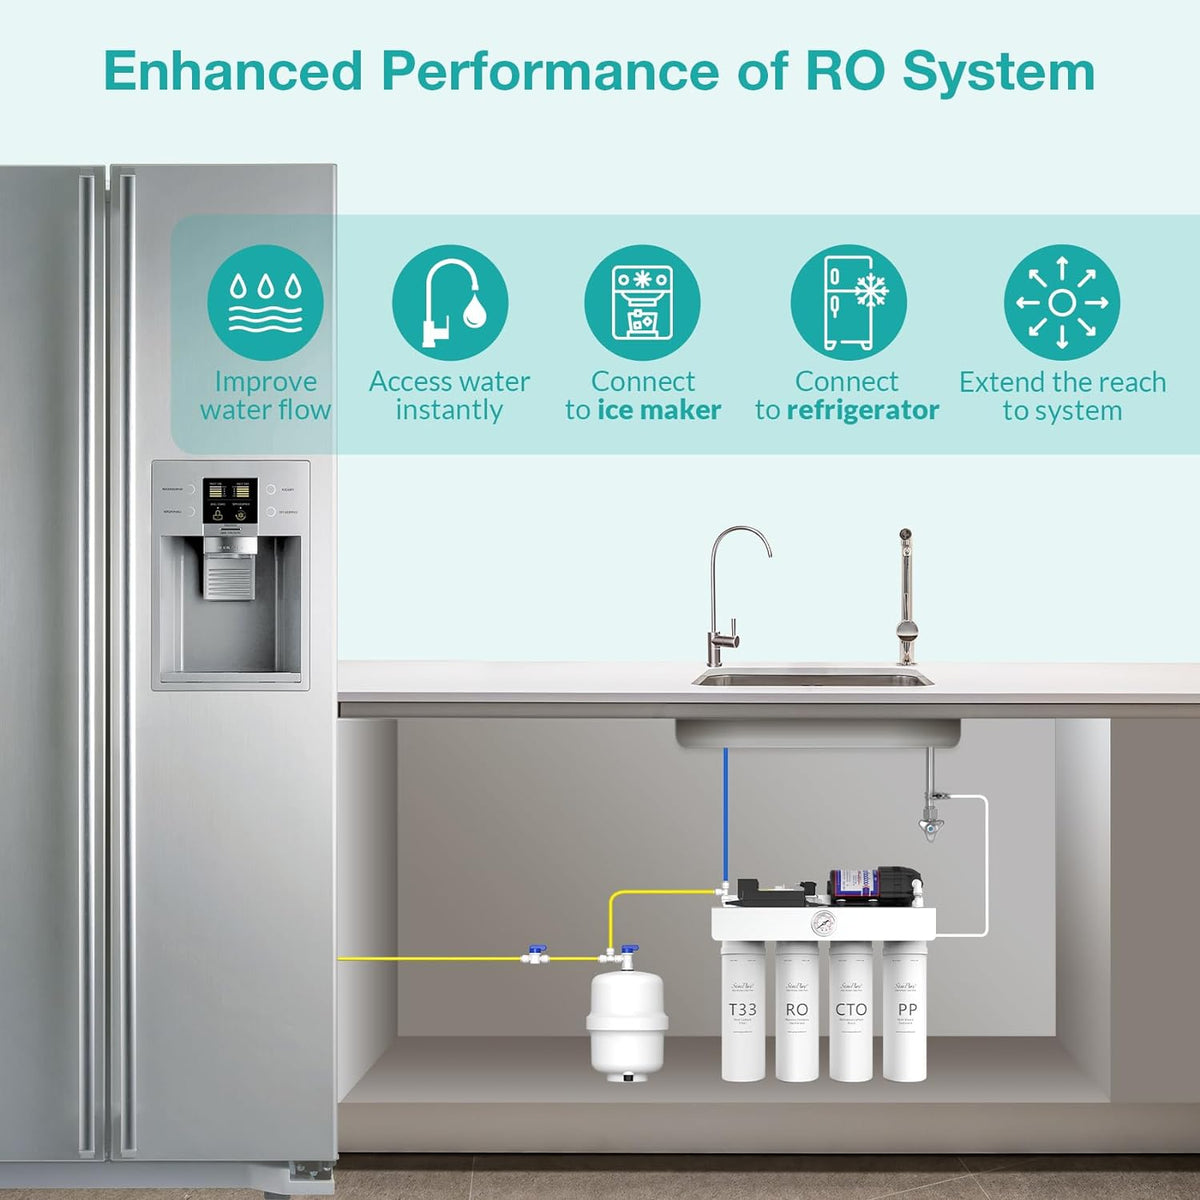
Reverse osmosis systems often create low water pressure for ice maker appliances. The system uses several filters and a storage tank, so flow may be slower than a standard cold-water line.
Many reverse osmosis systems need a booster pump or a dedicated pressure tank to supply a refrigerator properly. The pressure at the RO faucet may also differ from the pressure at the refrigerator connection.
Common solutions include:
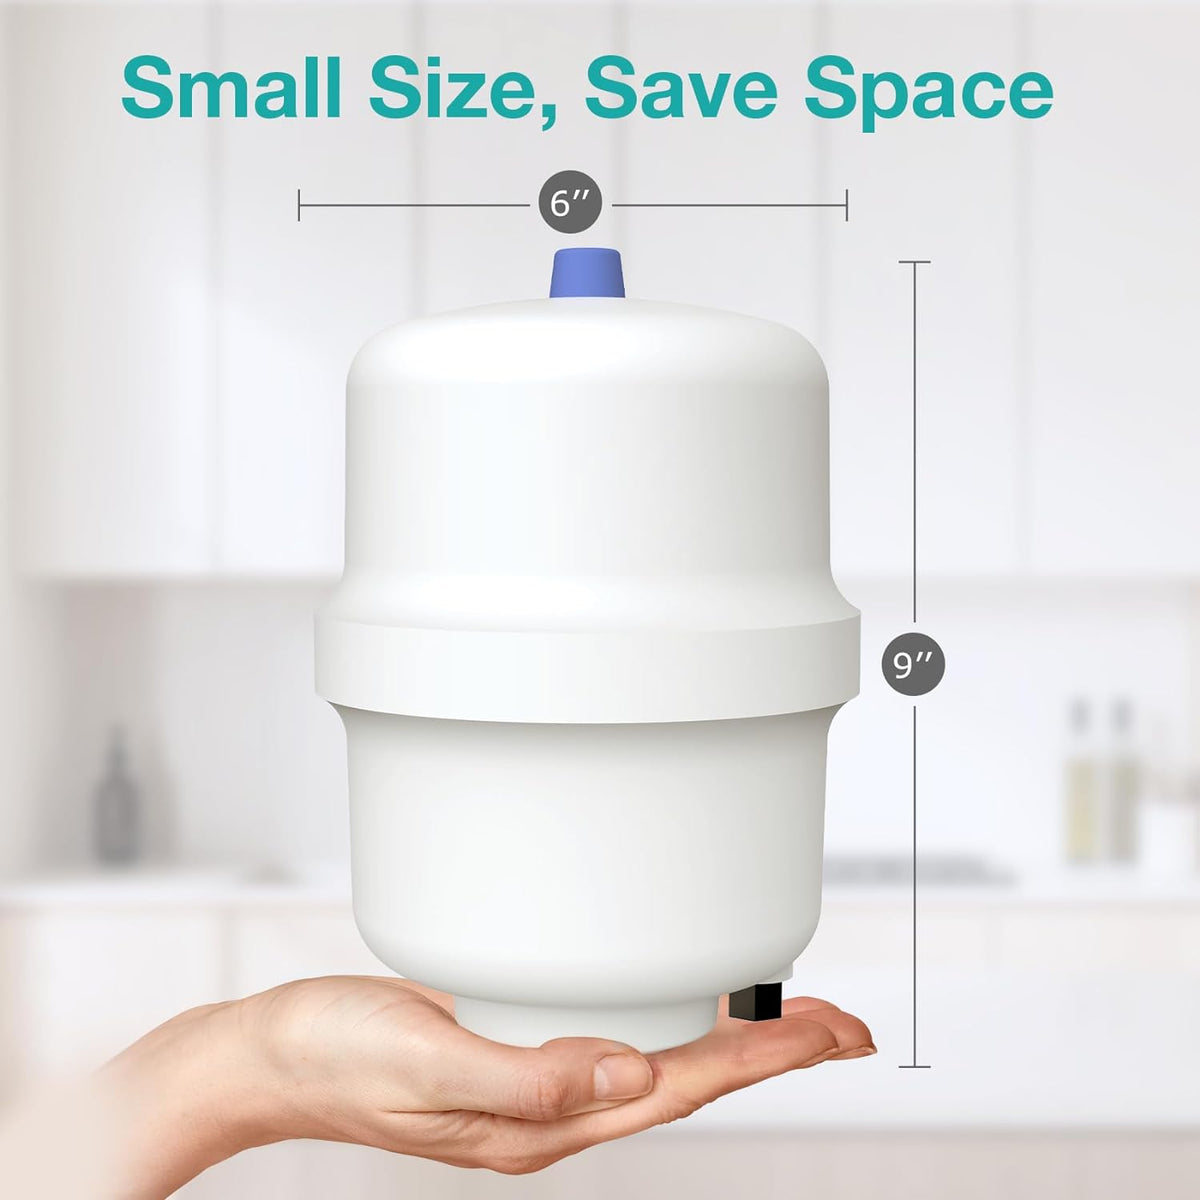
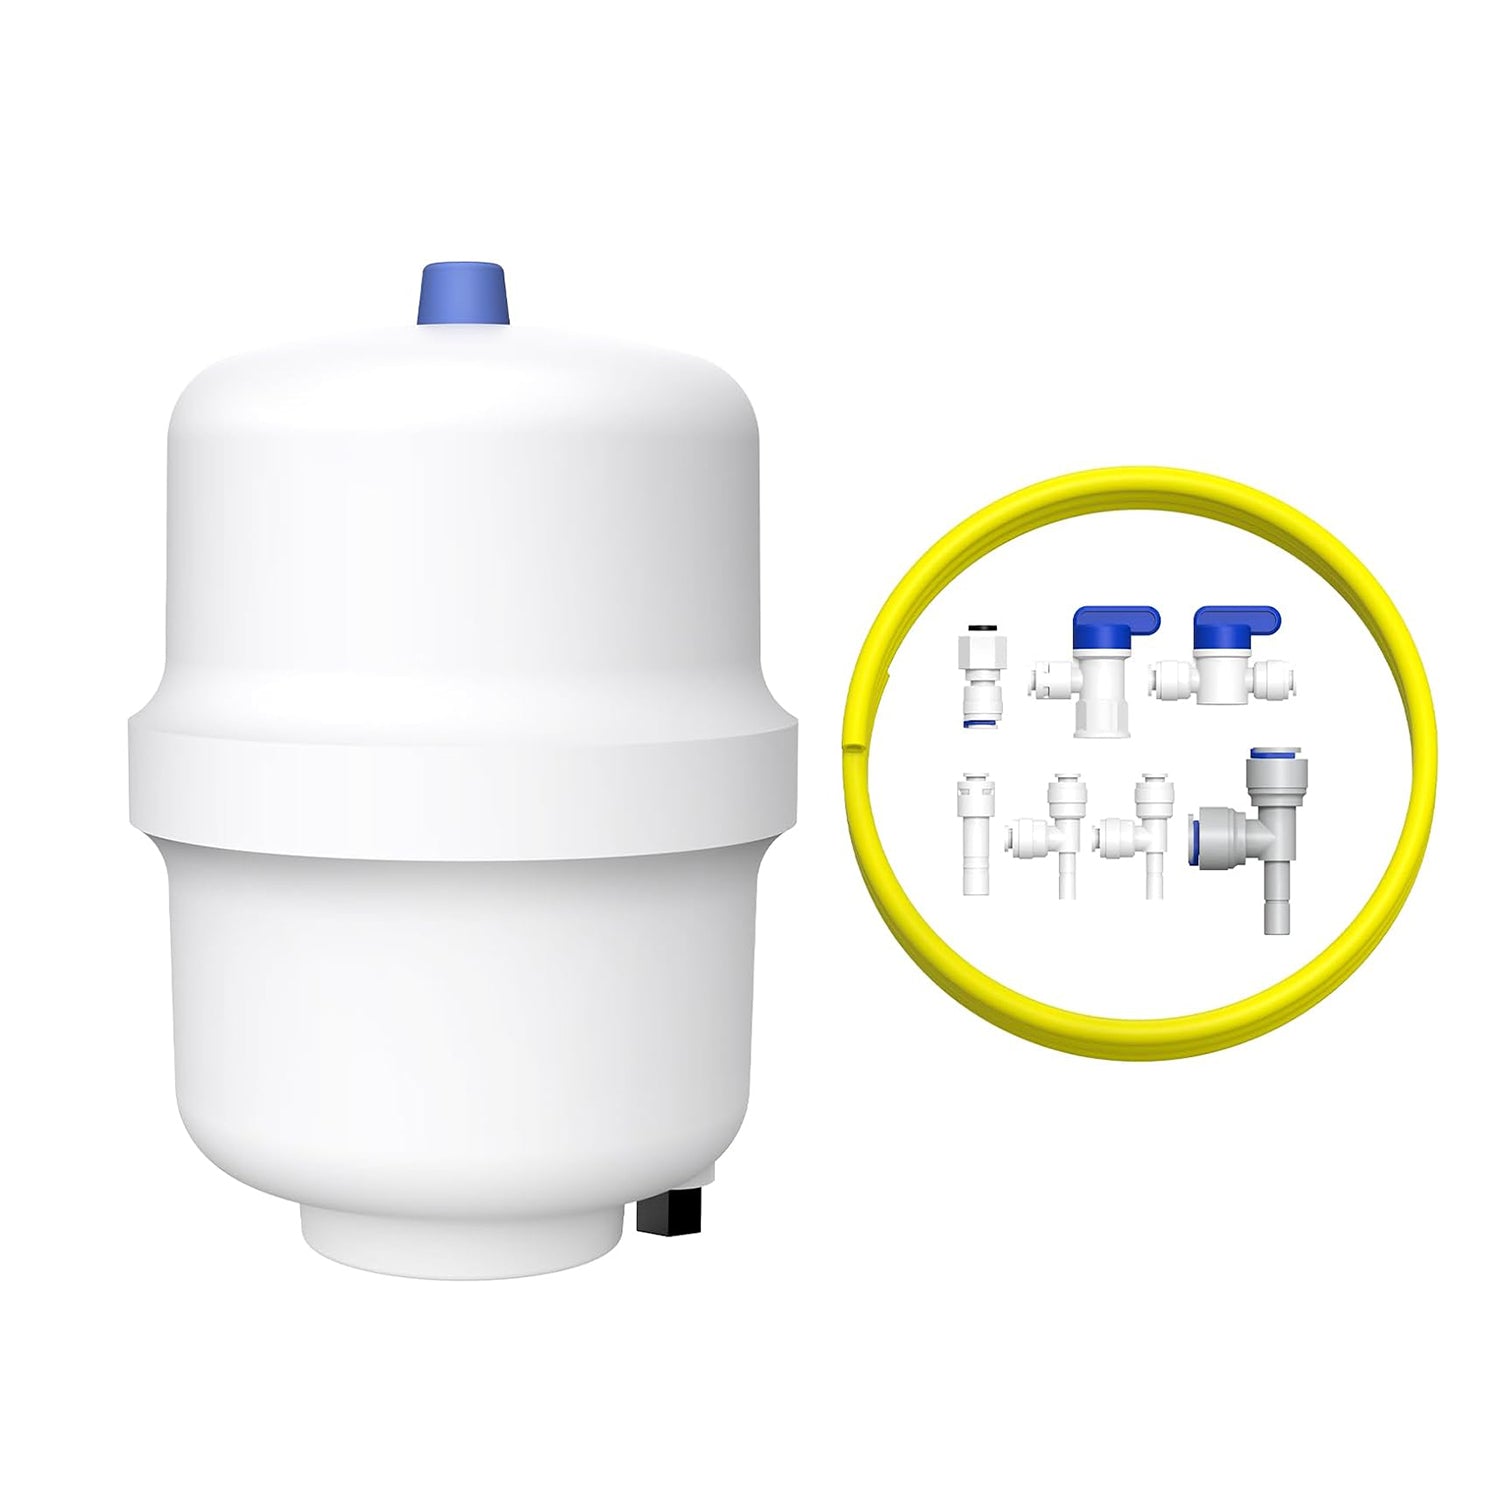
• Installing a larger RO storage tank
• Replacing blocked RO filters
• Checking air pressure in the storage tank
• Adding a booster pump
• Using a refrigerator-compatible pressure regulator
Do not connect an ice maker directly to an RO membrane outlet unless the system is designed for that use. The membrane produces water slowly, while the ice maker needs a quick burst of water during each fill cycle.
In one common setup, the drinking faucet worked normally, but the ice maker made tiny cubes. The real issue was a small, tired RO tank that could not deliver enough water during the fill cycle.
How to Improve Water Pressure for Ice Maker Use
Before changing household pressure, check for simple restrictions. Most ice maker problems do not require major plumbing work.
Use this order:
-
Replace the refrigerator water filter.
-
Check the supply line for kinks.
-
Open the shutoff valve fully.
-
Inspect the filter housing and connections.
-
Test water flow from the dispenser.
-
Measure pressure with a gauge.
-
Check the inlet valve and fill tube.
If measured pressure is below the appliance requirement, a plumber can inspect the home plumbing. Possible solutions include replacing a restricted valve, repairing a damaged pipe, adjusting a pressure-reducing valve, or installing a booster pump.
Never remove a pressure regulator without professional advice. Increasing pressure too much can damage faucets, appliances, washing machine hoses, and water heaters.
For a new installation, use the tubing size and connection type listed by the refrigerator manufacturer. Secure the line so it cannot rub against the cabinet or bend when the refrigerator moves.

Can Low Pressure Damage an Ice Maker?
Low water pressure for ice maker systems usually does not damage the ice maker directly. It more often causes poor filling, small cubes, slow production, and repeated cycling.
However, a weak water supply can place extra stress on the system if the ice maker repeatedly calls for water but does not fill correctly. A frozen fill tube or leaking valve may also cause damage over time.
High pressure presents a greater leak risk. It can strain plastic tubing, filter housings, valve connections, and internal refrigerator parts.
The safest approach is to keep pressure within the range listed in the owner’s manual. If you cannot find that information, use the appliance manufacturer’s support documents or ask a qualified service professional.
Water Pressure for Ice Maker Installation Tips
A reliable installation starts with the water line. Use materials approved for refrigerator connections, such as suitable braided stainless-steel tubing or manufacturer-approved plastic tubing.
Keep these tips in mind:
• Install a dedicated shutoff valve that is easy to reach.
• Avoid old, corroded, or damaged tubing.
• Leave enough slack for cleaning behind the refrigerator.
• Do not place sharp bends in the line.
• Flush a new water line before connecting it.
• Check every connection for leaks after installation.
• Confirm the refrigerator is level.
After connecting the line, discard the first several batches of ice. This clears air and manufacturing residue from the tubing and mold. Follow the refrigerator manual for the exact flushing and discard instructions.
Check the connections again after several hours and again the next day. Small leaks can take time to appear, especially behind a refrigerator.
When to Call a Professional
You can handle filter replacement, basic tubing checks, and pressure measurement in many cases. Call a qualified plumber or appliance technician when the problem involves the home water supply or electrical components.
Professional help is wise when:
• Pressure is above 80 psi.
• A pipe or valve is leaking inside the wall.
• The refrigerator inlet valve needs electrical testing.
• A reverse osmosis booster pump is required.
• Water hammer is severe.
• The ice maker continues leaking after basic checks.
• You find mold, corrosion, or damaged wiring.
Water and electricity are a risky combination. Unplug the refrigerator before working near electrical parts, and close the water shutoff before disconnecting tubing.
A professional can also test dynamic pressure, flow rate, valve operation, and temperature. This prevents guesswork and helps avoid replacing parts that are still working.
Frequently Asked Questions About Water Pressure for Ice Maker
What is the minimum water pressure for an ice maker?
Many ice makers need at least 20 psi, but the exact requirement varies by model. Check the refrigerator manual because some units require a higher minimum pressure.
Is 40 psi enough for an ice maker?
Yes, 40 psi is enough for many refrigerator ice makers and water dispensers. The appliance should still have a clear filter, open shutoff valve, and unrestricted supply line.
Can high water pressure stop an ice maker from working?
High pressure can cause leaks, valve problems, and water hammer. It may not stop production immediately, but it can damage components and create unsafe plumbing conditions.
Can a clogged filter lower ice maker water pressure?
Yes, a clogged filter can greatly reduce flow to the ice maker. Replacing the filter with the correct approved model is one of the first troubleshooting steps.
Does reverse osmosis reduce water pressure for an ice maker?
Yes, reverse osmosis systems often deliver water more slowly than a standard plumbing line. A larger storage tank, booster pump, or properly adjusted system may be needed.
Why does my ice maker make small cubes?
Small cubes may result from low water pressure, a clogged filter, a kinked line, a frozen fill tube, or a faulty inlet valve. Check the water path before replacing the ice maker.
Should I use a pressure regulator for my refrigerator?
Use a pressure regulator when household pressure exceeds the refrigerator’s rated range or the plumbing system has pressure spikes. Have a professional select and adjust it when possible.
Conclusion
The right water pressure for ice maker performance is usually 40 to 60 psi, while many models require at least 20 psi. Low pressure, clogged filters, kinked tubing, frozen fill tubes, and weak inlet valves can all reduce ice production. Excess pressure can create leaks and damage appliance parts.
Start with simple checks: replace the filter, inspect the water line, open the shutoff valve, and measure pressure with a gauge. Follow your refrigerator manual and call a professional when pressure is unsafe or the repair involves electrical or hidden plumbing work. Take a few minutes to test your system today, and share your results or questions in the comments.