This guide walks you through how to kitchen cabinets from start to finish—whether you’re building, installing, or upgrading. You’ll learn key steps, tools, and tips to get professional-looking results without the high cost.
Key Takeaways
- Plan thoroughly: Measure your space accurately and sketch a layout before buying materials or tools.
- Choose the right materials: Solid wood, plywood, and MDF each have pros and cons—pick based on budget and style.
- Use quality hardware: Soft-close hinges and full-extension drawer slides make cabinets last longer and feel premium.
- Install level and secure: A level base and sturdy mounting prevent sagging and ensure longevity.
- Finish with care: Sand, prime, and paint or stain properly for a smooth, durable surface.
- Upgrade smartly: Replace old doors or add organizers to refresh cabinets without a full remodel.
- Safety first: Wear goggles, gloves, and a mask when cutting, sanding, or using chemicals.
Quick Answers to Common Questions
Can I install kitchen cabinets myself?
Yes! Many homeowners successfully install cabinets with basic tools and careful planning. Start with a small section to build confidence.
What’s the best wood for kitchen cabinets?
Plywood is ideal for cabinet boxes due to its strength and stability. Use solid wood or MDF for doors depending on your finish preference.
How much do kitchen cabinets cost?
Stock cabinets cost $100–$300 per linear foot. Custom cabinets can run $500–$1,200 per foot. DIY can cut costs by 30–50%.
Should I paint or stain my cabinets?
Paint offers a modern, clean look and hides imperfections. Stain shows natural wood grain but requires smoother surfaces.
How do I make old cabinets look new?
Replace doors and hardware, or repaint. Add soft-close hinges and drawer organizers for a high-end feel.
How to Kitchen Cabinets: A Complete Step-by-Step Guide
Whether you’re remodeling your kitchen or just upgrading your storage, knowing how to kitchen cabinets can save you thousands and give you a custom look. This guide covers everything from planning and materials to installation and finishing. You don’t need to be a contractor—just follow these clear steps, and you’ll get professional results.
Step 1: Plan Your Kitchen Cabinet Layout
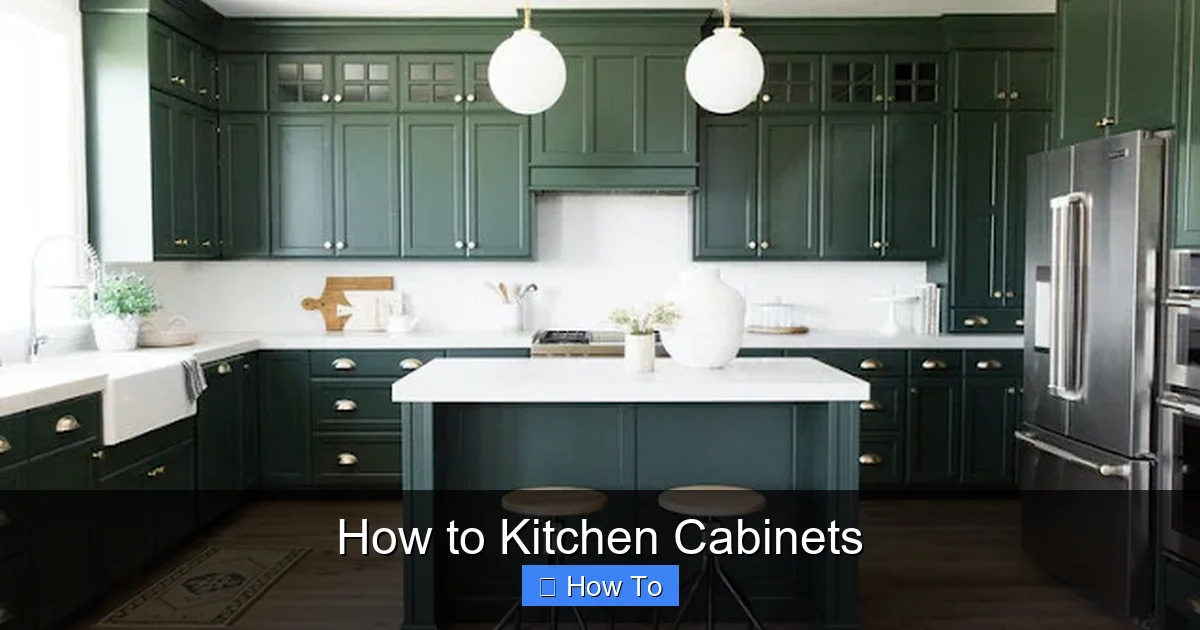
Visual guide about How to Kitchen Cabinets
Image source: 3.bp.blogspot.com
Before you buy a single screw, take time to plan. A well-thought-out layout makes cooking easier and looks better.
Measure Your Space
Use a tape measure to record the width, height, and depth of your kitchen walls. Note the location of windows, doors, outlets, and appliances. Measure from floor to ceiling—standard cabinets are 34.5 inches tall with a 1.5-inch countertop, but your space may vary.
Sketch a Rough Layout
Draw a simple floor plan on graph paper or use free online tools like SketchUp or RoomSketcher. Include:
– Base cabinets (under countertops)
– Wall cabinets (above counters)
– Tall cabinets (for pantry or appliances)
– Corner solutions (lazy Susans or pull-out shelves)
Tip: Leave at least 15 inches between countertops and wall cabinets for easy use.
Decide on Cabinet Style
Choose a style that matches your kitchen:
– Shaker: Clean lines, versatile
– Flat-panel: Modern and minimal
– Raised-panel: Traditional and elegant
Also decide between stock (pre-made), semi-custom, or custom cabinets. Stock is cheapest and fastest; custom offers the most flexibility.
Step 2: Choose the Right Materials
The material affects durability, cost, and appearance. Here are the most common options:
Solid Wood
Durable and beautiful, but expensive. Oak, maple, and cherry are popular. Best for visible areas like doors.
Plywood
Strong, stable, and resistant to warping. Great for cabinet boxes. Look for furniture-grade plywood with smooth veneers.
MDF (Medium-Density Fiberboard)
Smooth and affordable, but heavier and less water-resistant. Ideal for painted cabinets.
Particleboard
Cheap but weak. Often used in low-end cabinets. Avoid for high-moisture areas.
Tip: Use plywood for cabinet boxes and solid wood or MDF for doors. This balances cost and quality.
Step 3: Gather Tools and Hardware
You’ll need a few key tools to build or install cabinets:
- Circular saw or table saw
- Drill and drill bits
- Level (24-inch and 48-inch)
- Clamps
- Measuring tape
- Screwdriver or impact driver
- Pocket hole jig (optional but helpful)
- Sander (orbital or belt)
For hardware, choose:
– Hinges: Soft-close, concealed hinges are best
– Drawer slides: Full-extension, soft-close slides
– Handles and knobs: Match your kitchen style
Tip: Buy 10% extra screws and hardware—mistakes happen!
Step 4: Build or Assemble Cabinets
If you’re building from scratch, start with the cabinet box.
Cut the Pieces
Using your measurements, cut:
– Sides (2 pieces)
– Top and bottom (2 pieces)
– Back panel (1 piece)
– Shelves (as needed)
Use a saw guide or straight edge to ensure clean cuts.
Assemble the Box
1. Lay the sides flat.
2. Attach top and bottom with wood glue and screws.
3. Add the back panel (use 1/4-inch plywood).
4. Insert shelves and secure with shelf pins or screws.
Tip: Use a pocket hole jig for strong, hidden joints.
Install Doors and Drawers
Attach hinges to the door first, then mount to the cabinet. Adjust hinges so doors are level and flush.
For drawers:
1. Build the drawer box (sides, front, back, bottom)
2. Attach slides to the cabinet and drawer
3. Test smooth operation
Step 5: Install Cabinets
Installation order matters: start with wall cabinets, then base cabinets.
Install Wall Cabinets First
1. Find and mark wall studs.
2. Use a ledger board (a temporary support) to hold cabinets at the right height.
3. Lift the first cabinet and secure to studs with screws.
4. Clamp the next cabinet in place and connect with screws through the face frames.
5. Repeat until all wall cabinets are installed.
6. Remove the ledger board.
Tip: Use a laser level to ensure all cabinets are perfectly aligned.
Install Base Cabinets
1. Place cabinets in position.
2. Shim under cabinets to level them (use wooden shims).
3. Secure to wall studs and to each other.
4. Install countertops after base cabinets are secure.
Fill Gaps and Trim
Use filler strips or trim to cover gaps between cabinets and walls. Paint or stain to match.
Step 6: Finish and Protect
A good finish protects wood and enhances beauty.
Sand Smooth
Start with 120-grit sandpaper, then move to 220-grit for a smooth surface. Wipe away dust.
Prime and Paint or Stain
– For paint: Apply primer, then 2–3 coats of cabinet-grade paint.
– For stain: Apply stain, wipe off excess, then seal with polyurethane.
Let each coat dry completely. Lightly sand between coats with 220-grit paper.
Tip: Use a foam roller for smooth paint application.
Troubleshooting Common Issues
Doors Don’t Close Properly?
Adjust the hinges. Most hinges have screws to move the door up, down, in, or out.
Cabinets Are Wobbly?
Check if they’re secured to wall studs. Add more screws or use longer ones.
Drawers Stick?
Make sure slides are aligned. Lubricate with a dry silicone spray—never oil.
Gaps Between Cabinets?
Use filler strips or expandable trim. Paint to match.
Conclusion
Learning how to kitchen cabinets gives you control over your kitchen’s look, function, and budget. Whether you’re building custom cabinets or installing pre-made ones, careful planning, quality materials, and precise installation make all the difference. With the right tools and patience, you can create cabinets that last decades and impress everyone who sees them. Start small—maybe just one cabinet—and build your confidence. Your dream kitchen is within reach.