
You can sharpen a knife without a sharpener by using a ceramic mug, unglazed plate, or fine abrasive surface.
Learning how to sharpen a knife without a knife sharpener is useful when you are camping, cooking in a rental kitchen, or facing a dull blade at the worst time. With the right angle, light pressure, and a safe setup, simple household items can restore a usable edge. This guide explains tested methods, common mistakes, safety tips, and when a professional sharpening service is the better choice.
What knife sharpening really does
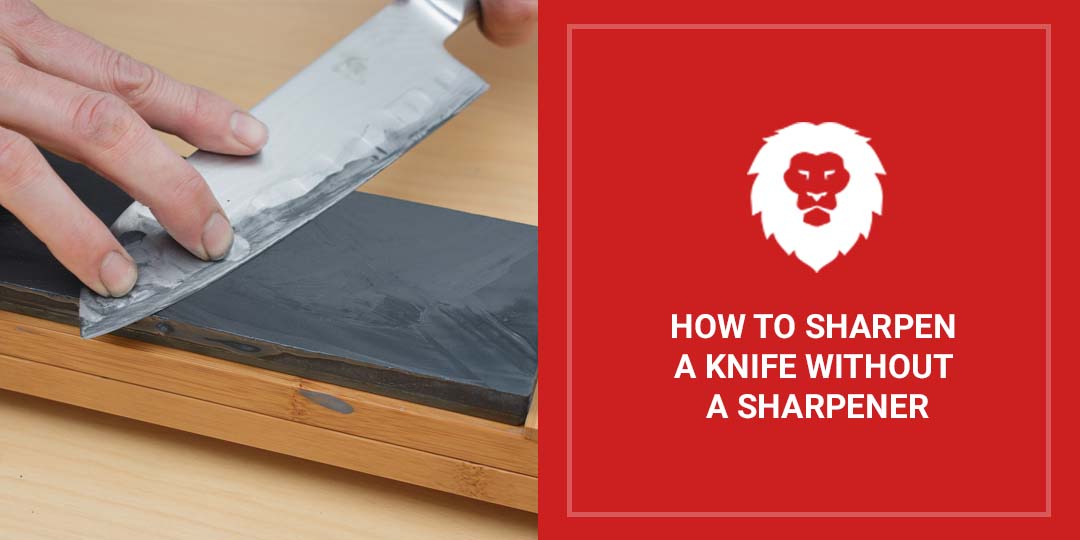
A knife becomes dull when its thin cutting edge bends, wears down, or develops tiny chips. Sharpening removes a small amount of metal to create two clean sides that meet at a fine point.
Many people use the word “sharpening” for every knife-care task. However, sharpening and honing are different:
• Sharpening removes metal and creates a new edge.
• Honing realigns a slightly bent edge without removing much metal.
• Stropping polishes and straightens the edge after sharpening.
This difference matters when learning how to sharpen a knife without a knife sharpener. A very dull knife needs an abrasive surface. A knife that feels only slightly blunt may improve with light honing or stropping.
A sharp knife is also safer than a dull one in many kitchen tasks. A dull blade can slip when you press hard. Still, every sharp knife requires careful handling, stable cutting boards, and safe storage.
How to sharpen a knife with a ceramic mug
The bottom ring of an unglazed ceramic mug can work like a small sharpening stone. The rough ceramic surface contains tiny abrasive particles that can wear metal from the edge.
Choose a heavy mug with a flat base. Avoid a thin, light cup that may slide or break.
Step-by-step method
-
Place the mug upside down on a dry towel.
-
Find the unglazed ceramic ring around the bottom.
-
Hold the knife at about a 15 to 20 degree angle.
-
Place the heel of the blade against the ceramic.
-
Pull the blade toward you while moving from the heel to the tip.
-
Use gentle pressure, as if slicing a thin layer from the mug.
-
Repeat five to ten times on one side.
-
Repeat the same number of strokes on the other side.
-
Wipe the blade and test it on paper or a soft tomato.
Do not saw back and forth. Each stroke should travel in one direction. Keep your fingers away from the edge, and hold the mug firmly with your free hand.
In my own kitchen tests, a ceramic mug worked well on a moderately dull chef’s knife. It did not repair deep chips, and the result was less even than a proper whetstone. Still, it was a useful emergency method when no sharpening tool was available.

How to sharpen a knife with an unglazed plate
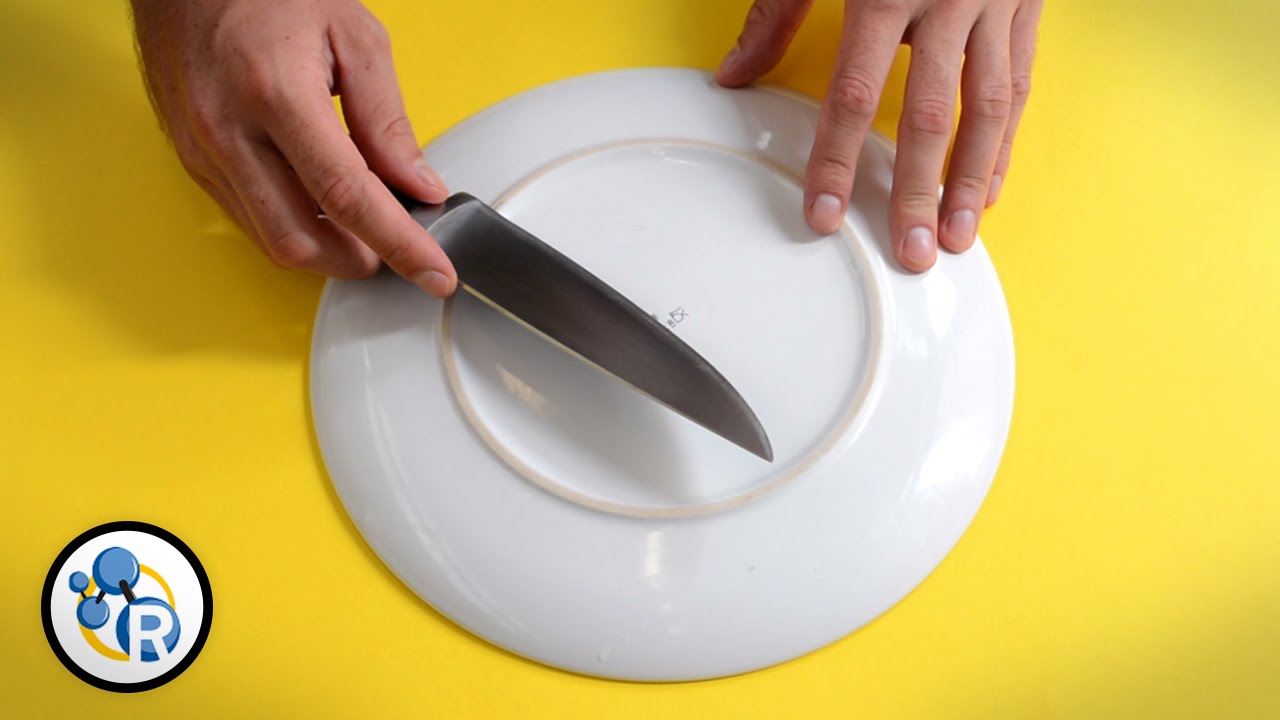
An unglazed ceramic plate can provide a wider surface than a mug. This makes it easier to keep the blade moving in a straight line.
Look at the underside of the plate. The rough ring that touches the table is usually unglazed. It should feel slightly gritty, not smooth or painted.
Follow these steps
-
Put the plate on a non-slip towel.
-
Hold the knife at a consistent 15 to 20 degree angle.
-
Start with the heel of the blade on the rough ring.
-
Slide the blade toward you until the tip reaches the ceramic.
-
Lift the knife and return it to the starting point.
-
Make five to eight passes on each side.
-
Check the edge before making more passes.
Use less pressure than you think you need. Heavy pressure can scratch the blade, damage the ceramic, or create an uneven edge.
This method is one of the simplest answers to how to sharpen a knife without a knife sharpener. It works best for kitchen knives with a standard double bevel. It is not ideal for single-bevel Japanese knives, serrated knives, or blades with special coatings.
How to sharpen a knife with sandpaper
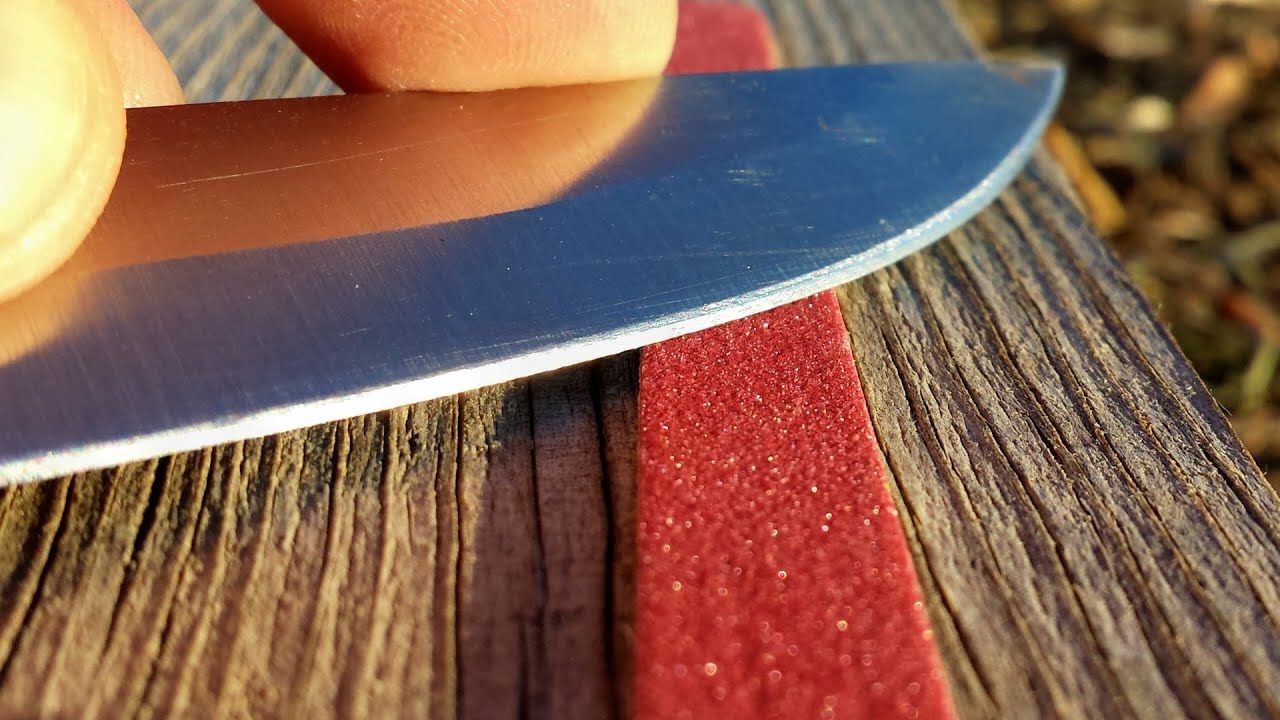
Fine wet/dry sandpaper can act like a flexible sharpening surface. It is helpful when you have no ceramic dish and want more control over the grit.
Use sandpaper made for metal. Start with about 400 to 600 grit for a dull edge. Move to 800 or 1,000 grit for a smoother finish.
Safe sandpaper technique
-
Place the sandpaper on a flat board or thick piece of cardboard.
-
Secure it with tape so it cannot move.
-
Keep the abrasive side facing up.
-
Hold the blade at a 15 to 20 degree angle.
-
Pull the knife across the paper from heel to tip.
-
Use equal strokes on both sides.
-
Wipe away metal dust before checking the edge.
A flat surface is important. If the paper wrinkles, the edge may become rounded. Replace the sheet when it becomes smooth or clogged with metal.
Sandpaper gives better control than a random rough surface, but it can still remove too much metal if you press hard. Make slow passes and check your progress often.

How to sharpen a knife with a leather belt
A leather belt can help refine an edge after you use ceramic or sandpaper. This process is called stropping. It does not usually sharpen a very dull knife by itself.
Use a plain leather belt without metal studs, thick stitching, or a rough finish. Lay it flat on a table, or hold it tightly against a firm surface.
Stropping steps
-
Place the blade flat against the leather.
-
Lift the spine slightly to create a small angle.
-
Pull the knife away from the cutting edge.
-
Move from the heel to the tip.
-
Repeat ten to fifteen times per side.
-
Use very light pressure.
Always move the edge backward. Never push the sharp edge into the leather. Pushing can cut the belt and catch the blade.
Stropping removes fine burrs and can make a knife feel smoother. It is a good final step in learning how to sharpen a knife without a knife sharpener, especially after using a ceramic surface.
How to use a glass surface carefully
A flat glass surface can support sandpaper during sharpening. Bare glass is not a good replacement for an abrasive because it is too smooth and may cause the knife to slide.
If you use glass, place fine sandpaper on top and secure it well. A thick picture frame glass panel or a flat glass cutting board may work, but it must be stable and free from cracks.
Do not scrape the knife directly across a drinking glass, window, or mirror. The blade may slip, scratch the glass, or break it. Broken glass creates a serious injury risk.
This approach is best used as a way to flatten the sandpaper. It is not a separate sharpening method. When asking how to sharpen a knife without a knife sharpener, focus on the abrasive material rather than the support beneath it.

The correct angle for knife sharpening
The angle controls the balance between sharpness, strength, and ease of sharpening. A narrow angle can create a very sharp edge, but it may bend or chip more easily. A wider angle creates a stronger edge but may feel less slicing-focused.
Common angles include:
• 15 to 20 degrees per side for many kitchen knives.
• 20 to 25 degrees per side for outdoor and utility knives.
• About 10 to 15 degrees per side for some thin Japanese-style blades.
The exact angle depends on the knife design and manufacturer’s instructions. When unsure, choose a moderate angle and keep it steady.
A simple angle trick is to imagine the thickness of two stacked coins under the spine of a kitchen knife. This is not exact, but it helps beginners avoid holding the blade too flat.
Consistency matters more than perfect measurement. A steady 18-degree angle usually produces a better edge than constantly changing between 12 and 25 degrees.

How to tell whether the knife is sharp
Do not test sharpness with your thumb. A sharp knife can cause a deep cut even when touched lightly.
Use safer tests:
• Slice a sheet of paper from the edge. A sharp blade should cut without tearing badly.
• Slice a ripe tomato with light pressure.
• Cut a soft onion or bell pepper skin.
• Look for a clean reflection along the edge. A dull spot may reflect more light.
A knife should cut food with a gentle forward motion. If you need to force the blade down, the edge may still be dull or damaged.
After sharpening, wash and dry the knife to remove tiny metal particles. Never leave abrasive dust on a blade that will touch food.
Common mistakes to avoid
Learning how to sharpen a knife without a knife sharpener is simple, but poor technique can damage the blade.
Avoid these mistakes:
• Using too much pressure. Let the abrasive do the work.
• Changing the angle during each stroke. This rounds the edge.
• Sharpening only one side. Most kitchen knives need balanced work on both sides.
• Moving the blade back and forth quickly. This can create an uneven bevel.
• Using a rough rock from outdoors. Hidden grit can scratch or chip the blade.
• Sharpening on a loose plate or mug. Movement makes the process unsafe.
• Testing sharpness with a finger. Use paper or food instead.
• Ignoring serrated edges. Flat ceramic methods can damage the teeth.
One mistake I made early on was making too many passes because the knife did not feel sharp right away. The extra pressure created a rough burr. Fewer strokes, a stable angle, and frequent checks gave a much cleaner result.
Which knives should not be sharpened this way?
Household methods are best for basic, double-bevel kitchen knives. Some blades need special care.
Avoid these emergency methods on:
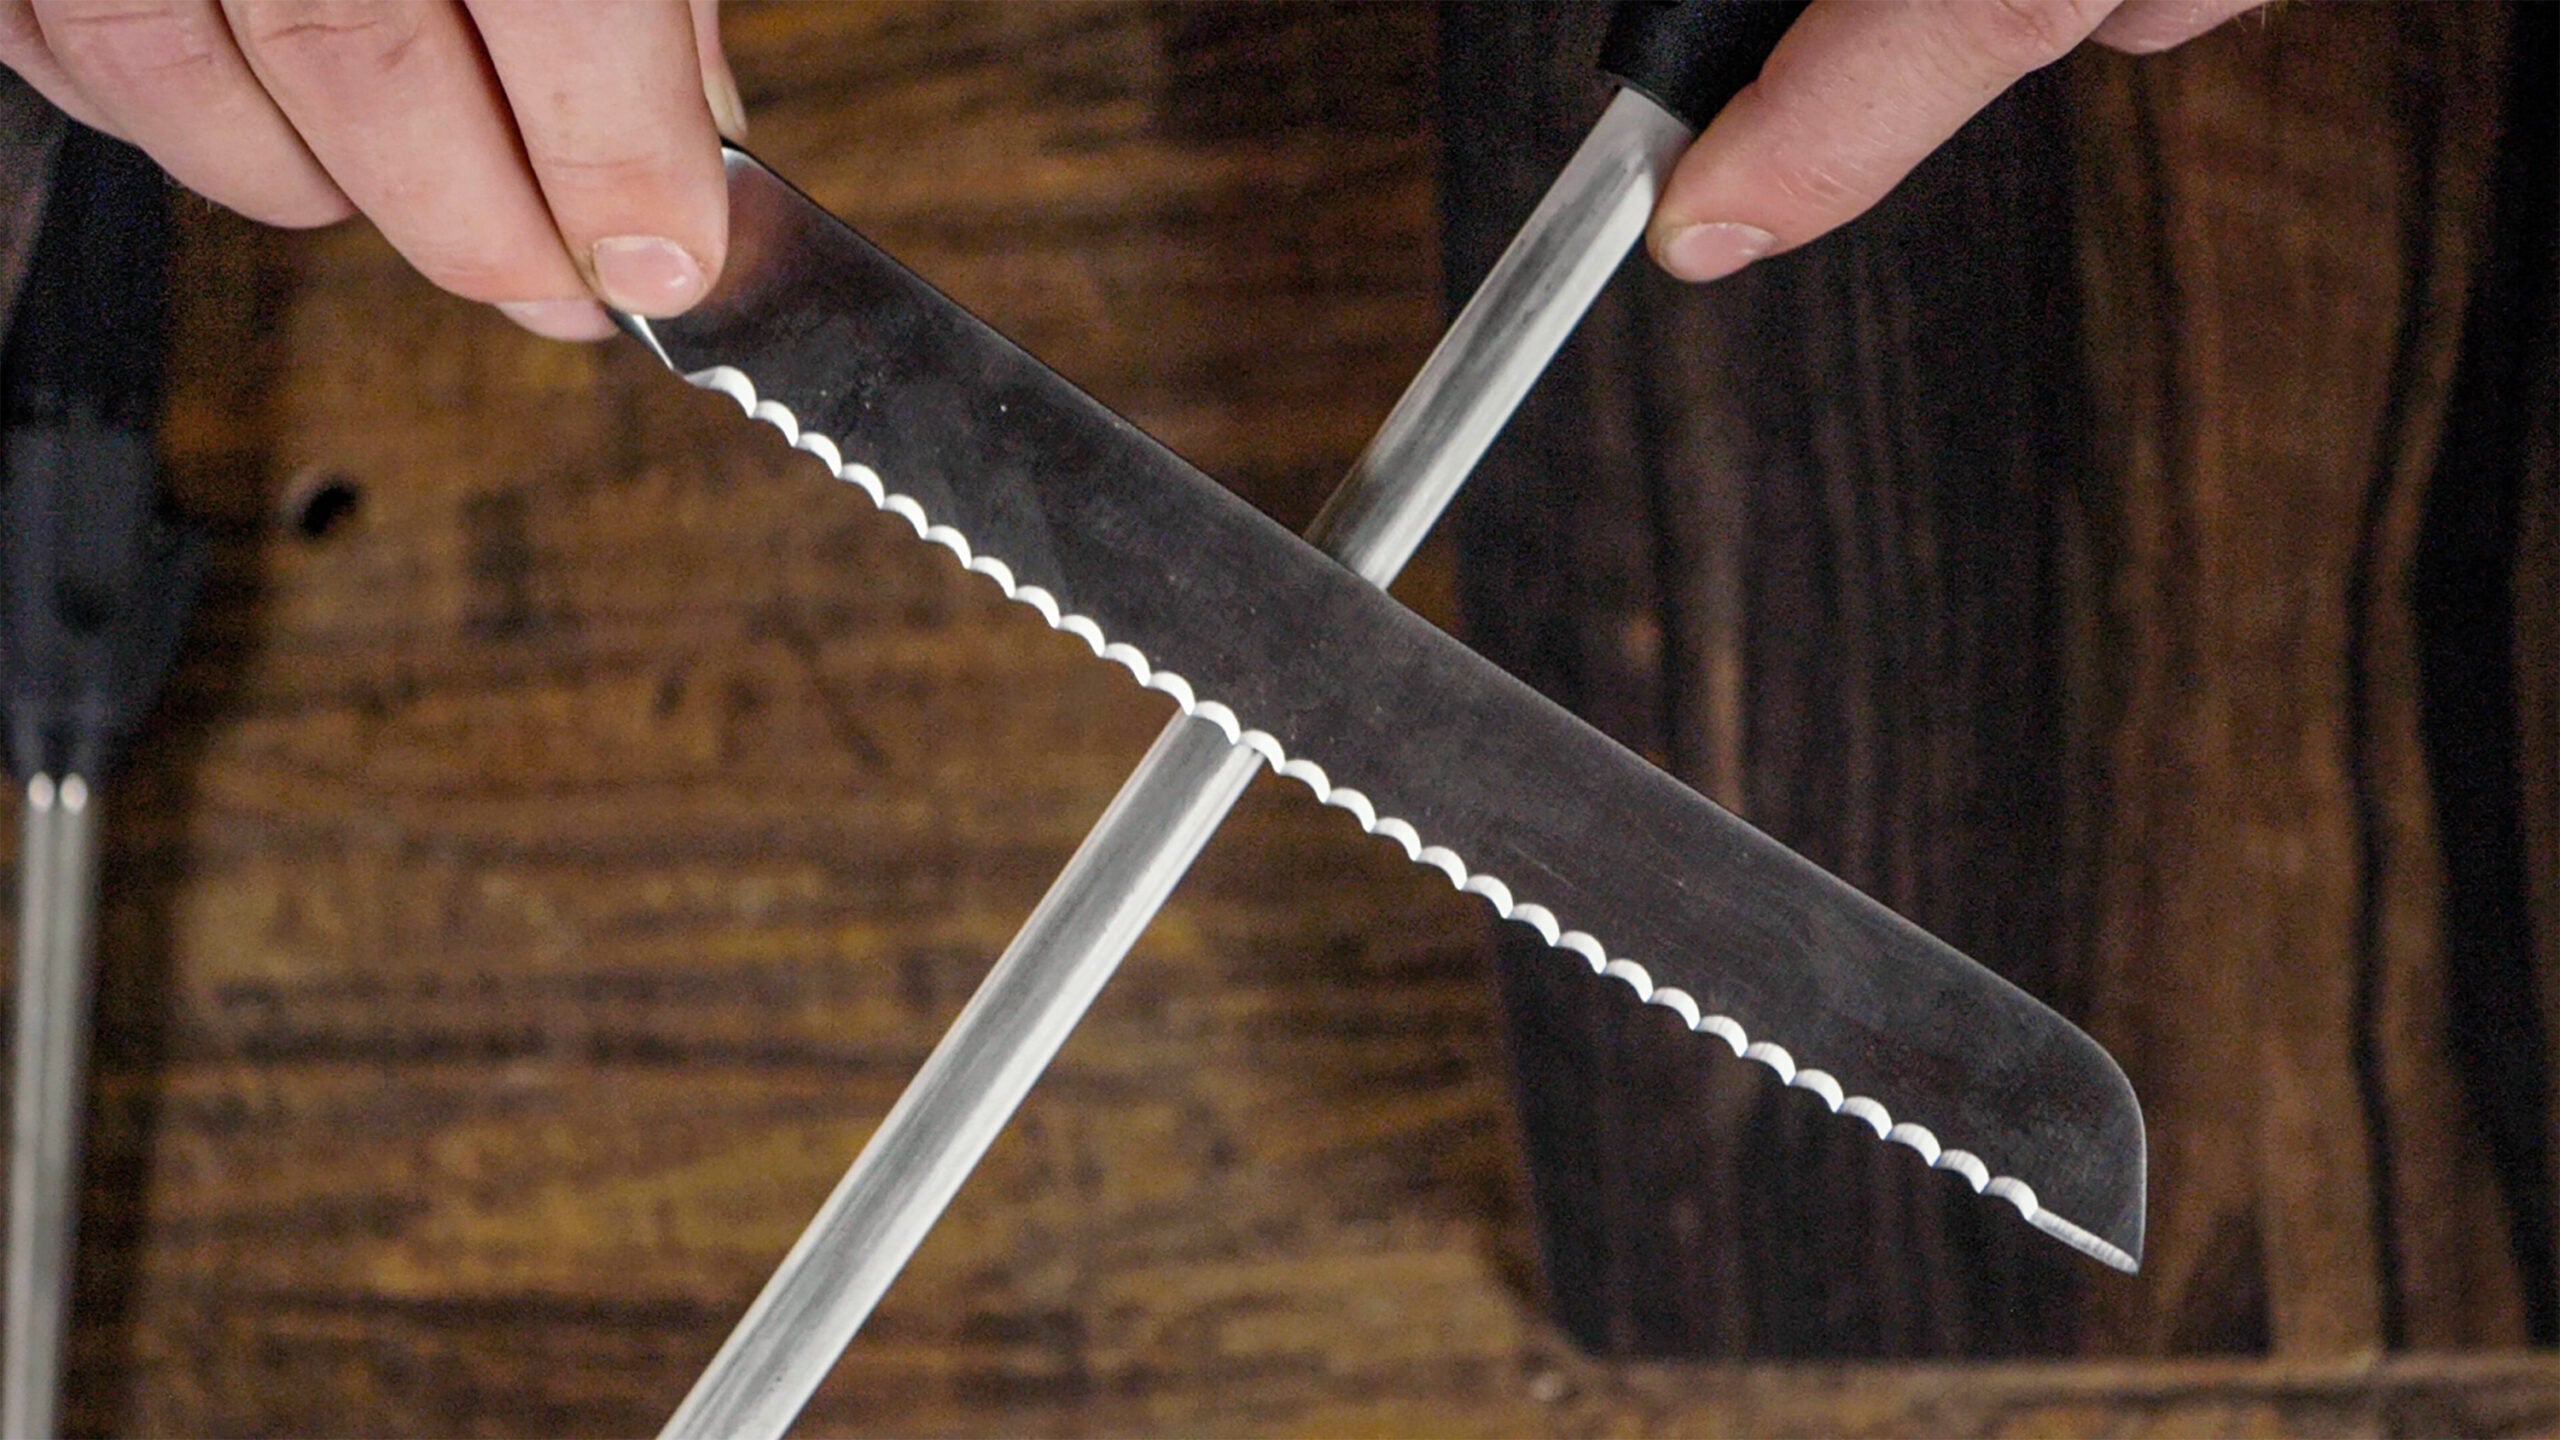
• Serrated knives, because their teeth need a tapered rod or professional service.
• Ceramic knives, because ceramic blades require diamond abrasives.
• Single-bevel sushi knives, because only one side is designed for sharpening.
• Heavily chipped blades, because they may need substantial metal removal.
• Expensive handmade knives, unless you understand their edge geometry.
• Blades with a damaged handle or loose parts.
If a knife has a deep crack, bent tip, or large chip, stop using it. Improvised sharpening may worsen the damage. A trained professional can inspect the blade and restore it more safely.
How to maintain a sharp knife after sharpening
Good maintenance reduces the need to sharpen often. Always use a wood, plastic, or soft composite cutting board. Glass, stone, and ceramic boards can dull a knife quickly.
Wash knives by hand with mild soap and dry them at once. Dishwashers expose blades to heat, harsh detergent, movement, and contact with other items.
Store knives in a block, sheath, or magnetic strip placed safely away from children. Do not toss loose knives into a drawer.
Use these habits:
• Cut only on a suitable board.
• Keep the blade clean and dry.
• Use a honing rod when the edge feels slightly misaligned.
• Avoid cutting bones, frozen food, glass, and metal.
• Sharpen when gentle slicing becomes difficult.
A knife does not need to feel razor-like for every task. A strong, clean edge is often more useful and safer than an extremely thin edge that chips easily.
When a professional sharpener is the better choice
Improvised sharpening is useful in a pinch, but it has limits. A professional sharpener has stable stones, measured angles, and tools for repairing chips and uneven bevels.
Choose professional help when:
• The blade has deep chips.
• The edge is badly bent.
• The knife is valuable or sentimental.
• You need to restore a single-bevel knife.
• You own a serrated or ceramic knife.
• Several home attempts have made the edge worse.
A professional may remove more metal than necessary if the service is careless, so choose a reputable provider and ask how the knife will be sharpened. For regular home cooks, learning basic maintenance and using a proper whetstone later is often more cost-effective than relying on emergency methods.
Safety rules for sharpening a knife at home
Safety should come before sharpness. Work in a bright, dry area with enough room for both hands.
Follow these rules:
• Keep the cutting edge pointed away from your body.
• Use a towel or rubber mat to stop the ceramic from sliding.
• Keep your free hand behind the blade path.
• Wear cut-resistant gloves if you have them, but do not treat gloves as complete protection.
• Keep children and pets out of the work area.
• Wipe metal dust from the knife before food preparation.
• Stop if the blade, mug, plate, or sandpaper moves.
A secure setup turns sharpening into a controlled task. A loose setup turns it into a guessing game, and knives are not forgiving when guessing goes wrong.
Frequently asked questions about how to sharpen a knife without a knife sharpener
Can I sharpen a knife with a coffee mug?
Yes, an unglazed ceramic ring on the bottom of a sturdy mug can sharpen a moderately dull knife. Use light pressure, keep the mug stable, and sharpen both sides evenly.
Can I sharpen a knife with a plate?
Yes, the unglazed ring on the bottom of a ceramic plate can work as an abrasive surface. Secure the plate on a towel and use steady strokes at a consistent angle.
Is a leather belt enough to sharpen a dull knife?
Usually, no. A leather belt is mainly used for stropping, which polishes and realigns a fine edge after sharpening with an abrasive surface.
What angle should I use when sharpening a kitchen knife?
A 15 to 20 degree angle per side works well for many kitchen knives. The best angle depends on the blade, so check the manufacturer’s guidance when available.
Can I sharpen a serrated knife with a ceramic mug?
It is not recommended. A mug cannot properly follow the narrow grooves of a serrated blade and may damage the teeth.
How many strokes should I use on each side?
Start with five to ten light strokes per side, then check the edge. More strokes are not always better because excessive grinding can remove unnecessary metal.
How do I know if my knife is sharp?
A sharp knife should slice paper or a ripe tomato with light pressure. Test it carefully with food or paper, never with your finger.
Conclusion
You can sharpen a knife without a knife sharpener by using an unglazed ceramic mug, plate, secured sandpaper, and a leather belt for final stropping. The key is a stable surface, a consistent angle, light pressure, and equal attention to both sides of the edge.
These methods are practical emergency solutions, not perfect replacements for a quality whetstone or professional service. Start slowly, protect your hands, and stop when the blade has a clean, usable edge. Try the safest method available in your kitchen, then share your results or explore more knife-care guides for better long-term maintenance.