Use a whetstone, keep a steady angle, raise a burr, then refine and strop.
If you want clean cuts, faster prep, and safer hands, this guide is for you. I’ll show how to sharpen kitchen knives at home with clear steps, the right tools, and pro tips I use in my own kitchen. You’ll learn the why and the how, so you can get a razor edge without guesswork.

Why a sharp knife matters
A sharp knife is safer than a dull one. You use less force. The blade does the work. Your cuts are clean, fast, and even.
Food tastes and looks better. Herbs stay green. Tomatoes slice thin. Meat fibers tear less. Your prep feels calm and in control.
If you learn how to sharpen kitchen knives at home, you save time and money. You skip service fees. You avoid random gadgets. You build a skill you will use for life.
The tools you can use at home
You do not need a big setup. Start simple. Use tools that match your skill and budget.
- Whetstones. The gold standard for control. Use 1000 grit to sharpen and 3000–8000 grit to refine.
- Water stones vs oil stones. Water stones are fast and easy to clean. Oil stones are harder and wear slow.
- Ceramic rod. Good for light touch-ups. It refines, not full grinding.
- Pull-through sharpener. Fast and handy. It works in a pinch but removes more steel and sets a fixed angle.
- Diamond plate. Cuts fast and stays flat. Great for very dull blades or repairs.
- Leather strop with compound. Polishes the edge and boosts bite.
- Angle guide. A cheap clip can help your first few tries.
- Marker and towel. A marker shows your angle. A towel keeps the stone from sliding.
You can learn how to sharpen kitchen knives at home with any of these, but a basic 1000/3000 whetstone is the best start.

How to sharpen kitchen knives at home with a whetstone
Sharpening is simple once you know the steps. The goal is to make two flat sides meet in a clean apex. You do that by holding a steady angle and raising a burr.
Step 1: Soak and set up
- Soak a water stone for 10–15 minutes unless it is splash-and-go.
- Place it on a damp towel or a stone holder. Keep a small bowl of water nearby.
- Clean the knife. A clean blade gives better feedback.
Step 2: Find your angle
- Western knives often like 18–20 degrees per side.
- Many Japanese knives like 12–15 degrees per side.
- Use a marker on the edge. A few strokes will show if your angle hits the bevel.
Step 3: Raise a burr on the coarse or medium side
- Start on 800–1000 grit. That is your workhorse.
- Place the heel on the stone. Lead with the edge. Push and pull in smooth strokes.
- Keep light to moderate pressure. Think the weight of your hand, not your arm.
- Work from heel to tip. Do 10–20 strokes per section if that helps you keep rhythm.
- Check for a burr along the full edge. It should feel like a tiny lip. Once you have it, switch sides.
Step 4: Match the burr on the other side
- Repeat the same strokes and angle.
- The burr should flip from side to side. That tells you the apex is forming.
- Reduce pressure as the burr grows. Think of “sharpen hard, finish soft.”
Step 5: Refine and deburr
- Flip to 3000–6000 grit. Use very light strokes.
- Use edge-leading strokes to cut away the burr.
- Finish with 5–10 alternating strokes per side.
Step 6: Strop and test
- Use a leather strop or even a folded newspaper.
- Drag the blade away from the edge. Two to three passes per side is enough.
- Test on paper, tomatoes, or by shaving a few arm hairs with care.
This is the core of how to sharpen kitchen knives at home. Once you feel the burr and control your angle, sharp edges come fast and repeatable.

Understanding angles, grits, and the burr
Angle controls strength and bite. A lower angle cuts cleaner but is more fragile. A higher angle is tougher for heavy work. Match the angle to the knife and the job.
Grit is like sand size. Lower numbers remove steel fast. Higher numbers polish the edge. Most cooks do well with 1000 grit to sharpen and 3000–6000 to finish.
The burr is your guide. It is proof you reached the apex. If you never raise a burr, the edge may stay dull. If you never remove the burr, the edge may feel sharp but fail fast.
:max_bytes(150000):strip_icc()/faw-primary-knife-sharpeners-aug-24-nsimpson-89-1-617608fed6bf49e5831273cd2e7e0c69.jpeg)
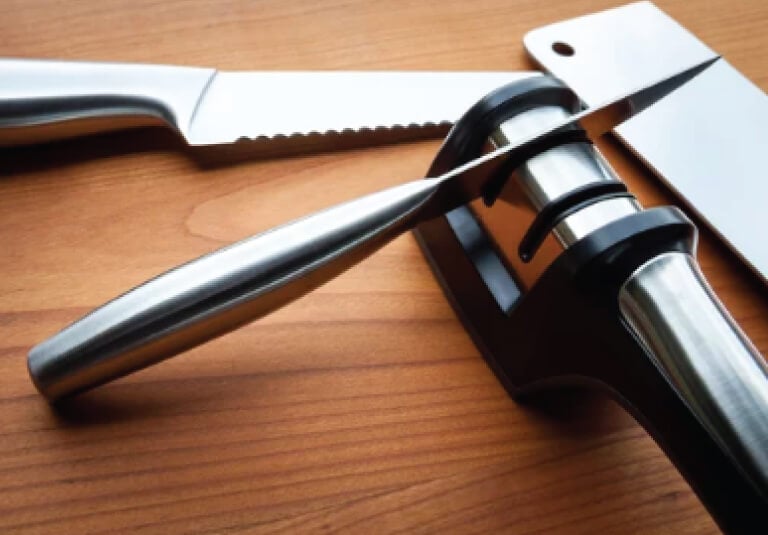
How to sharpen kitchen knives at home with a pull-through sharpener
Pull-through tools can help when you need speed. They set a fixed angle and cut fast. Use them with care.
- Start with light pressure. Heavy force eats steel and can chatter.
- Make 3–5 slow pulls. Check the edge after each pass.
- Finish on the fine slot if you have one. Wipe the blade clean.
This is a quick way to learn how to sharpen kitchen knives at home when time is tight. The trade-off is less control and more wear. Use it for budget knives or quick fixes.
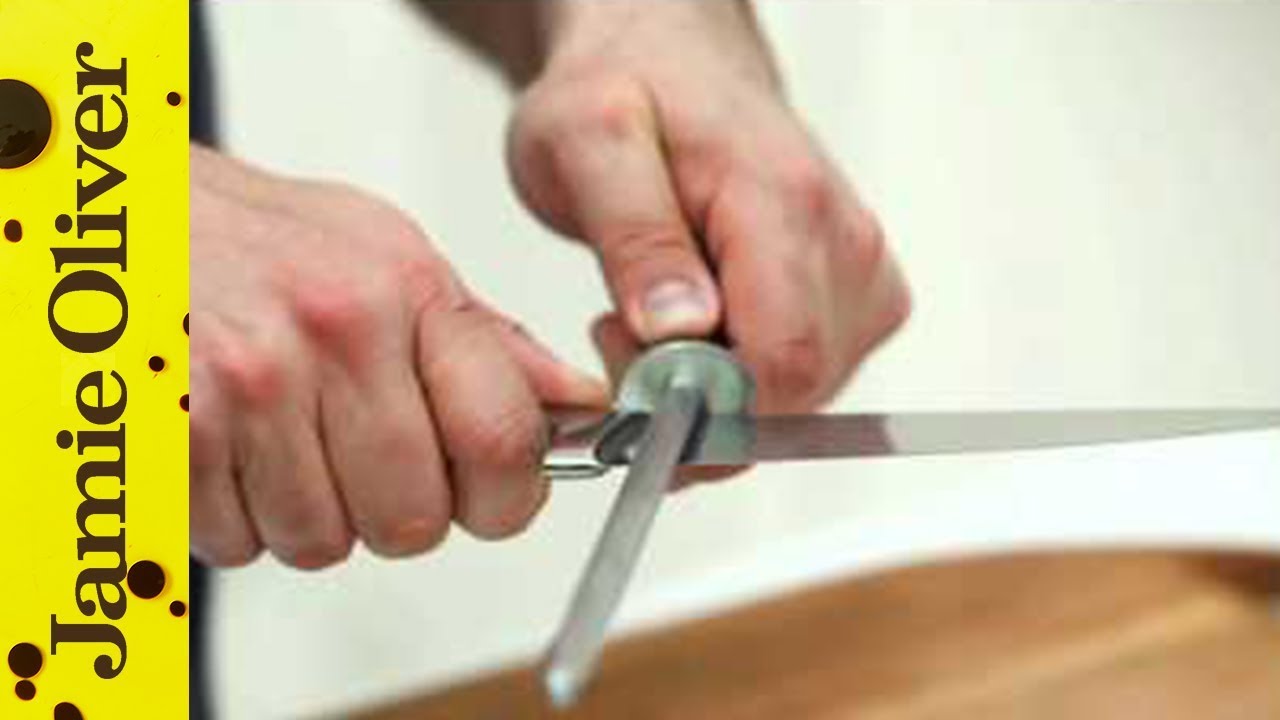
Maintain edges with a honing rod and strop
Honing is not grinding. It realigns the edge. It keeps you sharp between full sessions.
- Hold the rod tip on a board. Set the blade at your sharpening angle.
- Make 4–6 light passes per side. Use a smooth, slow motion.
- Strop on leather to remove micro-burrs and add crisp bite.
Many cooks ask how to sharpen kitchen knives at home without stones. Honing and stropping help, but they do not replace a real sharpening when the edge is dull.
Step-by-step routine you can repeat
Building a simple ritual makes results consistent.
- Inspect the edge in bright light. Look for chips and flats.
- Sharpen on 1000 until you feel a full burr. Flip and repeat.
- Refine on 3000–6000. Lighten your touch as you go.
- Strop 2–3 passes per side.
- Clean, dry, and store the knife with a guard or on a rack.
Follow this path each time you practice how to sharpen kitchen knives at home. It keeps the process calm and the results steady.

Troubleshooting and mistakes to avoid
Common issues come from speed, pressure, and angle drift. Fix the base and the edge improves.
- No burr after many strokes. Slow down. Mark the bevel and drop or raise your angle until the marker wears off clean.
- Wire edge that folds fast. Do more light passes on the finishing stone. Strop gently.
- Over-grinding the tip. Lift the handle as you reach the tip so the bevel stays flat.
- Scratches on the blade. Clean the stone. Grit and swarf can mar the face.
- Uneven bevels. Count strokes per section or switch to time-based sets.
When you learn how to sharpen kitchen knives at home, accept small wins. My first edges were sharp but rough. I learned to use less pressure and to finish softer. That change alone made my knives last longer between sessions.

Testing sharpness the safe way
You do not need party tricks to test. Simple checks work best.
- Paper test. Slice phone-book paper or printer paper. It should glide with no snag.
- Tomato test. The skin should pop with no push.
- Thumbnail test. Lightly set the edge on your nail. It should bite, not skate. Use care.
If the edge fails, repeat light finishing strokes. Then strop. This habit makes how to sharpen kitchen knives at home more reliable and less of a guess.
Care after sharpening: cleaning, storage, and use
After you sharpen, treat the edge with respect. It is thin and keen.
- Rinse and dry the knife right away. Wipe off any grit or compound.
- Use a soft board like wood or quality plastic. Hard glass or stone will roll the edge.
- Store on a magnetic strip or in a sheath. Avoid drawer clatter.
- Hone lightly once a week. Sharpen on stones when honing no longer helps.
Good care keeps the results of how to sharpen kitchen knives at home lasting for weeks, not days.
Safety and food hygiene notes
Work slow. Keep your off-hand behind the edge line. Use a stable base. A sliding stone is the main cause of slips.
Keep metal filings out of food. Wipe the blade and board after you sharpen. Wash your hands. Dry tools to prevent rust.
If you are unsure how to sharpen kitchen knives at home on a prized blade, practice on a beater knife first. Skill grows fast with calm reps.
Frequently Asked Questions of how to sharpen kitchen knives at home
How often should I sharpen?
Home cooks can sharpen every 1–3 months. Hone weekly to keep the edge aligned and delay full sharpening.
What grit should I buy first?
A 1000 grit stone is the best start. Add a 3000–6000 grit stone later to refine and polish.
Can I ruin my knife by over-sharpening?
You can remove too much steel or change the profile. Go slow, use light pressure, and stop once the burr is gone.
Is a honing steel the same as sharpening?
No. Honing realigns the edge but does not create a new apex. Sharpening removes steel to make a fresh edge.
Do serrated knives need sharpening?
Yes, but less often. Use a tapered ceramic rod to match the gullets and work from heel to tip.
What angle should I use?
Most Western chef’s knives like 18–20 degrees per side. Many thin Japanese knives do well at 12–15 degrees.
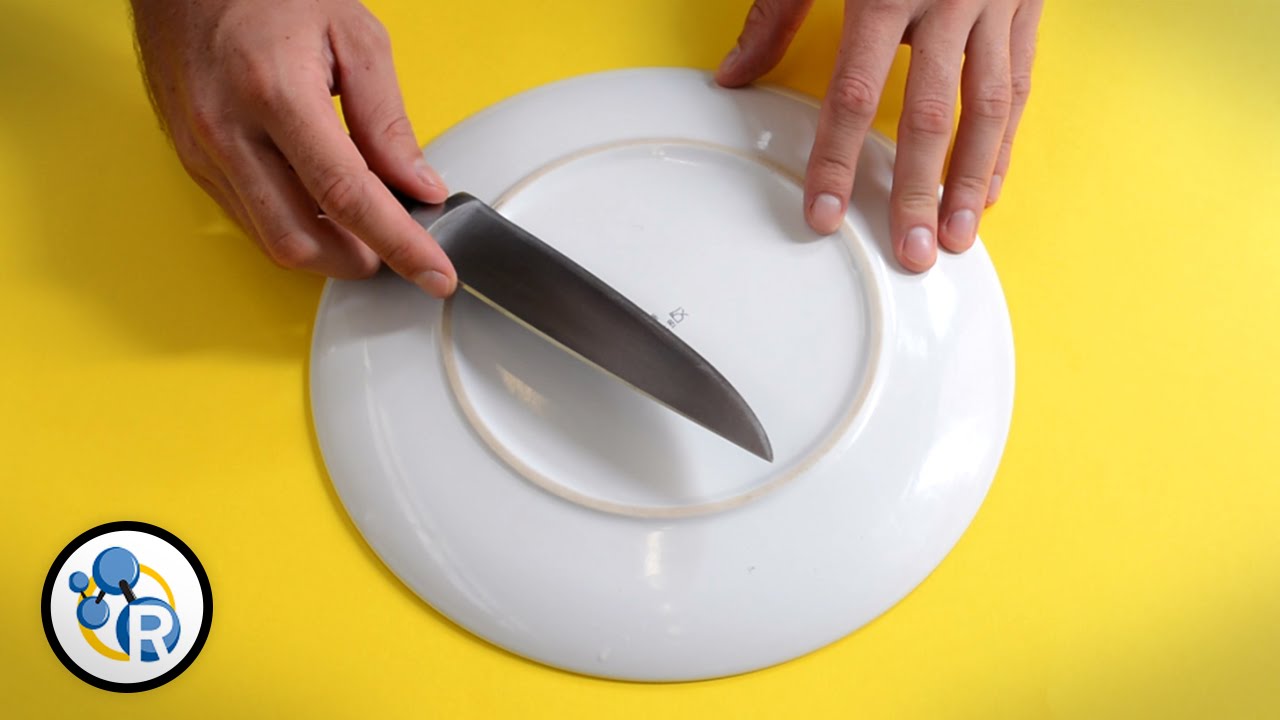
Can I use sandpaper if I don’t have a stone?
Yes. Mount fine wet-dry paper on glass or a flat board. Keep the angle steady and finish with a strop.
Conclusion
You now know the core moves: hold a steady angle, raise a burr, refine, and strop. With a simple stone and a few calm passes, your prep gets faster, safer, and a lot more fun. Start today with one knife, one stone, and a towel.
If this helped, try the steps and share your results. Want more kitchen guides like how to sharpen kitchen knives at home? Subscribe, leave a comment, or ask a question for the next deep dive.