
Most ice maker problems come from a blocked water supply, low temperature, a stuck sensor, or a simple power issue.
Learning how to troubleshoot an ice maker can save you a service call and restore fresh ice in less time than you might expect. The key is to check the simple causes first, work safely, and test one part at a time. This guide explains the process in clear steps, based on common refrigerator designs, repair guidance, and lessons learned from hands-on appliance troubleshooting.
Start with safety and basic checks
Before you begin to troubleshoot an ice maker, protect yourself and the appliance. Keep water away from outlets, wires, and electronic control boards. Unplug the refrigerator before removing covers or testing electrical parts.
You usually do not need special tools for the first checks. Gather:
• A flashlight
• A clean towel
• A small bucket or bowl
• A food-safe thermometer
• A multimeter, if you know how to use one
• The refrigerator’s owner’s manual
Never use a sharp tool to break ice inside the mold. A screwdriver or knife can damage the ice maker or puncture a water line. It can also create a shock risk if it touches a live part.
Before you troubleshoot an ice maker, check these simple points:
• Make sure the ice maker is switched on. Some models have an arm, slider, or power button.
• Confirm that the refrigerator has power and the display works.
• Check that the freezer door closes fully.
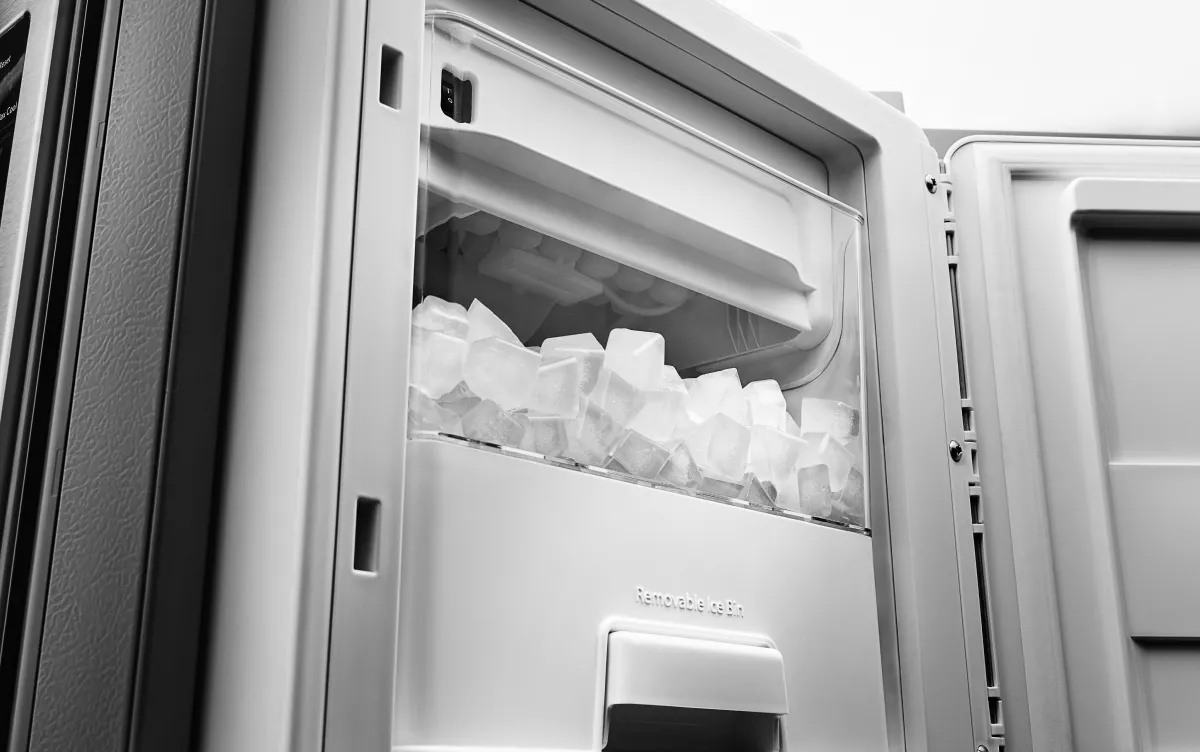
• Look for an ice bin that is packed too tightly.
• Make sure the water shutoff valve is open.
• Check for a visible kink in the water line.
• Confirm that the freezer is cold enough.
Most household ice makers need a freezer temperature near 0°F, although the exact range varies by model. A freezer that is above about 10°F may not harvest ice reliably.

Understand how an ice maker works
Knowing the basic cycle makes it easier to troubleshoot an ice maker. An ice maker is a small system with several linked steps. If one step fails, the whole cycle may stop.
The cycle usually works like this:
- A thermostat or electronic control checks the temperature.
- The ice maker fills its mold with water.
- The water freezes into cubes.
- A motor turns an ejector rake or arm.
- The cubes move into the storage bin.
- A shutoff arm or sensor stops production when the bin is full.
Think of the process as a relay race. Water supply is the first runner. Freezing is the second. The motor and ejector finish the race. If any runner stops, no new ice reaches the bin.
Common ice maker parts include:
• Water inlet valve: Opens briefly to send water into the ice mold.
• Fill tube: Carries water from the valve to the ice maker.
• Ice mold: Holds water while it freezes.
• Thermostat or temperature sensor: Detects when the ice is ready.
• Motor and ejector gear: Push frozen cubes into the bin.
• Shutoff arm or bin sensor: Stops ice production when needed.
• Control module: Manages timing on many newer models.
This basic knowledge helps you troubleshoot an ice maker without replacing parts at random.
Follow a simple troubleshooting process
The best way to troubleshoot an ice maker is to move from easy checks to more advanced tests. Do not begin by removing the entire ice maker. Start with the symptoms.
Check the power and control settings
Look for an on and off switch, a wire shutoff arm, or a digital control. If the arm is raised, the ice maker may be off. Lower it gently if your model uses an arm.
Some refrigerators have a separate ice maker setting in the control panel. The ice maker may also stop during a vacation mode, showroom mode, or energy-saving setting.
If you recently lost power, the control may need a reset. Unplug the refrigerator for about five minutes, then restore power. Follow the manual if it lists a specific reset method.
Check the freezer temperature
Place a thermometer between frozen food packages. Leave it there for several hours for a more useful reading. The air near the door may be warmer than the air at the back.
If the freezer is too warm, inspect:
• A door that does not seal
• Heavy frost on the back wall
• Blocked air vents
• A dirty condenser area
• Too much food packed inside
• A failed evaporator fan
• A problem with the defrost system
Do not turn the freezer control to its coldest setting as a first fix. That may hide the real problem and can cause other food to freeze too hard.
Inspect the ice mold
Look at the ice mold with a flashlight. A dry mold points to a water supply problem or a failed fill control. A mold full of frozen water points to an ejector, sensor, or timing problem.
Small ice pieces may mean low water pressure or a restricted filter. A large sheet of ice may indicate a leaking fill valve or a fill tube that is not shutting off correctly.
Check the water dispenser
If your refrigerator has a water dispenser, test it. Weak or absent water flow suggests a supply issue, a clogged filter, a closed valve, or a frozen line.
A working dispenser does not prove that the ice maker is good. The ice maker may use a separate valve or electrical circuit. Still, the test gives you useful information.
Inspect the fill tube
The fill tube is often located near the back of the ice maker. If it is frozen, water cannot enter the mold. A frozen tube may result from a leaking inlet valve, low freezer temperature, poor air movement, or a blocked tube.
Unplug the refrigerator before working near the tube. Thaw it with warm air from a hair dryer on a low setting. Keep the dryer moving, and never use an open flame or boiling water.
Give the ice maker time
Many ice makers take several hours to produce the first batch after a reset. A full cycle may take 6 to 24 hours, depending on the freezer temperature, model, and room conditions.
Do not reset the appliance again and again. Repeated resets can make diagnosis harder and may stress the control system.

Match the symptom to the likely cause
Symptoms often reveal more than a visual inspection. When you troubleshoot an ice maker, listen for sounds and note exactly what the machine does.
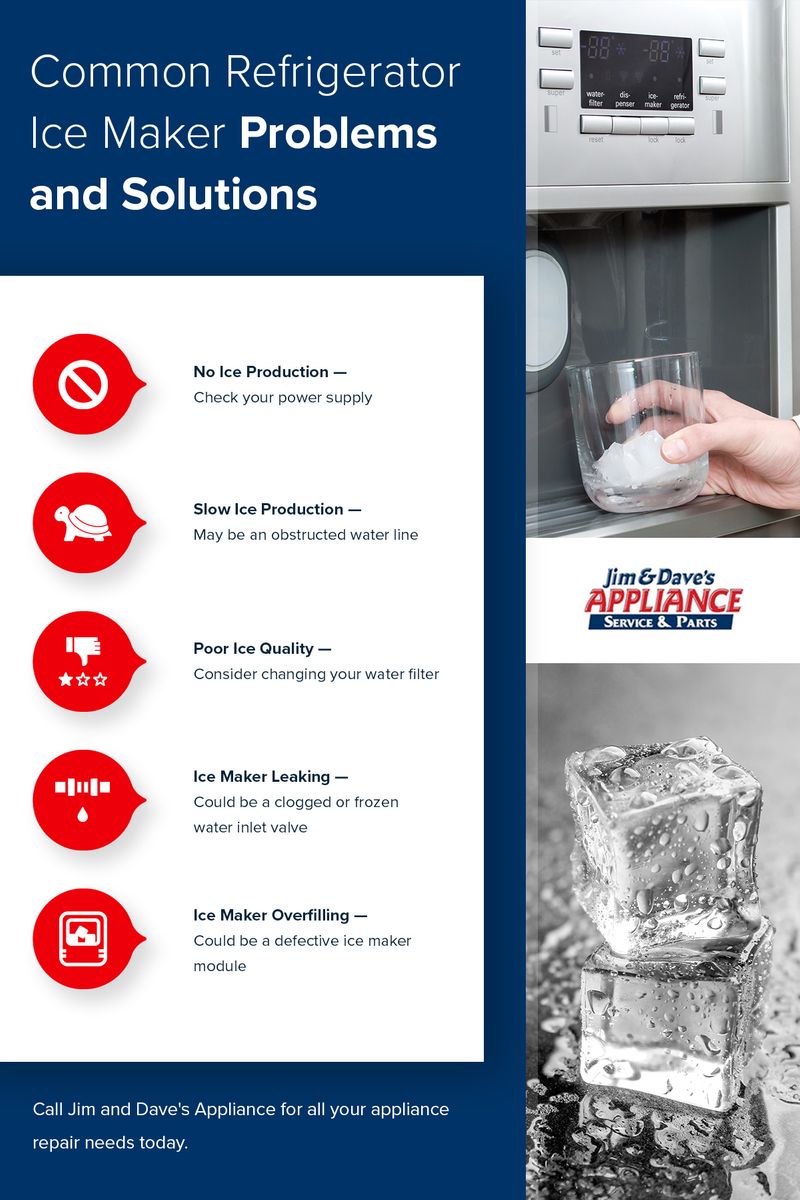
The ice maker makes no ice
Check the following in order:
• The ice maker is turned on.
• The shutoff arm is down.
• The freezer is near 0°F.
• The water supply valve is open.
• The filter is not clogged.
• The fill tube is not frozen.
• The ice mold is not already full of old ice.
If the mold is empty and the ice maker never moves, the issue may involve the thermostat, motor, control module, or wiring.
The ice maker has water but does not eject ice
This symptom usually means the water supply works. The problem may be a failed motor, a stuck ejector, a bad thermostat, or an electronic control fault.
Check for cubes frozen together in the mold. A large frozen block can stop the ejector. Do not force the rake by hand. Remove the ice maker only if the manual allows it and you can safely disconnect the power.
The ice maker fills but overflows
Overflow often points to a water inlet valve that does not close fully. It may also result from excessive water pressure or a control problem.
A slow drip from the fill tube can freeze into a block. In that case, replacing only the ice maker may not solve the issue. The inlet valve and water pressure need inspection.
The ice cubes are small or hollow
Small cubes often result from low water pressure, a clogged filter, or a restricted inlet screen. A partially frozen fill tube can also limit the amount of water entering the mold.
Replace the filter with the correct model and follow the flushing instructions. Many filters need several cups of water flushed through them before normal flow returns.
The ice tastes bad or smells unusual
Old ice can absorb odors from uncovered food. Throw away the ice, wash the bin with mild dish soap, and dry it fully before replacing it.
A dirty water filter, stagnant water line, or contaminated storage bin may also affect taste. If the water itself tastes or smells unusual, stop using the dispenser and check the household water supply.
The ice maker is noisy
A short buzzing sound during filling may be normal. Clicking during the harvest cycle can also be normal. Loud grinding, repeated clicking, or a motor that runs without moving the ejector suggests a mechanical or electrical problem.
Remove loose ice from the bin and check whether the refrigerator is level. If the noise continues, record it on your phone. A short recording can help a technician identify the fault.
Check the water supply and filter
The water system is one of the most common areas to inspect when you troubleshoot an ice maker. Even a small restriction can reduce the fill level.
Follow the water line from the wall to the refrigerator. Look for bends, crushed sections, leaks, or a shutoff valve that is only partly open. A saddle valve, found in some older installations, can become restricted over time.
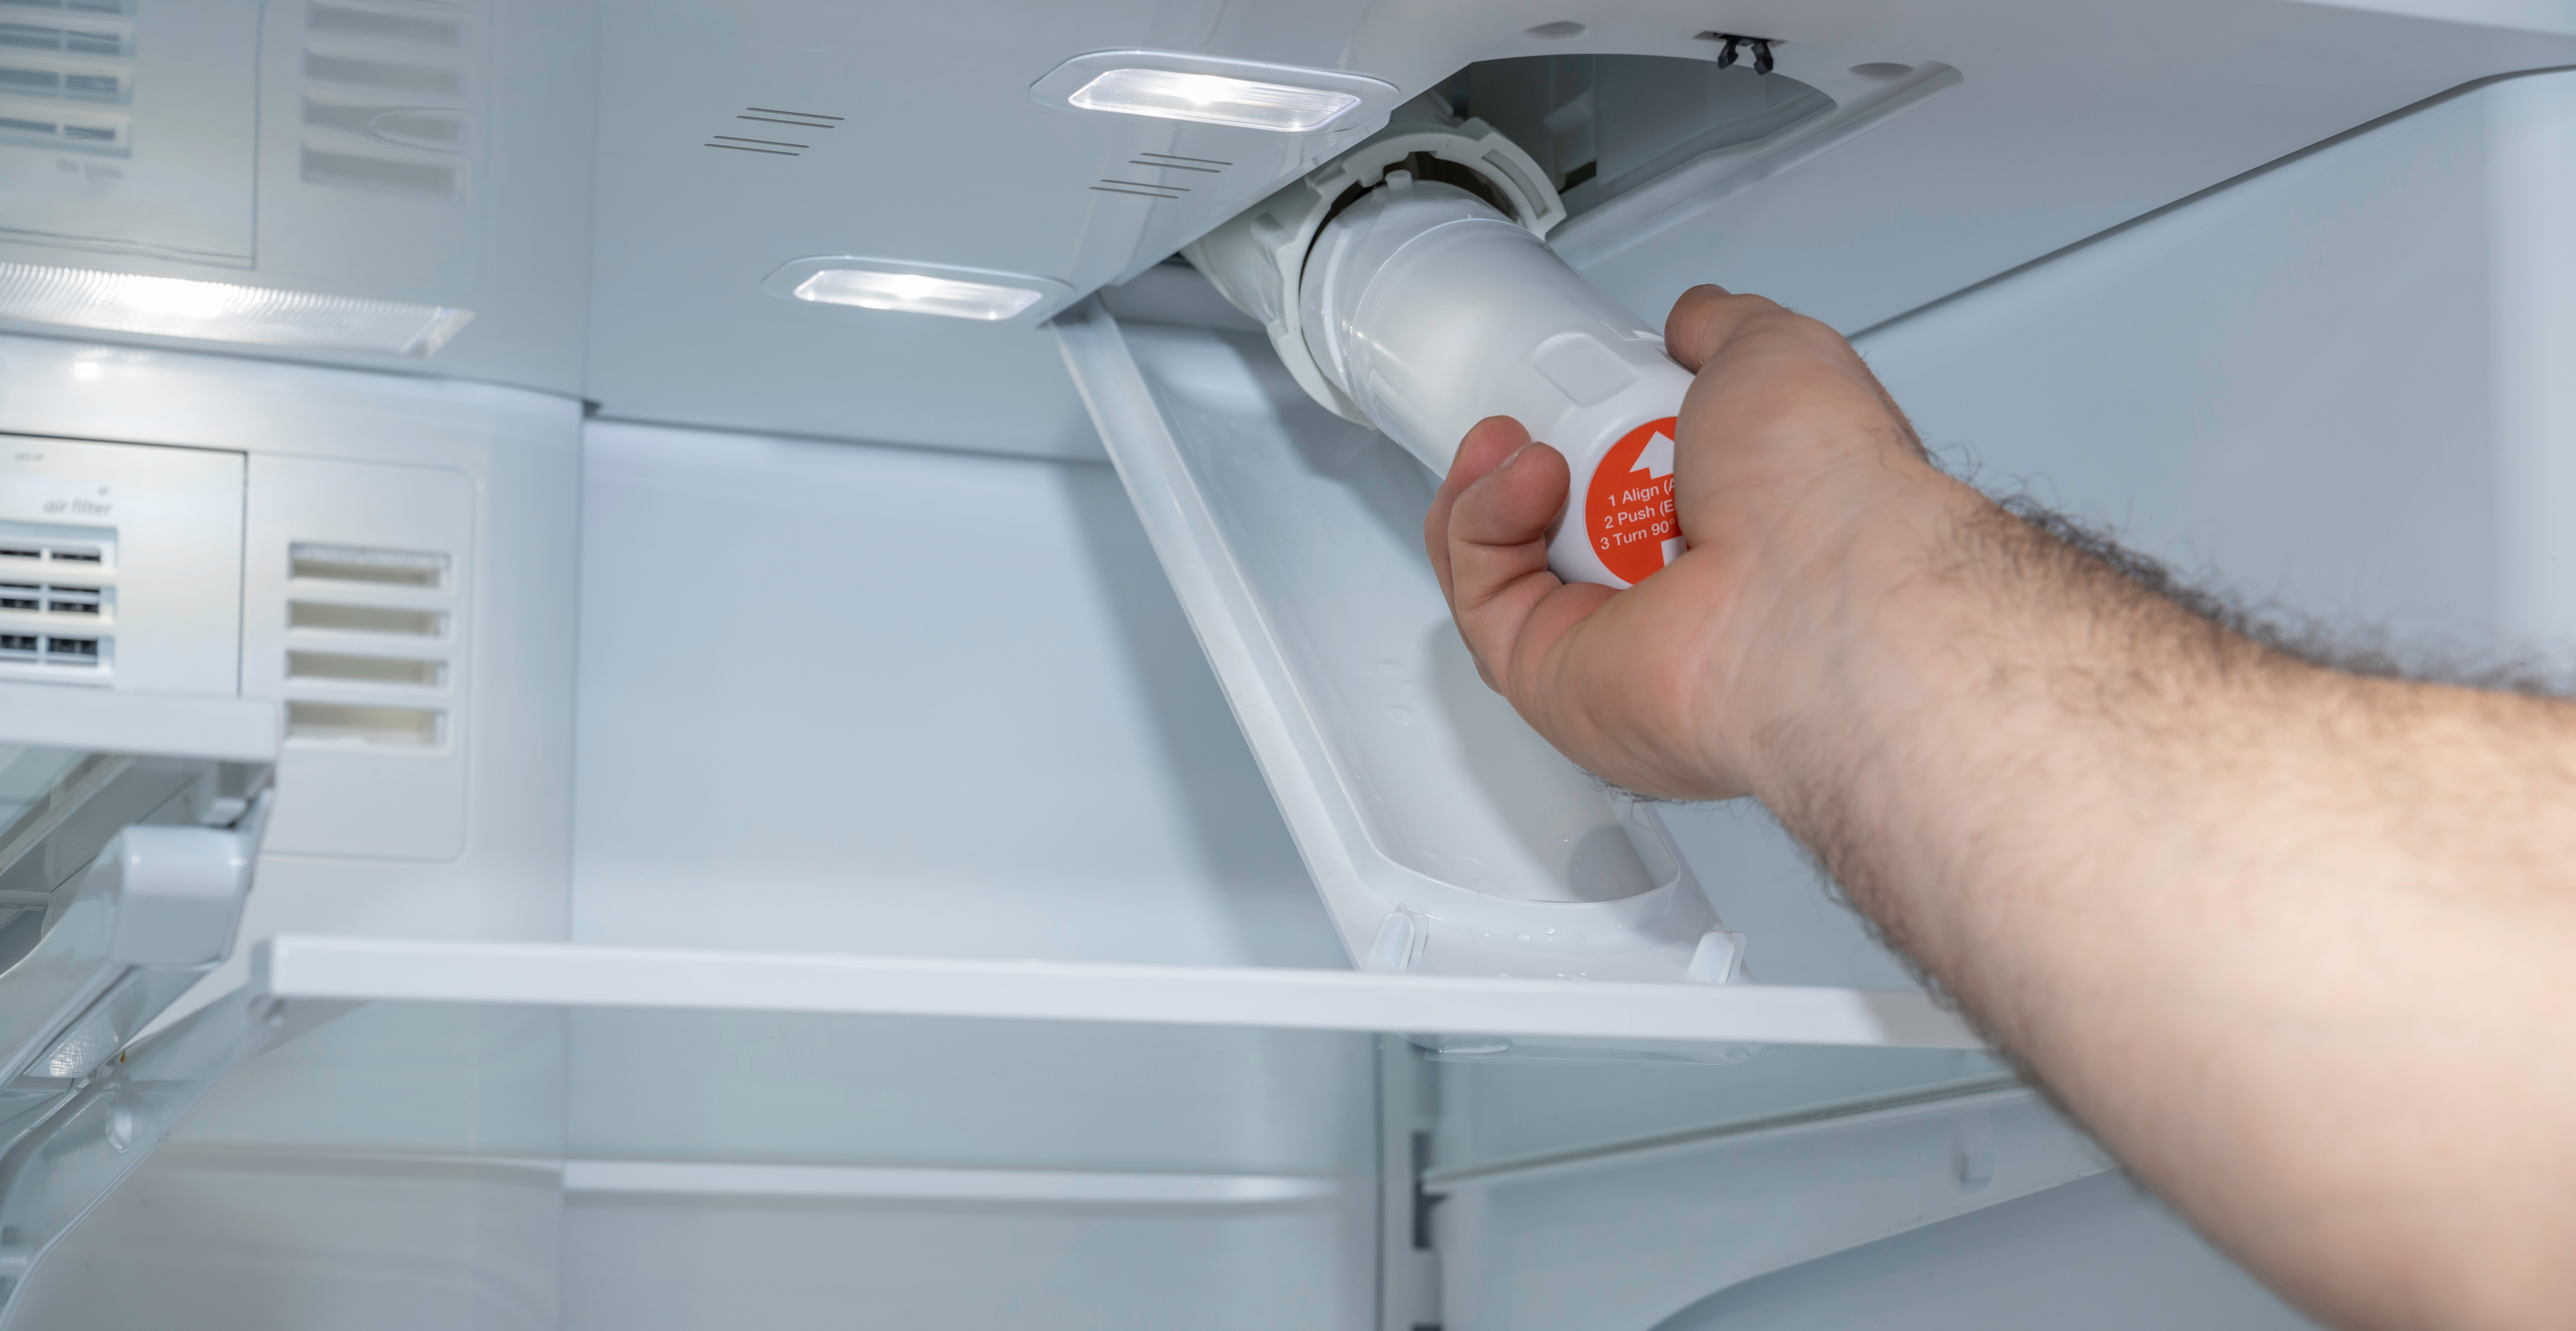
The water filter also deserves attention. Replace it when the manufacturer recommends it, or sooner if water flow drops. Use a filter designed for your refrigerator model. An incorrect filter can leak or prevent water from reaching the ice maker.
After installing a filter:
- Seat it firmly.
- Lock it into place.
- Flush the recommended amount of water.
- Check for leaks.
- Test the dispenser and ice maker.
Water pressure requirements differ by model. Many refrigerators need household pressure within a specified range, often around 20 to 120 psi. Check the manual instead of guessing. Very high pressure can cause leaks, while low pressure can create small cubes or no ice.

Test parts with care
Advanced testing can help when basic checks fail. Only test electrical parts if you understand multimeter safety. Unplug the refrigerator before removing covers or disconnecting components.
Test the water inlet valve
The valve may have separate outlets for the dispenser and ice maker. A valve can fail on one side while the other side still works.
A technician can test coil resistance with a multimeter, but the correct reading varies by model. An open circuit, visible burn marks, or a valve that leaks after power is removed can indicate failure.
Do not apply direct household voltage to a valve outside the appliance. This is dangerous and can damage the part.
Inspect the shutoff arm or sensor
A shutoff arm may stick because of frost, spilled food, or a full bin. Move it gently through its normal range. Do not bend it.
Newer models may use an infrared sensor or magnetic sensor instead of an arm. Keep the sensor area clean and make sure the ice bin is seated correctly. A blocked sensor can falsely report that the bin is full.
Examine the ejector mechanism
Look for broken plastic teeth, a stripped gear, or ice blocking the rake. The ejector should move during the harvest cycle, but never force it.
If you see damaged parts, replace the approved assembly rather than improvising a repair. Small plastic pieces can break and enter the ice bin.
Inspect wiring and connectors
Loose connectors, damaged wires, and corrosion can stop an ice maker. Check only after disconnecting power. Look for wires pinched by the refrigerator door or damaged by ice.
If the control board shows burn marks or a strong electrical smell, stop testing. Control boards are costly and should be diagnosed carefully before replacement.
Reset an ice maker correctly
A reset can clear a temporary control error, but it will not fix a bad valve, frozen line, or broken motor. The reset method depends on the model.
Common methods include:
• Turning the ice maker off, waiting a few minutes, and turning it back on
• Pressing a reset button for several seconds
• Holding two control panel buttons together
• Unplugging the refrigerator for five minutes
Read the owner’s manual before using a reset button. Some buttons also control water dispensing or filter settings.
After the reset, listen for a fill or harvest cycle. Then wait several hours. If the ice maker remains inactive, write down what you observed. This note will help you or a technician avoid repeating the same steps.
A useful lesson from appliance repairs is to change one condition at a time. If you reset the machine, replace the filter, adjust the freezer, and thaw the tube all at once, you may not know which step solved the problem.

Avoid common troubleshooting mistakes
A careful approach can prevent extra damage and expense. These mistakes are especially common when people try to troubleshoot an ice maker for the first time.
• Do not chip ice with a knife or screwdriver.
• Do not pour boiling water into a plastic ice maker.
• Do not leave a hair dryer unattended near water.
• Do not replace the ice maker before checking the water supply.
• Do not use a random filter that does not fit the model.
• Do not bypass a safety sensor as a permanent repair.
• Do not test live voltage unless you are trained to do so.
• Do not ignore a water leak behind the refrigerator.
One mistake I have seen often is blaming the ice maker when the freezer is simply too warm. The ice maker may be working, but it cannot complete its cycle if the temperature never reaches the proper range.
Another common mistake is testing only the water dispenser. A refrigerator can have separate valve circuits, so a working dispenser does not guarantee a working ice maker.
Know when to call an appliance professional
Some repairs are reasonable for a confident homeowner. Others require electrical, refrigeration, or plumbing skills.
Call a qualified appliance technician if:
• The refrigerator trips a breaker.
• You smell burning plastic or wiring.
• The water line leaks inside the cabinet.
• The freezer has heavy frost that returns quickly.
• The compressor or sealed system may be failing.
• The control board needs diagnosis.
• The appliance requires live voltage testing.
• The ice maker has a refrigerant or cooling problem.
A professional can test voltage, water pressure, valve operation, temperature sensors, and control signals. This can prevent unnecessary part replacement.
Repair cost depends on the model and failed component. A filter or fill tube is usually simpler to replace than a control board or sealed system part. If the refrigerator is older and has several problems, compare repair cost with replacement cost.
Keep the ice maker working well
After you troubleshoot an ice maker, regular care can reduce repeat problems. Maintenance does not prevent every failure, but it keeps common issues from becoming bigger ones.
Use these habits:
• Replace the water filter on schedule.
• Clean the ice bin every few months.
• Keep food covered to reduce odor transfer.
• Keep freezer vents clear.
• Check the door gasket for gaps.
• Remove old ice that has clumped together.
• Inspect the water line after moving the refrigerator.
• Keep the condenser area clean if the model allows access.
Do not wash an ice bin with harsh chemicals unless the manufacturer approves them. Rinse all cleaner away and dry the bin before returning it.
If you leave home for a long time, follow the manufacturer’s instructions. Some models should have the water supply turned off and the ice bin emptied. This can reduce the risk of leaks and stale odors.
Frequently Asked Questions About How to Troubleshoot an Ice Maker
Why is my ice maker not making ice?
Check that the ice maker is on, the shutoff arm is lowered, and the freezer is near 0°F. Then inspect the water supply, filter, fill tube, and ice mold for blockage or frost.
How long does it take an ice maker to make ice?
Many ice makers need 6 to 24 hours to produce a normal amount of ice after startup or reset. The time depends on freezer temperature, room temperature, water pressure, and the appliance model.
Why is my ice maker making small ice cubes?
Small cubes often result from low water pressure, a clogged filter, or a partially frozen fill tube. Replace the filter if needed and check the water line for bends or restrictions.
Can I thaw a frozen ice maker fill tube with a hair dryer?
Yes, but use a hair dryer on low heat, keep it moving, and stay away from standing water. Unplug the refrigerator first, and never use a flame or boiling water.
Should I replace the ice maker if it stops working?
Not always. The fault may be the water valve, filter, freezer temperature, sensor, wiring, or fill tube. Diagnose those areas before buying a replacement ice maker.
Why does my ice maker overflow?
An overflowing mold may have a leaking water inlet valve, excessive water pressure, or a control problem. A restricted or damaged fill system can also send water into the wrong place.
Conclusion
Learning how to troubleshoot an ice maker starts with simple checks: power, temperature, the shutoff control, water flow, the filter, and the fill tube. From there, inspect the mold and ejector, reset the appliance correctly, and test electrical parts only when it is safe.
The most useful lesson is to avoid guessing. Observe the symptom, test one cause at a time, and stop when a repair involves live electricity, major leaks, or the sealed cooling system. Use this guide to work through the problem calmly, then explore your appliance manual or contact a qualified technician when needed.