
Use a knife sharpener by matching its slot, using light pressure, and guiding the blade at a steady angle.
Learning how to use a knife sharpener can make dull kitchen knives feel useful again. The key is to understand the sharpener type, protect your fingers, and remove only a small amount of metal. This guide shares practical steps, common mistakes, and safety tips based on standard sharpening methods and real kitchen use.
Why Sharp Knives Matter
A sharp knife is easier to control than a dull one. It cuts food with less force, which can lower the chance of slipping. A dull blade often needs extra pressure and may slide across a tomato, onion, or cutting board.
Sharp knives also help you work faster. Clean cuts can improve the texture of herbs, meat, fruit, and vegetables. Still, a sharp knife can cause serious injury, so safe handling always matters more than speed.
A knife sharpener does not simply “make a knife sharp.” It restores an edge by removing a small amount of steel or by realigning the edge. The right method depends on the tool and the condition of the blade.
Types of Knife Sharpeners
Before learning how to use a knife sharpener, identify the tool you have. Each type works in a different way and suits a different skill level.
Manual pull-through sharpener
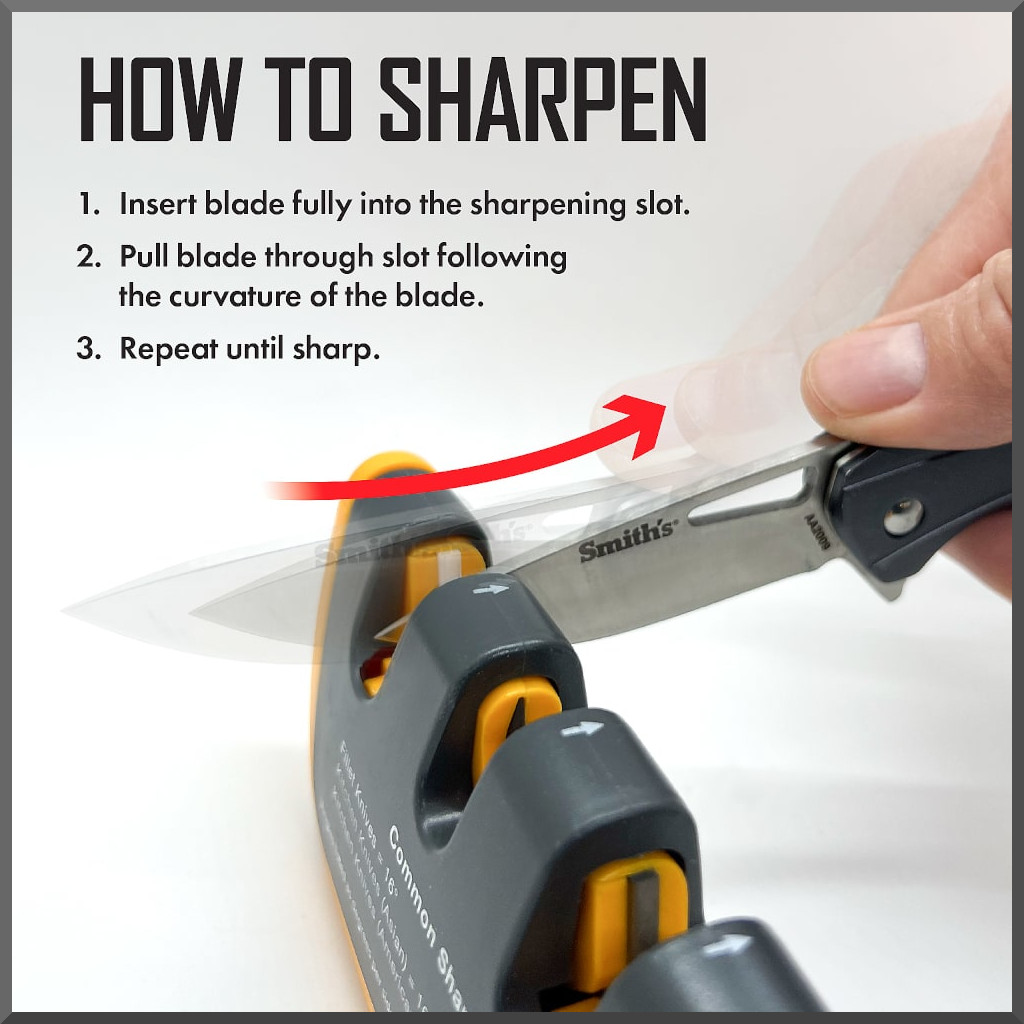
A manual sharpener has one or more fixed slots. You pull the knife through the slot while the abrasive wheels sharpen the edge.
This type is simple and fast. It is useful for routine kitchen care, but it gives you less control over the sharpening angle.
Electric knife sharpener
An electric model uses spinning abrasive wheels. It can sharpen a knife quickly and often has separate stages for sharpening, honing, and polishing.
Electric sharpeners are convenient, but too many passes or too much pressure can remove excess metal. Always follow the product instructions.
Honing steel
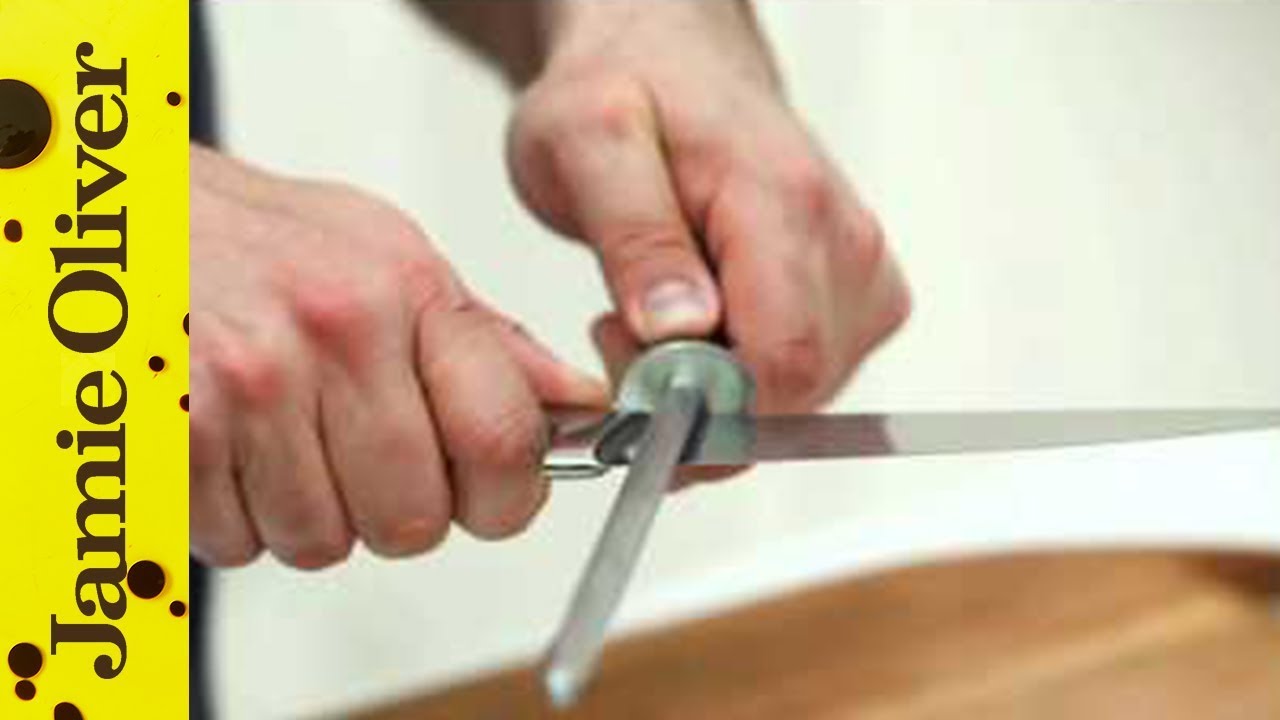
A honing steel does not usually sharpen a very dull knife. It helps realign a slightly bent edge.
Use a honing steel between full sharpening sessions. Ceramic honing rods can also remove a small amount of steel and may create a sharper edge than a traditional steel rod.
Whetstone
A whetstone gives you the most control. It can create a precise edge, but it requires practice and steady hand movement.
Most beginners should start with a guided system or manual sharpener. A whetstone becomes easier after you understand angle control and edge formation.
How to Use a Manual Pull-Through Sharpener
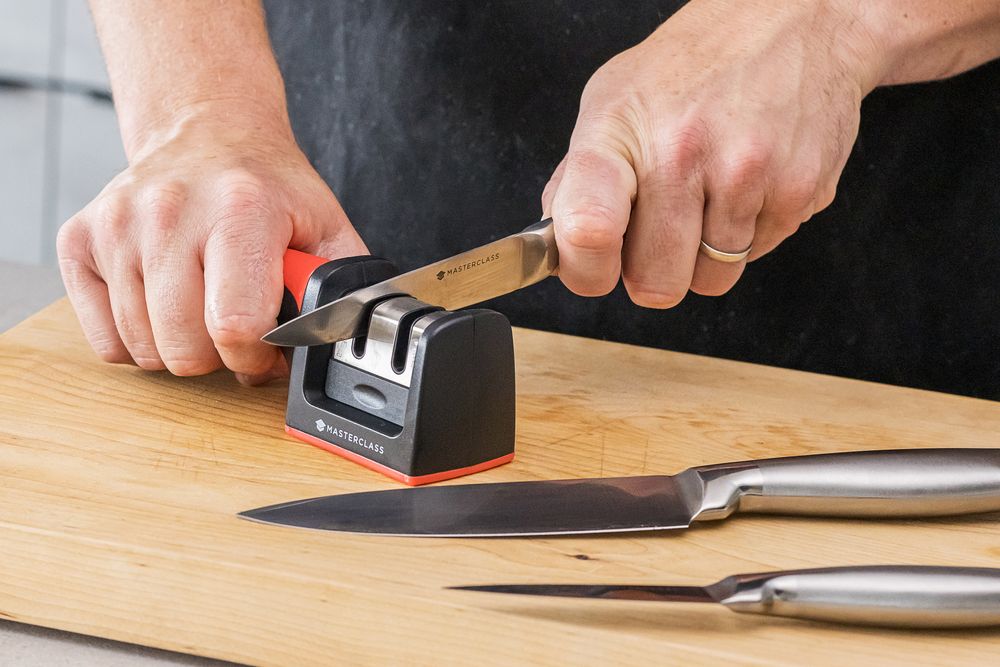
A manual sharpener is often the easiest place to start. Set it on a stable, flat surface before you begin.
Step-by-step instructions
- Clean and dry the knife. Remove food, oil, and moisture from the blade.
- Place the sharpener on a firm surface. Hold its handle with your non-dominant hand.
- Check the slots. A coarse slot repairs a dull edge, while a fine slot hones or polishes it.
- Put the heel of the blade into the correct slot. The heel is the part closest to the handle.
- Pull the blade toward you in one smooth motion. Move from the heel to the tip.
- Use light, even pressure. Let the abrasive material do the work.
- Repeat the pass according to the manufacturer’s instructions. Many sharpeners need only a few passes.
- Use the fine slot if your sharpener has one.
- Wipe the blade with a clean, damp cloth.
- Test the knife carefully on paper or a soft food item.
Do not push the blade forward and backward through the slot. That motion can create an uneven edge and may damage the sharpener. Keep the blade straight and move at a steady speed.
When I first learned how to use a knife sharpener, I made the common mistake of pressing hard. The knife did not sharpen faster. It simply produced more noise and removed more metal than needed.
How to Use an Electric Knife Sharpener
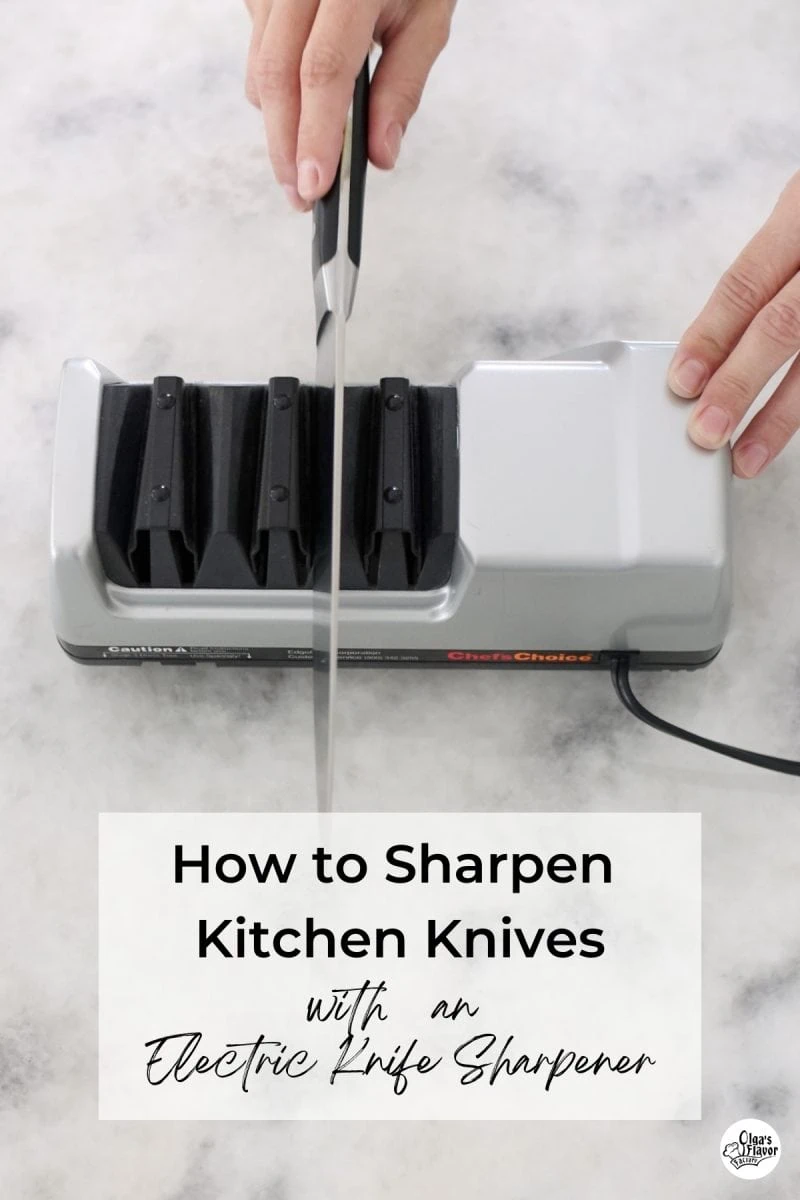
Electric sharpeners often have two or three stages. The first stage uses a coarse abrasive to shape the edge. The later stages refine and polish it.
Follow these steps
- Read the instruction manual before plugging in the sharpener.
- Place the unit on a dry, stable counter.
- Turn on the sharpener if the manual says to do so before inserting the blade.
- Start with the heel of the knife in the correct slot.
- Pull the blade toward you slowly and evenly.
- Lift the handle slightly as the tip reaches the end of the slot.
- Repeat on the other side if the sharpener requires separate slots.
- Move to the honing or polishing stage.
- Clean the blade and unplug the machine when finished.
Never force the blade into an electric sharpener. Avoid sharpening wet knives unless the manufacturer specifically allows it. Water can damage electrical parts and may create a safety risk.
Some electric models are designed for European, Asian, or American knife edges. Check the angle before use. A Western chef’s knife often has a wider edge angle than a Japanese-style knife, so the wrong setting may damage the blade.

How to Use a Honing Rod
A honing rod helps maintain an edge between sharpening sessions. It works best when the knife is only slightly dull.
Hold the rod vertically with the tip resting on a cutting board. Place the heel of the blade near the top of the rod. Keep the blade at a small, steady angle, then draw it down and toward you.
Repeat the motion on the other side. Use light pressure and slow movements. Five gentle passes per side are often enough for routine maintenance.
A honing rod is not a magic fix. If the blade will not cut paper or a tomato after honing, it may need a real sharpening session. Do not keep honing a damaged edge.

How to Use a Whetstone
A whetstone can produce an excellent edge, but it takes more control than a pull-through tool. Many stones have a coarse side and a fine side.
Basic whetstone method
- Soak or prepare the stone as directed by the manufacturer.
- Put the stone on a non-slip base or a damp towel.
- Choose an angle that suits the knife. Around 15 to 20 degrees per side is common for many kitchen knives.
- Place the heel of the blade on the stone.
- Slide the blade forward and across the stone toward the tip.
- Repeat the motion while keeping the angle steady.
- Work both sides of the blade evenly.
- Move to the finer side of the stone.
- Rinse and dry the knife.
- Clean and dry the stone before storing it.
You may feel a small wire edge, called a burr, along one side of the blade. This usually means the abrasive has reached the edge. Switch sides and remove the burr with light strokes.
Angle control is the hardest part of learning how to use a knife sharpener with a whetstone. Think of the knife as resting on a thin coin stack. Keep that height steady instead of rocking the blade.

The Best Angle for Knife Sharpening
The correct angle depends on the knife design and its intended use.
• Western kitchen knives often use about 15 to 20 degrees per side.
• Japanese-style knives may use a narrower angle, often near 10 to 15 degrees per side.
• Outdoor and work knives may use a wider angle for added strength.
• Single-bevel knives need a special method and should not be sharpened like double-bevel knives.
A narrow angle can create a very sharp edge, but it may be fragile. A wider angle can make the edge stronger, but it may not feel as fine. When unsure, use the angle listed by the knife maker.
Guided sharpeners help because they hold the blade at a set angle. Pull-through tools also set the angle for you, but they may not suit every knife.
Common Knife Sharpening Mistakes
Knowing what not to do is an important part of learning how to use a knife sharpener.
Pressing too hard
Heavy pressure can remove too much steel and create an uneven bevel. Use gentle pressure, especially with electric sharpeners and fine abrasives.
Using the wrong slot
A coarse slot can damage a good edge if you use it too often. Reserve it for very dull or damaged knives. Use the fine slot for regular maintenance when the sharpener allows it.
Making too many passes
More passes do not always create a sharper knife. Stop when the blade cuts cleanly and evenly.
Sharpening a dirty blade
Food and grease can clog abrasive surfaces. Wash and dry the knife first.
Sharpening on an unstable surface
A moving sharpener can cause the blade to slip. Use a non-slip mat or a stable counter.
Testing sharpness with your finger
Never run a finger along the edge. Test the knife on paper, a tomato, or a soft vegetable while keeping your hands behind the cutting path.
Ignoring blade damage
Chips, deep bends, rust, and broken tips may need professional repair. A basic sharpener cannot fix every problem.

How to Test a Newly Sharpened Knife
A simple paper test can show whether the edge is working. Hold a sheet of paper by one end and try to slice from the edge toward the center. A sharp knife should cut smoothly instead of catching or tearing.
You can also test the knife on a tomato. A good edge should start the cut without crushing the skin. Try a soft onion or a peeled potato if you prefer.
Do not test sharpness by shaving arm hair or touching the edge. Those tests are unsafe and do not show how well the knife will perform during normal cooking.
A knife may feel sharp but still have a rough burr. If it catches during a cut, use a fine honing stage or a few gentle strokes on a fine stone.
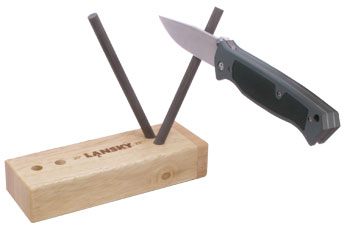
Knife Sharpener Safety Tips
Safe technique matters every time you sharpen a blade.
• Keep your fingers behind the cutting edge.
• Point the knife away from your body.
• Use a stable work surface.
• Keep children and pets away from the area.
• Wear cut-resistant gloves if they help you maintain control, but do not rely on gloves alone.
• Unplug electric sharpeners before cleaning them.
• Do not sharpen a knife while holding it in the air.
• Wash the blade after sharpening to remove fine metal particles.
• Store the knife in a block, sheath, or protective drawer insert.
If the sharpener slips, stop immediately. Reset the tool before continuing. A calm, controlled motion is safer and more effective than rushing.
How Often Should You Sharpen a Knife?
The answer depends on how often you cook, what you cut, and how you store your knives. A home cook may need full sharpening every one to three months. A busy kitchen may need it more often.
Use a honing rod every few cooking sessions if the edge feels slightly less smooth. Sharpen the knife when honing no longer restores its cutting ability.
Cutting boards also affect sharpness. Glass, stone, ceramic, and hard plates can dull a blade quickly. Wood and quality plastic boards are usually kinder to knife edges.
Never put quality kitchen knives loose in a drawer. Contact with other tools can nick the edge. A knife block, magnetic strip, or blade guard can help protect it.
How to Maintain Your Knife Sharpener
A clean sharpener works more consistently. Wipe away metal dust after use and follow the care instructions for your model.
Do not wash an electric sharpener under running water. Use a dry or slightly damp cloth if the manual permits it. Replace worn abrasive belts, wheels, or stones when they no longer sharpen evenly.
Inspect the sharpener from time to time. Cracks, loose parts, or a damaged base can make the tool unsafe. If the unit feels unstable, stop using it until it is repaired or replaced.
Good maintenance also means using the tool for its intended purpose. Do not sharpen scissors, serrated knives, ceramic blades, or unusually thick tools unless the product specifically supports them.
Frequently Asked Questions About How to Use a Knife Sharpener
How many times should I pull a knife through a sharpener?
Follow the sharpener’s instructions, since the number varies by model and blade condition. In many cases, a few slow passes in the coarse slot and several lighter passes in the fine slot are enough.
Should I use a coarse or fine knife sharpener first?
Use the coarse setting when the knife is very dull, damaged, or has an uneven edge. Use the fine setting for light maintenance and final polishing.
Can a knife sharpener ruin a knife?
Yes, improper pressure, the wrong angle, or excessive sharpening can remove too much metal. Use light pressure, choose the correct slot, and stop once the knife cuts cleanly.
Is a honing rod the same as a knife sharpener?
No. A honing rod mainly realigns a slightly bent edge, while a sharpener removes metal to form a new edge. A very dull knife usually needs a sharpener rather than a honing rod.
How do I know when my knife is sharp?
A sharp knife should slice paper or start a tomato cut without tearing or crushing. Test it carefully with a safe material, never with your finger.
Can I sharpen a serrated knife with a regular sharpener?
Usually not. Serrated knives need a tapered ceramic rod or a sharpener designed for serrations. A standard flat sharpener may damage the teeth.
How often should I learn and practice knife sharpening?
Practice on an inexpensive but usable knife before working on a valuable blade. A few careful sessions can help you build steady pressure, angle control, and confidence.
Conclusion
Learning how to use a knife sharpener is mainly about control, consistency, and safety. Choose the right sharpener, use light pressure, keep the blade at a steady angle, and stop when the knife cuts cleanly.
A manual pull-through sharpener is a simple starting point, while a honing rod supports regular care and a whetstone offers more control. With a little practice, you can keep your kitchen knives safer, sharper, and easier to use. Try these steps on one knife today, then share your sharpening experience or explore more knife care guides.