
Using a refrigerator ice maker is simple: connect water, turn it on, and let the freezer make and store ice.
Learning how to use a refrigerator ice maker helps you get clean, fresh ice without wasting water or damaging the appliance. This guide explains setup, first use, cleaning, common problems, safety tips, and ways to improve ice production based on standard appliance guidance and real-world troubleshooting lessons.
How a Refrigerator Ice Maker Works
A refrigerator ice maker is a small automatic system inside the freezer. It fills a mold with water, freezes the water into cubes, and drops the cubes into a storage bin.
Most refrigerator ice makers use these parts:
• Water supply line: Brings water from the home plumbing system to the refrigerator.
• Water inlet valve: Opens for a short time to let water enter the ice mold.
• Ice mold: Holds the water while it freezes.
• Heating element: Loosens the frozen cubes from the mold.
• Ejector arm or motor: Pushes the cubes into the ice bin.
• Shutoff arm or sensor: Stops production when the bin is full.
The exact design may vary by brand and model. Some newer refrigerators use electronic sensors, while older models use a metal shutoff arm.

How to Use a Refrigerator Ice Maker for the First Time
Before learning how to use a refrigerator ice maker, check that the appliance is connected correctly. A poor water connection can cause leaks, slow ice production, or bad-tasting ice.
Follow these steps:
- Check the refrigerator position
Make sure the refrigerator is level and has enough space around it for airflow. Keep the doors fully closed and confirm that the freezer temperature is cold enough.
Most manufacturers recommend a freezer temperature near 0°F. Use the control panel or a freezer thermometer to check the temperature.
- Connect the water supply
Attach the water line to the refrigerator’s water inlet and the household water valve. Tighten the fittings by hand, then follow the product manual for any additional tightening.
Do not overtighten the connection. Too much force can damage the fitting and create a slow leak.
- Flush the water line
Run several glasses of water through the dispenser if your refrigerator has one. This clears air and possible particles from the new line.
If the refrigerator has no dispenser, allow the first batches of ice to form. Throw those batches away to remove any dust, plastic taste, or residue.
- Turn on the ice maker
Look for one of these controls:
• A wire shutoff arm
• An “Ice On” switch
• A power button on the control panel
• A digital setting labeled “Ice Maker”
For a wire arm, lower the arm to turn the ice maker on. Raise the arm to turn it off. Some models use the opposite position, so check the label or manual.
- Wait for the first batch
A new refrigerator may need several hours to make its first batch. Some models take up to 24 hours to reach normal production.
Discard the first one or two batches if the refrigerator or water line is new. After that, the ice should be ready for normal use.

Step-by-Step Guide to Daily Use
Once the ice maker is set up, daily use requires very little work. Still, a few habits help the system run well.
Here is a simple routine for how to use a refrigerator ice maker each day:
- Keep the freezer cold
Keep the freezer near 0°F unless your manual lists a different setting. A warmer freezer can make soft cubes or stop ice production.
- Keep the ice bin in place
The ice bin helps collect cubes and may also work with the full-bin sensor. If the bin is missing or out of position, the refrigerator may stop making ice.
- Do not pack the bin too tightly
Ice needs room to move. A tightly packed bin may block the ejector mechanism or cause the shutoff sensor to think the bin is full.
- Use the ice regularly
Old ice can absorb odors from food. It may also stick together and form a large clump.
- Break up clumps
If cubes freeze together, empty the bin and separate the ice with a clean utensil. Do not use a sharp knife, as it can damage the bin or injure you.
- Replace the bin correctly
After cleaning or emptying the bin, slide it back into its proper position. Make sure it sits level and does not block the ice maker.
A useful tip is to avoid storing bags or food directly beside the ice maker. Items can press against the shutoff arm and stop production by accident.
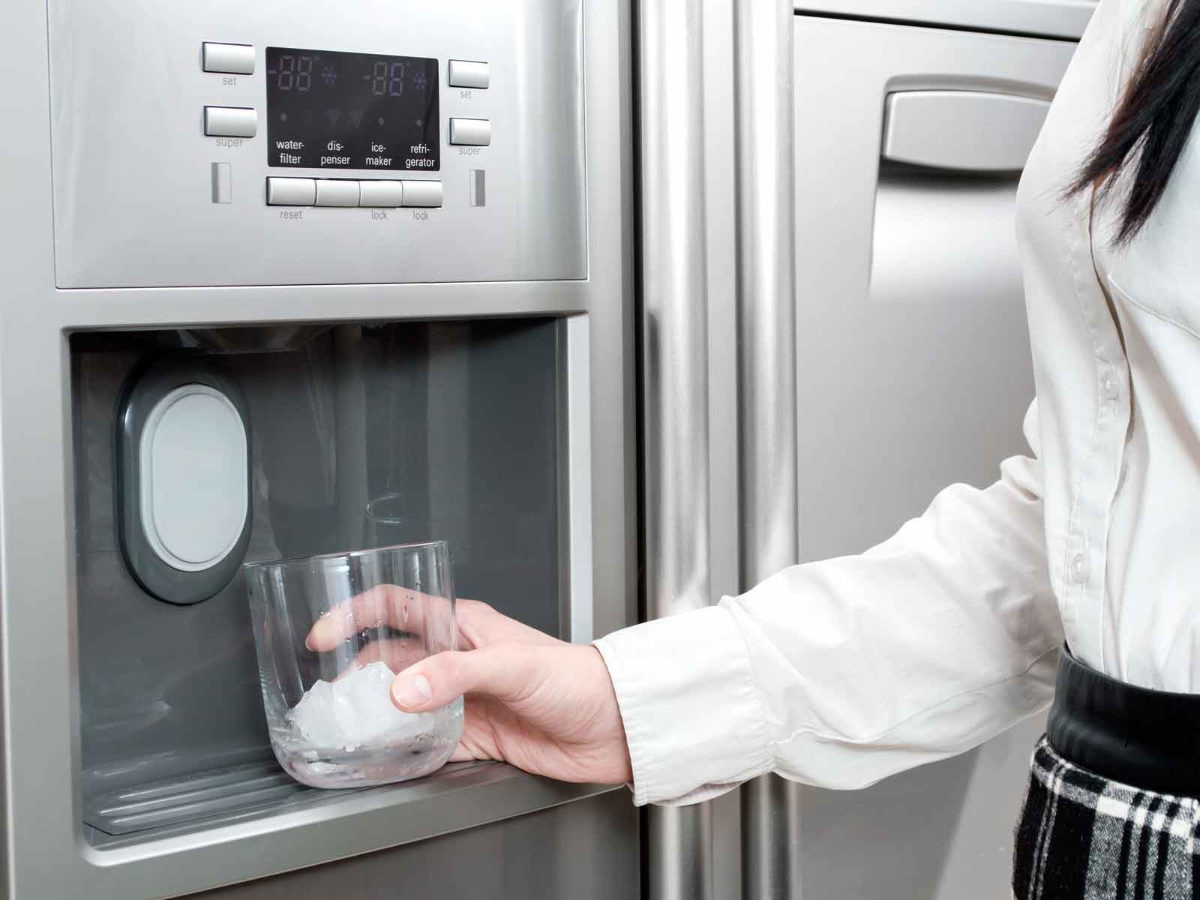
How Long Does a Refrigerator Ice Maker Take?
A refrigerator ice maker usually needs several hours to produce its first batch. Normal production may begin within 6 to 12 hours, but some models need about 24 hours after installation.
Ice production depends on several factors:
• Freezer temperature
• Room temperature
• Water pressure
• Water filter condition
• Frequency of door opening
• Ice bin size
• Refrigerator model
Opening the freezer often lets warm air inside. The compressor must then work harder to restore the correct temperature, which can slow ice production.
If your ice maker produces a small amount of ice after 24 hours, check the water supply, filter, freezer temperature, and shutoff arm. The product manual is the best guide for the expected production rate.
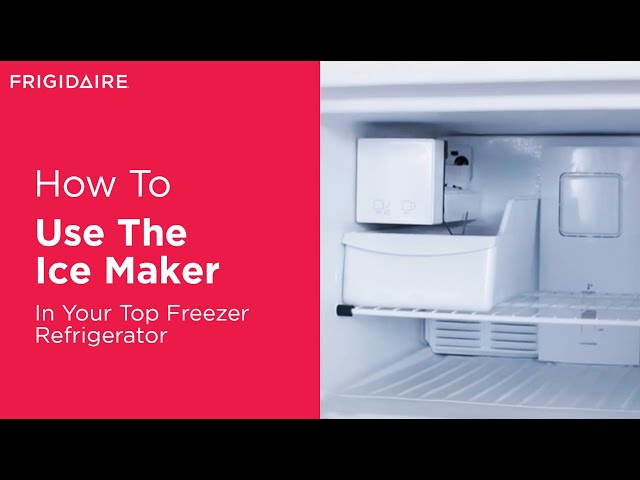
How to Turn a Refrigerator Ice Maker On or Off
Turning the ice maker off is useful when you are leaving home, cleaning the freezer, or have more ice than you need.
To turn it on:
• Lower the wire shutoff arm if your model uses one.
• Move the ice switch to the “On” position.
• Select the ice-making option on the electronic control panel.
To turn it off:
• Raise the wire shutoff arm.
• Move the switch to the “Off” position.
• Disable the ice-making setting on the control panel.
Do not force the arm or switch. If it feels stuck, remove loose ice around it and check the manual. A forced control can break the switch or motor.
When traveling, turning off the ice maker is not always enough. If the refrigerator will be without water for a long period, close the water supply valve if the manual recommends it.
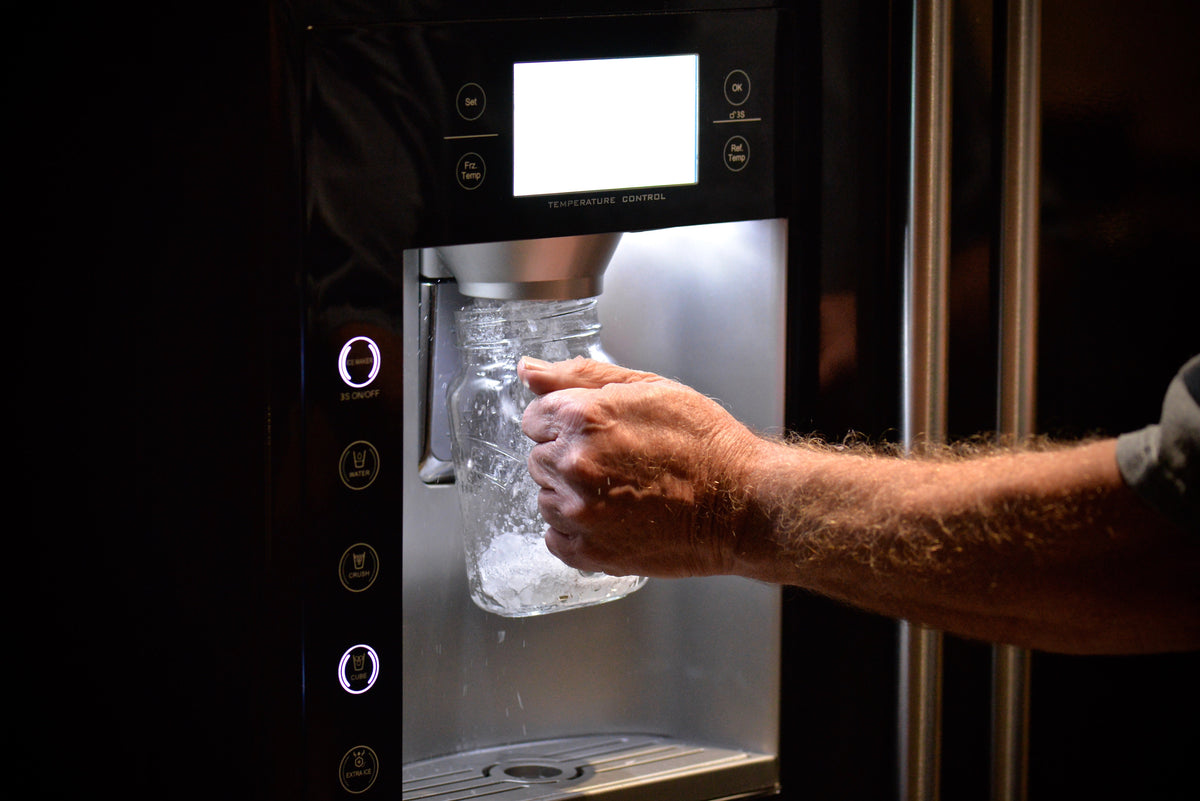
How to Use a Refrigerator Ice Maker With a Water Filter
Many refrigerators use a filter to improve water taste and reduce certain impurities. A dirty or expired filter can slow water flow and reduce ice production.
To use the ice maker with a filter:
-
Install the correct filter for your refrigerator model.
-
Lock the filter into place as directed.
-
Flush the filter according to the instructions.
-
Reset the filter reminder if the refrigerator has one.
-
Discard the first batches of ice after installation.
Most filters need replacement about every six months, but the correct schedule depends on water quality and use. Replace the filter sooner if the water tastes bad, smells unusual, or flows slowly.
Do not run the refrigerator without a required filter unless the manufacturer says it is safe. Some models need a bypass plug for proper water flow.

How to Clean a Refrigerator Ice Maker
Cleaning the ice maker helps reduce odors, residue, and unwanted buildup. It does not replace regular filter changes or professional service.
Before cleaning, turn off the ice maker and remove the ice bin. Throw away old ice, especially if it smells stale or has been stored for a long time.
Use these steps:
-
Wash the ice bin with warm water and mild dish soap.
-
Rinse it well to remove all soap.
-
Dry the bin completely with a clean towel.
-
Wipe accessible surfaces with a clean, damp cloth.
-
Follow the manual for cleaning the ice mold or dispenser chute.
-
Reinstall the bin and turn the ice maker back on.
Avoid using bleach, harsh chemicals, abrasive pads, or sharp tools unless the manufacturer specifically approves them. These products can damage plastic parts or leave unsafe residue.
Never place the ice bin in a dishwasher unless the manual says it is dishwasher-safe. Some bins can warp from high heat.
A practical lesson from many ice-maker troubleshooting cases is that a clean bin often solves strange odors and stuck cubes. People sometimes replace a working ice maker when the real problem is old, clumped ice.
Common Refrigerator Ice Maker Problems
Knowing how to use a refrigerator ice maker also means knowing what to check when it stops working. Start with simple causes before assuming a major part has failed.
The ice maker is not making ice
Check these items:
• Is the ice maker turned on?
• Is the freezer at the correct temperature?
• Is the water supply valve open?
• Is the water line kinked?
• Is the filter blocked or overdue for replacement?
• Is the ice bin seated correctly?
• Is the shutoff arm stuck in the raised position?
If the water line is frozen, do not use a sharp object or direct high heat to clear it. Unplug the refrigerator only when the product instructions allow it, and contact a qualified appliance technician if the issue continues.
The ice maker makes small cubes
Small cubes often point to low water flow. Check the filter, water valve, supply line, and household water pressure.
A partially closed supply valve can look open but still restrict water. Open it fully and inspect the connection for leaks.
The ice tastes or smells bad
Old ice can absorb odors from uncovered food. Empty the bin, wash it, replace the filter if needed, and make sure food is sealed.
A plastic taste may occur after installation. Flushing the water line and discarding the first batches usually helps.
The ice cubes are stuck together
Clumping can happen when the ice sits unused or when warm air enters the freezer. Empty the bin, separate the cubes, and check that the freezer door seals tightly.
If clumping returns often, the ice maker may be overfilling or the freezer may be too warm.
The ice maker is leaking
Turn off the ice maker and close the water supply valve if water continues to leak. Inspect the inlet connection, water line, filter housing, and ice mold.
Do not operate the refrigerator normally if water is reaching electrical parts. A technician should inspect persistent leaks.
Safety Tips for Using a Refrigerator Ice Maker
Ice makers involve water, electricity, moving parts, and cold temperatures. Safe habits protect both you and the appliance.
• Keep hands away from the ejector mechanism while the ice maker is operating.
• Do not insert tools into the ice chute.
• Unplug the refrigerator before servicing internal electrical parts, when the manual instructs you to do so.
• Do not use a hair dryer near standing water.
• Clean spills quickly to prevent slipping or floor damage.
• Use only the recommended water filter.
• Keep children from playing with the shutoff arm or dispenser.
• Contact a qualified technician for electrical faults, repeated leaks, or damaged wiring.
The Food and Drug Administration recommends safe handling of ice as a food product. Use clean hands, clean containers, and clean surfaces when handling ice. Never return melted or contaminated ice to the storage bin.
Tips to Make Ice Faster
If you need more ice for a party or family gathering, use these practical tips:
• Set the freezer to the recommended temperature, usually close to 0°F.
• Keep the freezer door closed as much as possible.
• Empty the bin before it becomes tightly packed.
• Replace a clogged water filter.
• Keep the refrigerator level.
• Make sure the water valve is fully open.
• Use the “Fast Ice” setting if your model includes one.
Fast Ice does not create unlimited ice. It may lower the freezer temperature or adjust the cycle for a limited time. Use the setting as directed because constant use may increase energy consumption.
Do not place hot food near the ice maker. Hot food raises the freezer temperature and can slow the freezing cycle.
Mistakes to Avoid
A few common mistakes can reduce performance or damage the appliance.
Do not ignore the manual
Ice makers differ by brand and model. The shutoff position, reset process, filter type, and cleaning method may not be the same.
Do not force frozen parts
If cubes jam the mechanism, turn off the ice maker and remove loose ice gently. Forcing the ejector arm can damage the motor.
Do not use unapproved cleaners
Strong cleaners may harm plastic parts or leave chemical residue. Mild soap and water are safer for most removable parts.
Do not leave the bin full forever
A full bin can cause stale ice, clumping, and odor. Use older ice first and refresh the supply when needed.
Do not ignore unusual sounds
A brief click, hum, or drop sound is normal during a cycle. Grinding, repeated buzzing, or loud knocking may indicate a motor, fan, or valve problem.
When to Call an Appliance Professional
Some problems need trained service. Stop using the ice maker and seek help when you notice:
• A continuous water leak
• Burning smells
• Damaged power cords
• Repeated electrical trips
• A motor that runs but never completes a cycle
• Water leaking into the refrigerator body
• A frozen water line that keeps returning
• Cracked plastic or exposed wiring
Before requesting service, record the refrigerator model number and describe the problem. Note when the issue began and what checks you have already completed.
This information can save time and help the technician bring the correct part.
Frequently Asked Questions About How to Use a Refrigerator Ice Maker
How do I turn on my refrigerator ice maker?
Lower the wire shutoff arm or move the ice-maker switch to the “On” position. Digital models may require selecting an ice-making option on the control panel.
How long does a new refrigerator ice maker take to make ice?
Many models need 6 to 12 hours to begin producing ice, while some need up to 24 hours after installation. The freezer must reach the correct temperature and have a working water supply.
Should I throw away the first batch of ice?
Yes, discard the first one or two batches after installing a refrigerator, water line, or filter. This helps remove air, residue, and possible plastic taste from the system.
Why is my refrigerator ice maker not making ice?
Check that the ice maker is on, the freezer is cold enough, the water valve is open, and the filter is not blocked. Also check for a kinked water line, a raised shutoff arm, or a bin that is out of position.
How often should I clean a refrigerator ice maker?
Clean the removable ice bin whenever it develops an odor, visible residue, or heavy clumping. Many households benefit from a deeper cleaning every few months, but always follow the manufacturer’s instructions.
Can I leave my refrigerator ice maker on all the time?
Yes, you can usually leave it on if the water supply is connected and the refrigerator is working correctly. Turn it off when the bin is full for a long period, during certain repairs, or when the refrigerator will not have a water supply.
Why does my ice taste bad?
Old ice can absorb food odors, while an expired filter can affect water taste. Clean the ice bin, seal food well, flush or replace the filter, and discard stale ice.
Conclusion
Learning how to use a refrigerator ice maker comes down to a few key steps: connect the water correctly, keep the freezer near 0°F, turn the system on, and give it time to make the first batch. Regular cleaning, timely filter changes, and gentle handling can prevent most common problems.
Use this guide as a starting point, but check your refrigerator manual for model-specific instructions. Try these steps today, and share your own ice-maker tips or questions in the comments.