
Your ice maker may lack water, power, a clear sensor, or the cold temperature needed to freeze ice.
When you ask, “why is my ice maker not making ice,” the cause is often simple to find. A blocked water filter, switched-off arm, frozen fill tube, or warm freezer can stop the whole cycle. This guide explains how an ice maker works, what to check first, and when a repair call makes sense.

How an ice maker works
An automatic ice maker follows a simple cycle. It fills a mold with water, freezes the water, warms the mold slightly, and pushes the cubes into the bin. A thermostat or electronic sensor then starts the cycle again when the ice level drops.
If one step fails, the ice maker may stop making ice. For example, it may have power but no water. It may also have water pressure but fail to harvest the cubes.
Common parts involved include:
- Water inlet valve
- Water filter
- Fill tube
- Ice mold
- Ejector motor
- Thermostat
- Shutoff arm or ice level sensor
- Control board
- Water supply line
Think of the ice maker as a small team. If one worker does not show up, the whole process stops.

Why is my ice maker not making ice?
The most common reason is a problem with water flow. However, temperature, power, blocked parts, and controls can also cause trouble.
Here are the leading causes:
The ice maker is turned off
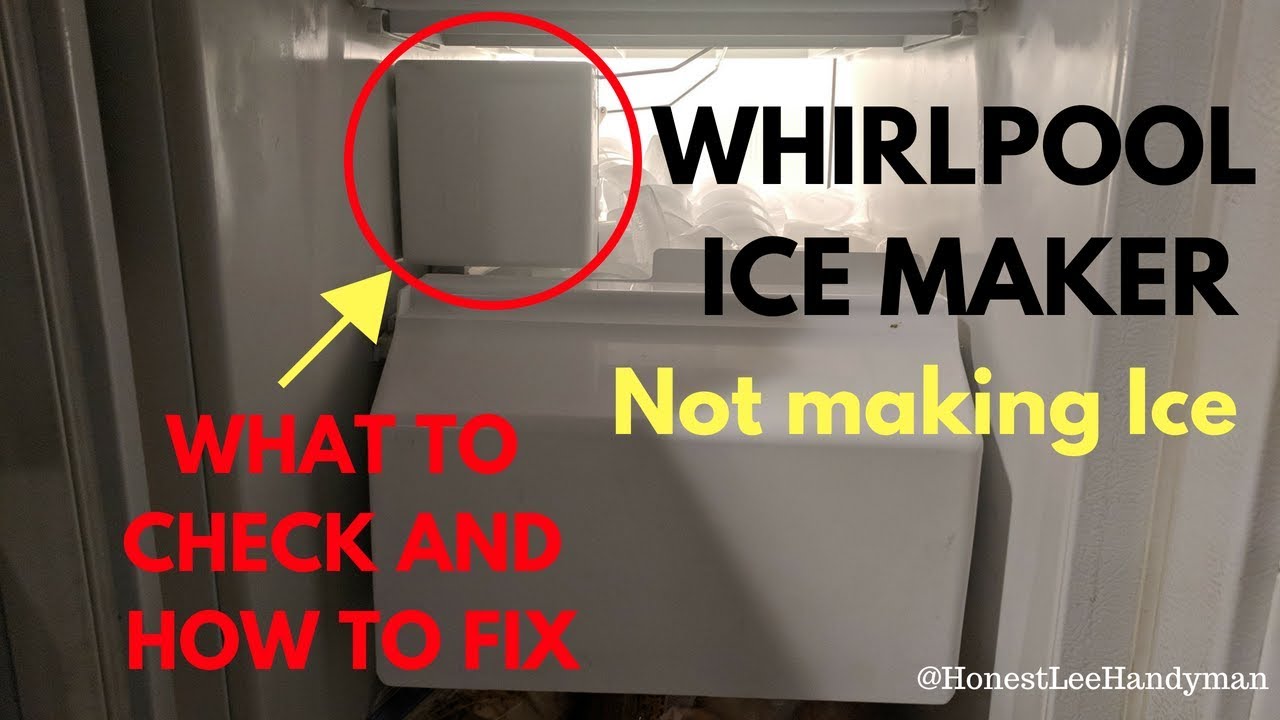
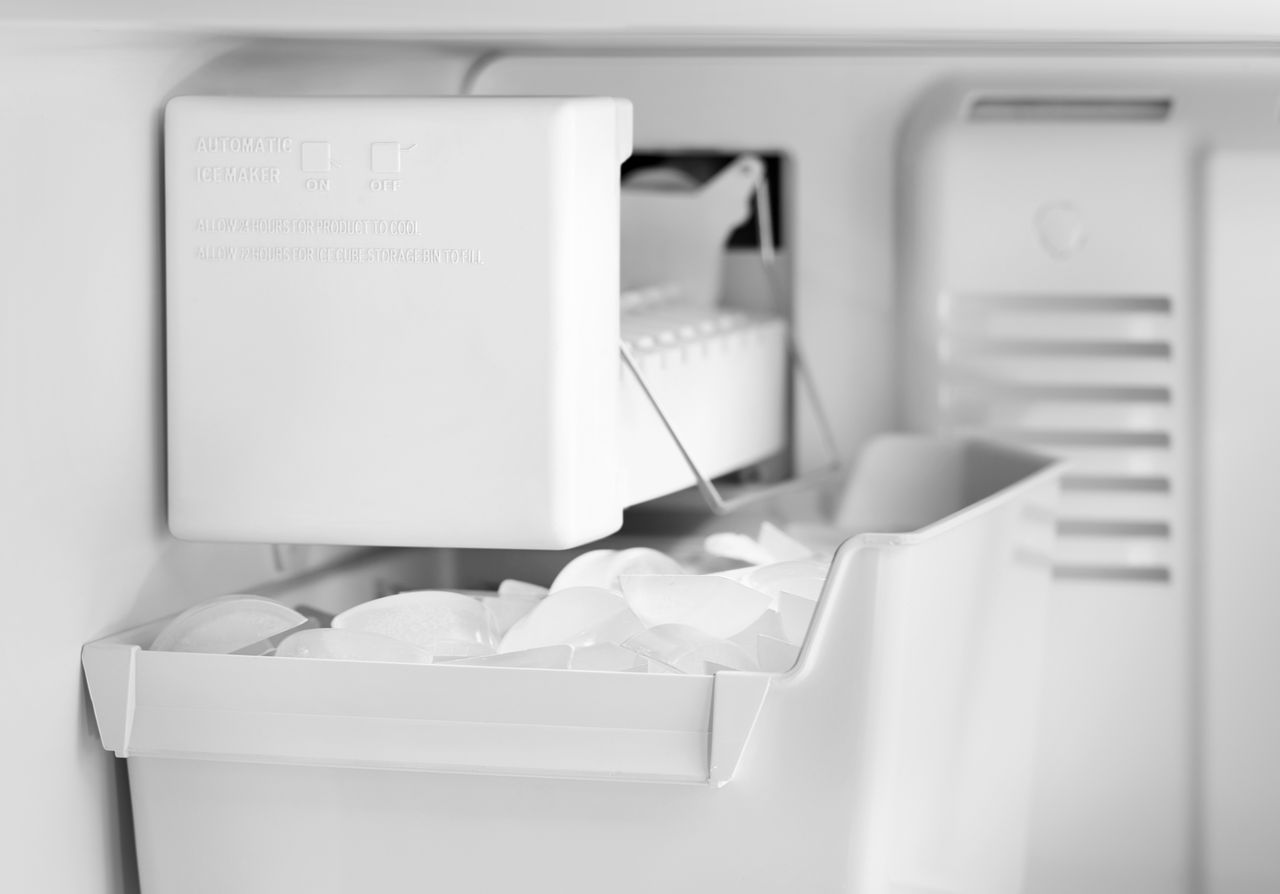
Many ice makers have a wire shutoff arm, sliding switch, or digital setting. If the arm is raised, the unit reads this as a full ice bin. It then stops making ice.
Check that the arm can move freely. If your refrigerator uses electronic controls, confirm that the ice maker setting is on.
The freezer is not cold enough
Most refrigerator ice makers need a freezer temperature near 0°F. Some may work at slightly warmer temperatures, but ice production can slow or stop when the freezer rises above about 10°F.
Use an appliance thermometer to check the real temperature. The display on the refrigerator may show a set point rather than the exact air temperature near the ice maker.
A warm freezer can result from:
- A door that does not seal
- A heavy frost layer
- Blocked air vents
- Frequent door opening
- Dirty condenser coils
- A failing evaporator fan
- Too much food packed inside
The water filter is clogged
A dirty filter can reduce water pressure. The ice maker may receive too little water to fill the mold, or it may receive no water at all.
Many refrigerator filters need replacement about every six months. The right timing depends on water quality and use. If your water tastes odd, flows slowly, or leaves small particles, replace the filter with the correct model.
After installing a new filter, flush it as the manual directs. Air trapped in the filter can also interrupt water flow for a short time.
The water supply line is blocked
Look behind the refrigerator for a bent or pinched water line. A refrigerator pushed too close to the wall can squeeze the line and limit flow.
A frozen line can cause the same symptom. This often happens when the fill tube or supply line runs near a cold freezer wall. Do not use a sharp tool to remove ice. It can damage the tube and create a leak.
The water inlet valve has failed
The inlet valve opens when the ice maker calls for water. If its coil fails, the valve may not open. Sediment can also keep it from sealing or opening correctly.
A failed valve often causes an empty ice mold even when the refrigerator has good water pressure. Testing this part involves electrical measurements, so unplug the refrigerator before service and follow the manufacturer’s instructions.
The ice maker mold is frozen over
A frozen fill tube may stop fresh water from entering the mold. You may see a small ice plug at the tube opening.
A blocked mold can also happen after an overfill. Water freezes around the ejector fingers and prevents the motor from moving. Never chip at the mold with a knife. Ice maker parts are easy to crack.
The ice bin or sensor is blocked
Some models use an optical sensor. Others use a mechanical arm. A packed bin, misplaced container, or tall pile of ice can trigger the full-bin signal.
Remove the bin and inspect the area. Clean away loose ice, then reinstall the bin correctly. Make sure nothing presses against the shutoff arm.
The ice maker needs a reset
A power surge or control error can leave the ice maker stuck. Some models have a reset button. Others reset when you switch the unit off, unplug the refrigerator, and restore power.
A reset may solve a temporary control issue. It will not repair a failed motor, valve, sensor, or wiring fault.

What to check first
Before removing parts, use this quick inspection. It can solve many cases of why is my ice maker not making ice in less than 15 minutes.
- Check the freezer temperature with an appliance thermometer.
- Make sure the ice maker is switched on.
- Lower the shutoff arm if your model has one.
- Remove the ice bin and clear any stuck cubes.
- Check that the refrigerator is connected to the water supply.
- Inspect the water line for bends or pinches.
- Test the water dispenser, if your refrigerator has one.
- Check the filter and replace it if it is old or blocked.
- Look for ice in the fill tube.
- Reset the ice maker according to the user manual.
The water dispenser offers a useful clue. If the dispenser is also weak, the filter, supply line, or inlet valve may be the problem. If the dispenser works well but the ice mold stays dry, the ice maker assembly or its fill valve may need attention.

Step-by-step troubleshooting
Step 1: Check the temperature
Place a thermometer in a glass of water inside the freezer. Wait several hours before reading it. This gives a more stable result than checking the air for only a few minutes.
Aim for about 0°F. If the freezer is too warm, check the door seal and air vents. Avoid placing hot food inside, and give the refrigerator space around its exterior for heat to escape.
Step 2: Confirm the controls
Find the ice maker switch, arm, or digital setting. The exact design varies by brand and model.
If the arm feels loose, stays up, or does not move normally, do not force it. A broken shutoff arm can make the ice maker think the bin is full.
Step 3: Check for water
Use the water dispenser if available. Strong flow suggests that the house supply and filter may be working. Weak flow points toward a filter, valve, line, or pressure issue.
Some ice makers need steady water pressure to fill correctly. Low household pressure can occur when a shutoff valve is partly closed or a plumbing filter is restricted.
Step 4: Inspect the fill tube
Use a flashlight to look for ice near the tube that feeds the mold. If you see a blockage, turn off the ice maker and allow the area to thaw naturally.
A hair dryer can damage plastic parts or create an electrical hazard near water. If the tube freezes again, the valve may be leaking slightly, the freezer may be too cold in that area, or the fill tube insulation may be damaged.
Step 5: Inspect the ice mold
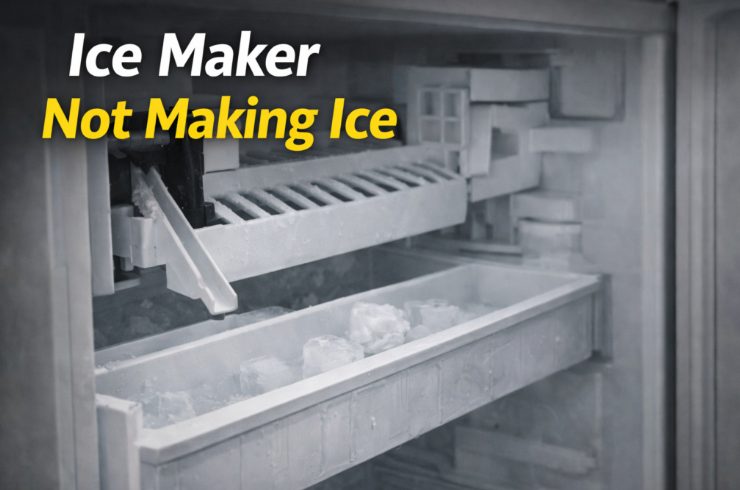
Look at the mold and ejector fingers. If the mold is empty, water is not entering. If it is full of ice but the cubes remain stuck, the harvest mechanism may not be working.
Do not pour boiling water over the assembly. Sudden heat can warp plastic or damage electronic parts.
Step 6: Reset the unit
Follow the reset steps in your owner’s manual. The reset button may sit under the ice maker cover, near the front, or on the control panel.
After a reset, production may not start right away. Many models take several hours to produce the first batch, especially after the freezer door has been open.

Simple fixes you can safely try
Several repairs are safe for most homeowners when done carefully.
- Replace an old water filter with the correct filter.
- Open the refrigerator water shutoff valve fully.
- Straighten a bent supply line.
- Remove clumped ice from the bin.
- Clear frost from freezer air vents.
- Clean the door gasket with mild soap and water.
- Reset the ice maker using the manual.
- Leave space around food so cold air can move.
Always unplug the refrigerator before removing covers or touching wires. Keep water away from electrical controls. If you smell burning, see damaged wiring, or find a water leak, stop troubleshooting and arrange professional service.
One mistake I often see during appliance troubleshooting is changing several parts at once. That makes it hard to know what fixed the problem and can waste money. Test the easy causes first, then replace only the part that the symptoms support.
When to call an appliance technician
Call a qualified technician when basic checks do not solve the problem or when the repair involves sealed refrigeration parts.
Professional help is wise if:
- The freezer will not reach a safe cold temperature.
- The compressor runs constantly.
- The evaporator fan is silent or unusually loud.
- The inlet valve needs electrical testing.
- The control board may be defective.
- Water leaks behind the refrigerator.
- The fill tube freezes again and again.
- Wiring looks burned or damaged.
- The ice maker makes loud grinding sounds.
- The refrigerator trips a breaker.
Do not open the sealed refrigerant system yourself. Refrigerant work requires special tools, training, and legal handling in the United States.
A technician can test water pressure, valve resistance, temperature sensors, motor operation, and control signals. This is often faster than guessing and replacing expensive parts.
How long does an ice maker take to make ice?
A working ice maker often needs several hours to produce its first batch. The exact time depends on freezer temperature, model, water pressure, and how often the door opens.
After a repair or reset, give the unit at least 12 to 24 hours to reach normal production. Do not judge the repair after only one short cycle.
Production also changes with the season. A busy kitchen, warm room, or frequently opened freezer can reduce output. Ice makers are useful, but they are not usually designed to keep up with constant party-level demand.

How to prevent future ice maker problems
Good care can reduce repeat failures. It cannot prevent every electrical or mechanical fault, but it helps the system work under less stress.
Follow these habits:
- Replace the water filter on schedule.
- Keep the freezer near 0°F.
- Do not block internal air vents.
- Keep the door gasket clean and flexible.
- Avoid pushing the refrigerator tightly against the wall.
- Remove old, clumped ice from the bin.
- Use the ice maker regularly.
- Clean spills before they freeze around moving parts.
- Follow the manufacturer’s cleaning instructions.
If you leave home for a long time, use the shutoff instructions in the manual. Some models should be turned off and connected to a water supply only when needed.
Good water quality matters too. Hard water can leave mineral deposits inside valves and tubing. A suitable home water treatment system may help, but it should not replace the refrigerator’s required filter.
Common mistakes to avoid
Troubleshooting can become risky when people rush. The goal is to find the cause without damaging the refrigerator.
Avoid these mistakes:
- Do not use a knife to break ice from the mold.
- Do not force the shutoff arm.
- Do not use boiling water on plastic parts.
- Do not bypass safety switches.
- Do not test live wiring without proper training.
- Do not buy a replacement part before checking the model number.
- Do not assume a new filter will fix every water problem.
- Do not ignore a leak because the ice maker still works.
A model number is usually found inside the refrigerator compartment or on the door frame. Parts that look similar may have different wiring, voltage, or mounting points.
Frequently Asked Questions
Why is my ice maker not making ice but the water dispenser works?
The ice maker may have a frozen fill tube, failed motor, bad thermostat, or shutoff sensor problem. Since the dispenser works, the home water supply and filter are less likely to be the main cause.
Why is my ice maker not making ice after replacing the filter?
Air may be trapped in the new filter, or the filter may not be fully locked into place. Flush the dispenser as directed, reinstall the filter, and check that the ice maker is switched on.
Why is my ice maker not making ice in a cold freezer?
A cold freezer does not rule out an ice maker fault. The inlet valve, control board, motor, fill tube, or shutoff arm may still be preventing the cycle.
How long should I wait after resetting my ice maker?
Wait about 12 to 24 hours for normal production. The first batch can take several hours, especially if the freezer temperature rose during troubleshooting.
Can low water pressure stop an ice maker?
Yes. Low pressure may prevent the inlet valve from filling the mold correctly. A partly closed shutoff valve, clogged filter, kinked line, or plumbing problem can reduce pressure.
Should I leave the ice maker on when the bin is full?
Most modern ice makers stop automatically when the bin is full. You can leave the setting on, but turn it off if you will not use the refrigerator for a long period or if the manual recommends doing so.
[CodeImg is intentionally omitted from this section.]
Conclusion
When you wonder why is my ice maker not making ice, start with the basics: freezer temperature, power, the shutoff arm, water flow, filter, and fill tube. These checks often reveal the problem without a costly repair.
If the ice maker stays silent, freezes over repeatedly, leaks, or shows electrical damage, stop guessing and call a qualified technician. Work through the checks in order, use your model’s manual, and share your results or questions in the comments.