
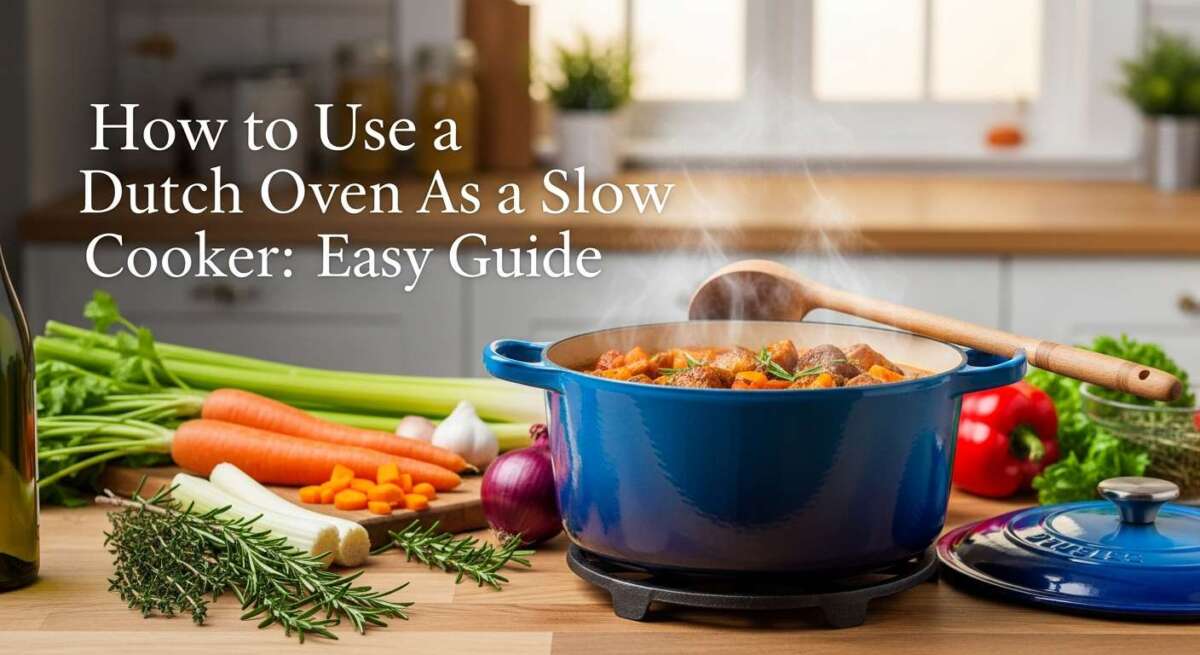
A Dutch oven can replace a slow cooker for many meals, especially in a U.S. kitchen with a standard oven. Use a heavy, lidded pot, add enough liquid, and cook the food at a low temperature until it is tender. An oven set to about 200°F to 300°F often gives results similar to slow-cooker cooking, though the timing may vary.
A Dutch oven does not control heat in the same way as an electric slow cooker. You must check the food, adjust the temperature, and make sure the pot has enough liquid. With the right method, it works well for pot roast, pulled pork, beans, stews, chili, and braised vegetables.

What Makes a Dutch Oven Work Like a Slow Cooker?
A Dutch oven works like a slow cooker because its thick walls and tight lid hold heat and moisture. The heavy pot warms slowly and keeps that heat steady. The lid also reduces evaporation, so meat and vegetables can cook in a moist environment.
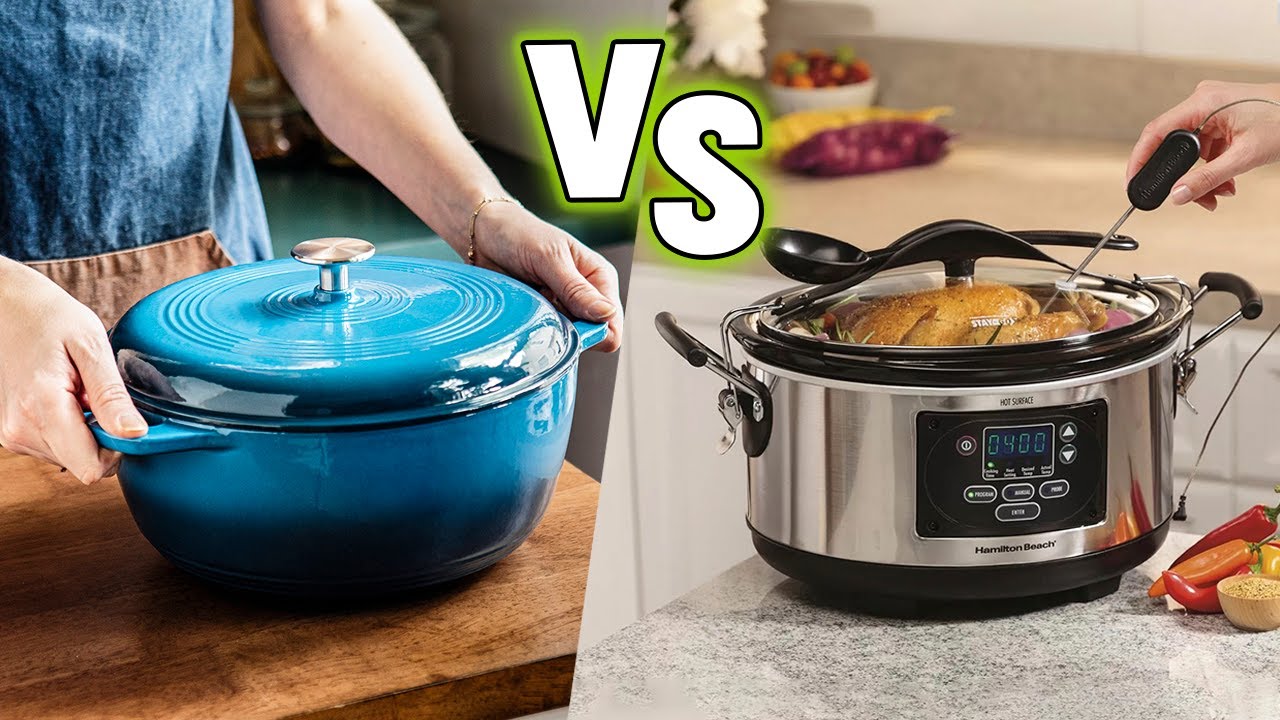
A slow cooker uses a heating element around the outside of the crock. A Dutch oven usually uses heat from an oven or a burner below the pot. This difference matters:
- An oven heats the pot from all sides.
- A stovetop heats the bottom more strongly.
- A slow cooker offers more stable, low-temperature control.
- A Dutch oven can brown food before cooking, which adds flavor.
For most slow-cooked Dutch oven meals, the goal is a gentle simmer. The liquid should show small bubbles from time to time. A hard boil can make meat tough, break apart delicate vegetables, and cause food to stick.
An oven is usually the better choice because it spreads heat around the pot. A burner can work, but it needs closer attention.
What You Need Before You Start
You need only a few basic items:
- A Dutch oven with a tight-fitting lid
- An oven or sturdy stovetop burner
- Tongs or a wide spoon
- A reliable instant-read thermometer
- Enough cooking liquid for the recipe
- Heat-safe gloves or mitts
Most cast-iron Dutch ovens can go into the oven. However, check the care instructions for your specific pot. Some lids have knobs, handles, or coatings that have lower heat limits.
If your Dutch oven has an enamel coating, avoid sudden temperature changes. Do not place a very hot pot into cold water. Let it cool first, then wash it with warm water.
A Dutch oven should have enough room for the food to cook evenly. Fill it about one-half to two-thirds full for many braises and stews. Too much food can slow cooking and make it hard to stir. Too little food may dry out faster.
How to Use a Dutch Oven as a Slow Cooker in the Oven
The oven method gives the most even heat. Follow these steps for a typical braise, stew, or slow-cooked meat dish.
1. Prepare and season the food
Trim large pieces of excess fat. Pat meat dry with paper towels, then season it with salt and other spices.
Cut vegetables into similar-size pieces. Large chunks hold their shape better during a long cook. Small pieces can become soft or dissolve into the sauce.
2. Brown the meat first
Heat the Dutch oven over medium to medium-high heat. Add a small amount of oil, if needed. Brown the meat in batches so each piece touches the pot.
Browning is not required for safety, but it improves flavor and color. If the pot becomes too dark, remove it from the heat briefly. Burned bits can make the finished dish taste bitter.
Move the browned meat to a plate before adding onions, garlic, or other vegetables.
3. Add liquid and loosen the browned bits
Add broth, water, wine, tomato sauce, or another recipe liquid. Scrape the bottom of the pot with a wooden spoon.
Use less liquid than you would for a stovetop soup if the lid fits tightly. Very little water escapes in the oven. Adding too much can make the finished sauce thin.
As a general guide, liquid should cover about one-third to one-half of the meat, rather than completely submerging it. Stews may need more liquid because they contain many ingredients.
4. Return the food to the pot
Add the meat, vegetables, herbs, and any other ingredients. Bring the liquid to a light simmer on the stovetop if the recipe calls for it.
Starting with hot liquid can shorten the time needed for the food to heat through. It also helps reduce the amount of time food spends in the temperature range where bacteria can grow.
5. Cover the pot
Set the lid firmly in place. A tight lid keeps steam inside and protects the food from drying out.
If the lid does not fit well, place a sheet of parchment paper under it only if the manufacturer allows this and the paper does not touch an exposed heating element. Do not use plastic wrap in the oven.
6. Cook at a low oven temperature
Place the covered Dutch oven in a preheated oven. Use one of these general temperature ranges:
| Cooking goal | Oven temperature | Typical use |
|---|---|---|
| Very gentle cooking | 200°F–225°F | Long braises and tender cuts |
| Standard slow cooking | 250°F–275°F | Pot roast, stew, pulled pork |
| Faster braising | 300°F–325°F | Tough cuts when time is limited |
The exact setting depends on the recipe, the amount of food, the pot size, and the cut of meat. Start checking the food near the recipe’s earliest suggested finish time.
7. Check for a gentle simmer
After about 30 to 45 minutes, check the liquid if practical. It should be hot with small, gentle bubbles. If it is boiling hard, lower the oven temperature by 25°F.
If there are no signs of heat after a reasonable time, raise the oven temperature slightly. Avoid repeated lid opening because each opening releases heat and steam.
8. Test for doneness
Tenderness matters more than the clock. Meat is ready when a fork or skewer slides into it with little resistance.
Use an instant-read thermometer for safety. The USDA advises cooking poultry to 165°F. Ground meats should reach their recommended safe internal temperature, and whole cuts of beef, pork, lamb, and veal require both a safe temperature and a suitable resting period. See the USDA safe minimum internal temperature chart.
For tough beef, pork, or lamb cuts, reaching a safe temperature does not always mean the meat is tender. Collagen needs more time to break down. A roast may be safe to eat but still need another hour or more to become soft.
9. Rest and adjust the sauce
Let the meat rest for about 10 to 20 minutes before slicing or shredding. This helps the juices settle.
If the sauce is thin, remove the meat and simmer the liquid uncovered on the stovetop. If the sauce is too thick, add a small amount of hot broth or water.
How to Use a Dutch Oven as a Slow Cooker on the Stovetop
A stovetop Dutch oven can cook slowly, but it needs more attention than an oven method. The bottom receives direct heat, so food can scorch even when the top looks fine.
Use the lowest burner setting that keeps the liquid at a gentle simmer. A heat diffuser can help spread heat under the pot, especially on a gas or electric range.
Follow these steps:
- Brown the food and vegetables.
- Add the cooking liquid.
- Bring the liquid to a gentle simmer.
- Cover the Dutch oven.
- Reduce the burner to low.
- Check the pot every 20 to 30 minutes at first.
- Stir foods that may stick, such as chili, beans, and thick tomato sauces.
- Add hot liquid if the sauce becomes too dry.
Do not leave a stovetop Dutch oven unattended for long periods. Burner strength differs from one stove to another, and low settings can still create hot spots.
The stovetop method works well when you need to watch the meal. It is less suitable when you want to leave the house or sleep while food cooks.

Dutch Oven Temperature and Slow Cooker Setting Conversions
There is no exact conversion between a slow cooker setting and an oven temperature. Slow cookers vary by brand, size, age, and food volume. Still, these ranges provide a useful starting point:
| Slow cooker setting | Dutch oven oven range | Practical note |
|---|---|---|
| Low | 200°F–250°F | Use for long, gentle cooking |
| High | 275°F–325°F | Use when the meal must finish sooner |
| Warm | Not a cooking setting | Use only to hold fully cooked food briefly |
A slow cooker set to low may cook differently from a Dutch oven at 225°F. The appliance may heat the food from the sides, while the oven heats the entire pot. Recipe timing is also affected by whether the ingredients start cold or hot.
Do not treat these ranges as a guarantee. Use them as a starting point, then judge the food by its simmer, texture, and internal temperature.
A simple timing example
Suppose a slow-cooker recipe calls for:
- 8 hours on Low, or
- 4 hours on High
You might begin with:
- 250°F for a similar low-and-slow approach
- 300°F for a faster oven method
Begin checking the meal at about three-quarters of the original cooking time. If the meat is still firm, keep cooking. If the vegetables are already soft, remove them and continue cooking the meat.
How Much Liquid Should You Add?
Use enough liquid to create steam and prevent scorching, but not so much that the meal becomes watery. The right amount depends on the food.
For pot roast
Add liquid to cover roughly one-third to one-half of the roast. The roast will release some of its own juices as it cooks.
For stew
Add enough broth or sauce to nearly cover the meat and vegetables. Leave some space because the ingredients may release water.
For chili
Use less liquid than you might expect. Tomatoes, onions, beans, and meat release moisture. Keep the lid on while cooking, then reduce the chili uncovered if needed.
For beans
Beans need enough water to remain covered during cooking. Check the pot during a long cook and add hot water if the beans rise above the liquid.
Do not add cold liquid to a very hot enamel-coated Dutch oven. Hot broth is safer for the cookware and helps the pot recover heat faster.

Foods That Work Well in a Dutch Oven Slow Cooker
A Dutch oven is best for foods that benefit from moist, low heat.
Good choices include:
- Chuck roast
- Pork shoulder
- Beef short ribs
- Chicken thighs
- Lamb shanks
- Dried beans
- Lentil stew
- Beef stew
- Chicken cacciatore
- Chili
- Tomato-based sauces
- Braised cabbage
- Root vegetables
Tough cuts often improve with long cooking because connective tissue slowly softens. Lean meats can dry out if cooked too long, even in liquid.
Fish, shrimp, delicate greens, and small pieces of chicken usually need less time. Add them near the end instead of placing them in the pot for the full cooking period.
Dairy can split during long, high-heat cooking. Add cream, sour cream, yogurt, or soft cheese near the end unless the recipe specifically supports longer cooking.

Common Problems and How to Fix Them
The meat is still tough
The most common cause is undercooking. Tough cuts may need more time for collagen to soften.
Keep the lid on and continue cooking at a gentle simmer. Test the meat every 30 to 45 minutes. Raising the heat too much may make the outside dry before the center becomes tender.
The food is dry
The pot may not have had enough liquid, the lid may not have sealed well, or the oven may have been too hot.
Add hot broth, cover the pot, and lower the heat. Avoid lifting the lid often. If the meat is already dry, slice it thinly and serve it with the cooking sauce.
The bottom is burned
Direct stovetop heat, too little liquid, or a thick sauce can cause scorching.
Move the food to a clean pot without scraping in the burned layer. For future batches, use the oven or a heat diffuser. Stir thick foods more often when using a burner.
The vegetables turned to mush
The pieces may have been too small, or they may have cooked for the full time while the meat needed longer.
Cut firm vegetables into large chunks. You can also add potatoes, carrots, and other vegetables halfway through cooking.
The sauce is too thin
Remove the meat and vegetables. Simmer the sauce uncovered on the stovetop until it reduces. You can also use a small cornstarch slurry, but add it near the end so the sauce does not become overly thick.
The sauce is too thick
Stir in hot broth or water a few tablespoons at a time. Taste again and adjust the salt after thinning.

Food Safety Rules for Dutch Oven Slow Cooking
A Dutch oven is not automatically safer than a slow cooker. Safe handling still depends on temperature, time, and clean preparation.
Follow these rules:
- Thaw large cuts of meat in the refrigerator before cooking.
- Keep raw meat separate from ready-to-eat food.
- Use clean utensils for cooked food.
- Do not rely on color alone to judge doneness.
- Check poultry and other meats with a food thermometer.
- Refrigerate leftovers within two hours, or within one hour when the room temperature is above 90°F.
- Store leftovers in shallow containers so they cool faster.
- Reheat leftovers to 165°F, according to USDA guidance.
- Do not use the “Warm” setting as a way to cook raw food.
- Do not leave a stovetop Dutch oven unattended for long periods.
A large, deep pot cools slowly. Divide leftovers into smaller containers instead of placing a very large hot batch in the refrigerator.

Dutch Oven vs. Slow Cooker: Which Should You Use?
Choose a Dutch oven when you want to brown meat first, reduce a sauce, or move a meal from stovetop to oven. It also works well when you do not own a slow cooker or want one pot for several cooking steps.
Choose an electric slow cooker when you want simple temperature control and a cooking vessel designed for long, unattended use. A slow cooker can also use less oven space and may be convenient during hot weather.
| Feature | Dutch oven | Electric slow cooker |
|---|---|---|
| Browning | Strong | Usually limited |
| Heat source | Oven or burner | Built-in heating element |
| Unattended cooking | Best avoided on stovetop | Designed for this use |
| Sauce reduction | Easy on stovetop | Usually requires removing the lid |
| Temperature control | Depends on oven or burner | Built-in settings |
| Versatility | Stovetop, oven, and serving | Mainly slow cooking |
The best choice depends on the task. Use the Dutch oven for control and browning. Use the slow cooker for convenience and steady, unattended cooking.

Key Takeaways
- Use a heavy Dutch oven with a tight lid.
- The oven is usually more even than the stovetop.
- Start with about 200°F to 300°F, depending on the recipe.
- Aim for a gentle simmer, not a hard boil.
- Use enough liquid to prevent drying and scorching.
- Brown meat first when you want deeper flavor.
- Check tenderness and internal temperature instead of trusting time alone.
- Watch stovetop cooking closely.
- Refrigerate leftovers within two hours.
Frequently Asked Questions
Can I use a Dutch oven instead of a slow cooker for any recipe?
No. It works best for braises, stews, chili, beans, and other moist dishes. Recipes that depend on a slow cooker’s exact heat pattern may need timing and liquid changes.
What oven temperature is equal to slow-cooker Low?
There is no exact match. A Dutch oven temperature between 200°F and 250°F is a reasonable starting range for a low, slow cook. Check the food because oven and slow-cooker performance vary.
Should the liquid boil in the Dutch oven?
No. Aim for a gentle simmer. A hard boil can toughen meat, break down vegetables, and increase the risk of scorching.
Can I leave a Dutch oven in the oven overnight?
Only if the recipe, cookware, oven, and cooking conditions make that safe. Do not use this method for raw food without a clear temperature plan. A stovetop Dutch oven should not be left unattended overnight.
Can I use a Dutch oven on an induction cooktop?
Most cast-iron Dutch ovens work on induction cooktops, but check the cookware maker’s instructions. Lift the pot rather than sliding it across a glass surface.
Conclusion
To use a Dutch oven as a slow cooker, brown the ingredients, add a controlled amount of liquid, cover the pot, and cook it at a low oven temperature until tender. Start around 250°F for many recipes, then adjust based on the simmer and the food’s texture.
The key difference is control. A Dutch oven can produce rich, slow-cooked meals, but it needs more judgment than an electric slow cooker. Use the oven for even heat, check tough cuts for tenderness, and follow safe food-handling practices from the USDA.